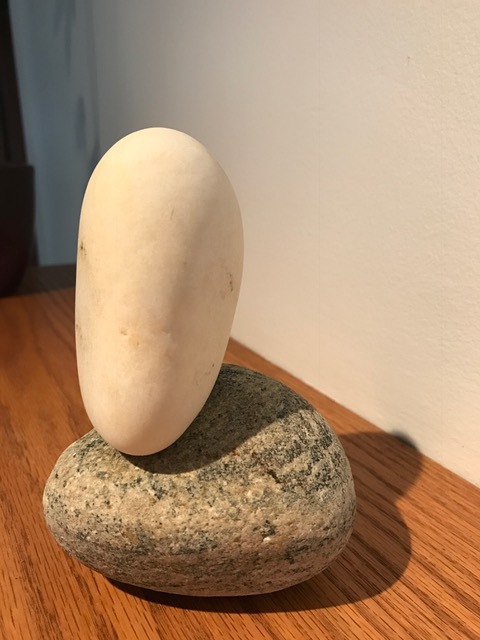
Over Thanksgiving, I was a weekend houseguest in the Hamptons. I was welcomed by an artistic couple - Bill, a designer for advertising agencies, and Christine, a fashion designer. Bill and I were having a discussion about being creatives and how we get inspired and unstuck. He grabbed my hand and pulled me into the living room to show me a set of stones on the mantle. Bill said that whenever he is waiting for an idea to come to him, he goes to these rocks and begins the process of trying to balance and stack them. It requires a focused mind, a steady hand, and patience. He completely abandons whatever block he was having artistically and dedicates his mind to the rocks. This practice calms him and creates space for new ideas to form. He unstacked the stones and left me to play.
Do you know about cairns? Up until that weekend, I’d only experienced them in nature. I’ve seen them on beaches and on paths while I’m hiking. Stacking stones is an ancient practice used in many different cultures. The word cairn is a Gaelic word that translates to ‘heap of stones.’ Vikings used them as early lighthouses, marking navigational routes through Norwegian fjords. In the North American Arctic, Inuit people construct stone monuments called Inukshuk. Meaning ‘to act in the capacity of a human.’ An Inukshuk, like a cairn, can relay a variety of messages: memorial, resource site, or safe passage. American Indian, Tibetan and Incan cairns are used for spiritual offerings and as monuments of remembrance.
Of all of the things I have read about cairns, this is my favorite, “The tradition of stacking stones came not from building a monument to one’s self. It was to build for others - a memorial or a navigational aid. The intent lacked ego: it was just the opposite, an act of service.” It seems like the perfect remedy for inspiring an artist - guiding us away from our ego and into service.
My ego didn’t want to write a blog this week. How could a recipe for cake pops provide anything of use or service in the world right now? People will think I’m a fool. Life in New York City these days is nonstop protests, marches, rallies, and instructions to donate, call, and write to support governmental causes. All very important stuff. The news goes back and forth between being a permanent Saturday Night Live skit to an episode of the Twilight Zone. Funny + Scary = NOT funny.
I sat down to write and came up with nothing. I was stuck and uninspired. I thought about Bill and the beautiful stones he shared with me a few months ago. I felt their smooth and cool surface in my mind. I stacked and restacked them in my imagination until I felt calm and balance in my mind. I opened up my computer and the first thing I saw was this quote that a friend had posted,
“Our role in life is to bring the light of our own souls to the dim places around us.
~ Joan D. Chittister
Aha! The light of my own soul shines brightest at the beginning of the week in the form of All Good Things. I can’t be ashamed of that or wonder if there is a place for what I have to offer. Life is dim these days. We all need cake pops! However you feel about things - politically, spiritually, emotionally, artistically, etc. - my only hope is that we can all find balance and be like the Inukshuk, acting in the capacity of humans, guided from our egos into service. Bring the light from your own souls, too. What you are doing is important!
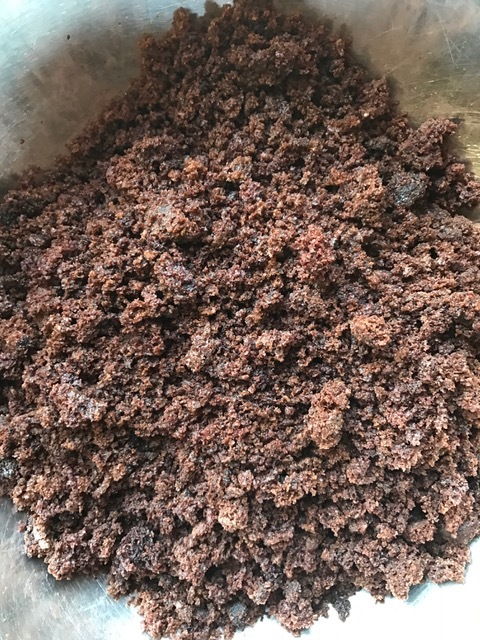
I pride myself on not having a lot of kitchen waste, every vegetable scrap or bone is boiled into a stock, spare herbs are infused into oils or whizzed into a pesto, crusts of bread become bread crumbs, or bread pudding. Repurposing ingredients is one of my favorite past times. Remember when I made 125 Ring Dings during the holidays? After I pressed out the cake circles, I was left with a huge Ziplock bag of cake scraps. I wasn’t about to throw them away! Hard work and delicious cake does not go into the garbage. I froze them and thought, someday, I’ll figure out how to make cake pops.
Cake pops. What the heck is a cake pop, right? Cake pops are crumbled cake mixed with frosting and rolled or shaped into bite-size balls, which are dipped in melted candy wafers and served lollipop style on a stick.
My friend Erin was having a screening party for the premiere of her new television show, Altar’d and I wanted to celebrate her with something special - cake pops! I highly recommend making the Ring Ding cake recipe, but I also highly recommend buying a boxed cake mix and a tub of ready made icing! The number of steps looked daunting, but it was easier than anticipated and incredibly satisfying once I got going.
Cake Pops - by Bakerella
YOU’LL NEED
- 18.25-oz (520-g) box cake mix
- 9-by-13-in (23-by-33-cm) cake pan
- Two baking sheets
- Wax paper
- Large mixing bowl
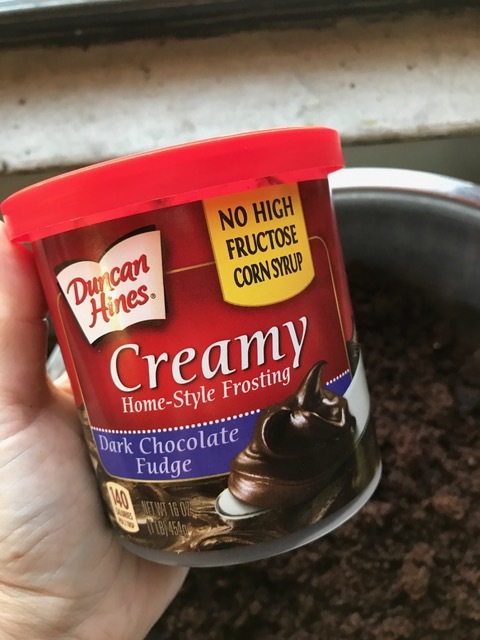
- 16-oz (455-g) container ready-made frosting
- Large metal spoon
- Plastic wrap
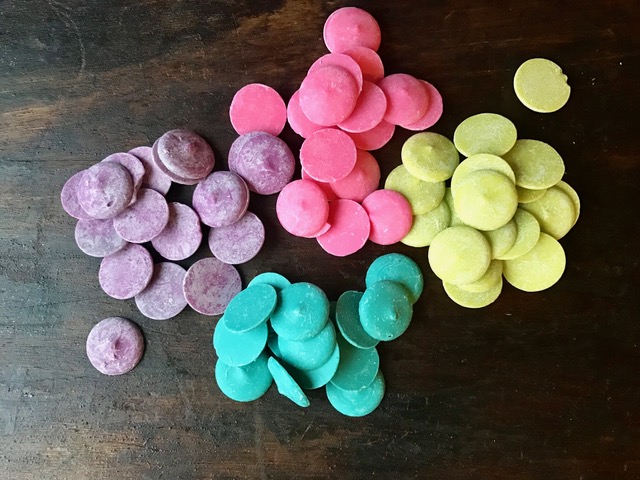
- 48 oz (1.4 kg) candy coating
- Deep, microwave-safe plastic bowl
- 48 lollipop sticks
- Styrofoam block
MAKES 48 CAKE POPS
- Bake the cake as directed on the box, using the 9-by-13-inch cake pan. Let cool completely.
- Once the cake has cooled, get organized and set aside plenty of time (a couple of hours) to crumble, roll, and dip 48 cake pops. Line the baking sheets with wax paper.
- Crumble the cooled cake into the large bowl. You should not see any big pieces of cake.
- Add up to three-quarters of the container of frosting to the bowl. (You will not need the remaining frosting. Save it in the refrigerator for a later use.) Mix it into the crumbled cake, using the back of the large metal spoon, until thoroughly combined. If you use the entire container, the cake balls will be too moist.
- The mixture should be moist enough to roll into 1 1/2-inch balls and still hold a round shape. After rolling the cake balls by hand, place them on the prepared baking sheets and let them rest for about 20 minutes before chilling.
- Cover the baking sheets with plastic wrap and chill for several hours in the refrigerator, or place them in the freezer for about 15 minutes. You want the balls to be firm but not frozen.
- Place the candy coating in the deep microwave-safe bowl. These bowls make it easier to cover the cake balls completely with candy coating while holding the bowl and without burning your fingers.
- Melt the candy coating, following the instructions on the package. Microwave on medium power for 30 seconds at a time, stirring between each interval. (You can also use a double boiler.) Make sure you do not overheat the coating.
- Now you’re ready to dip. Take a few cake balls out of the refrigerator or freezer to work with, keeping the rest chilled. If they’re in the freezer, transfer the rest of the balls to the refrigerator at this point so they stay firm but do not freeze.
- One at a time, dip about 1/2 in of the tip of a lollipop stick into the melted candy coating, and then insert the lollipop stick straight into a cake ball, pushing it no more than halfway through.
- Holding the lollipop stick with cake ball attached, dip the entire cake ball into the melted candy coating until it is completely covered, and remove it in one motion. Make sure the coating meets at the base of the lollipop stick. This helps secure the cake ball to the stick when the coating sets. The object is to completely cover the cake ball and remove it without submerging it in the coating more than once. If you do resubmerge the cake pop, the weight of the candy coating can pull on the cake ball and cause it to get stuck in the coating.
- The thinner the consistency of your coating, the easier it will be to coat the cake pops. (If you find that your coating is too thick, add some vegetable oil or paramount crystals to help thin it and make the coating more fluid.)
- When most of the excess coating has fallen off and it is no longer dripping, stick the cake pop into the Styrofoam block.
- Repeat with the remaining cake balls and let the pops dry completely in the Styrofoam block.


