I was a young Catholic girl raised in Southwest Missouri, and I thought I was going to grow up and be a nun. Truly. I devoured religious literature. I was obsessed with the saints and angels. I remember there were two books in our school library that I continually checked out each week: Angel City and Angel Food. Father Brennan wrote those books in the 1930’s, but I thought they were written for me in the 1970’s.
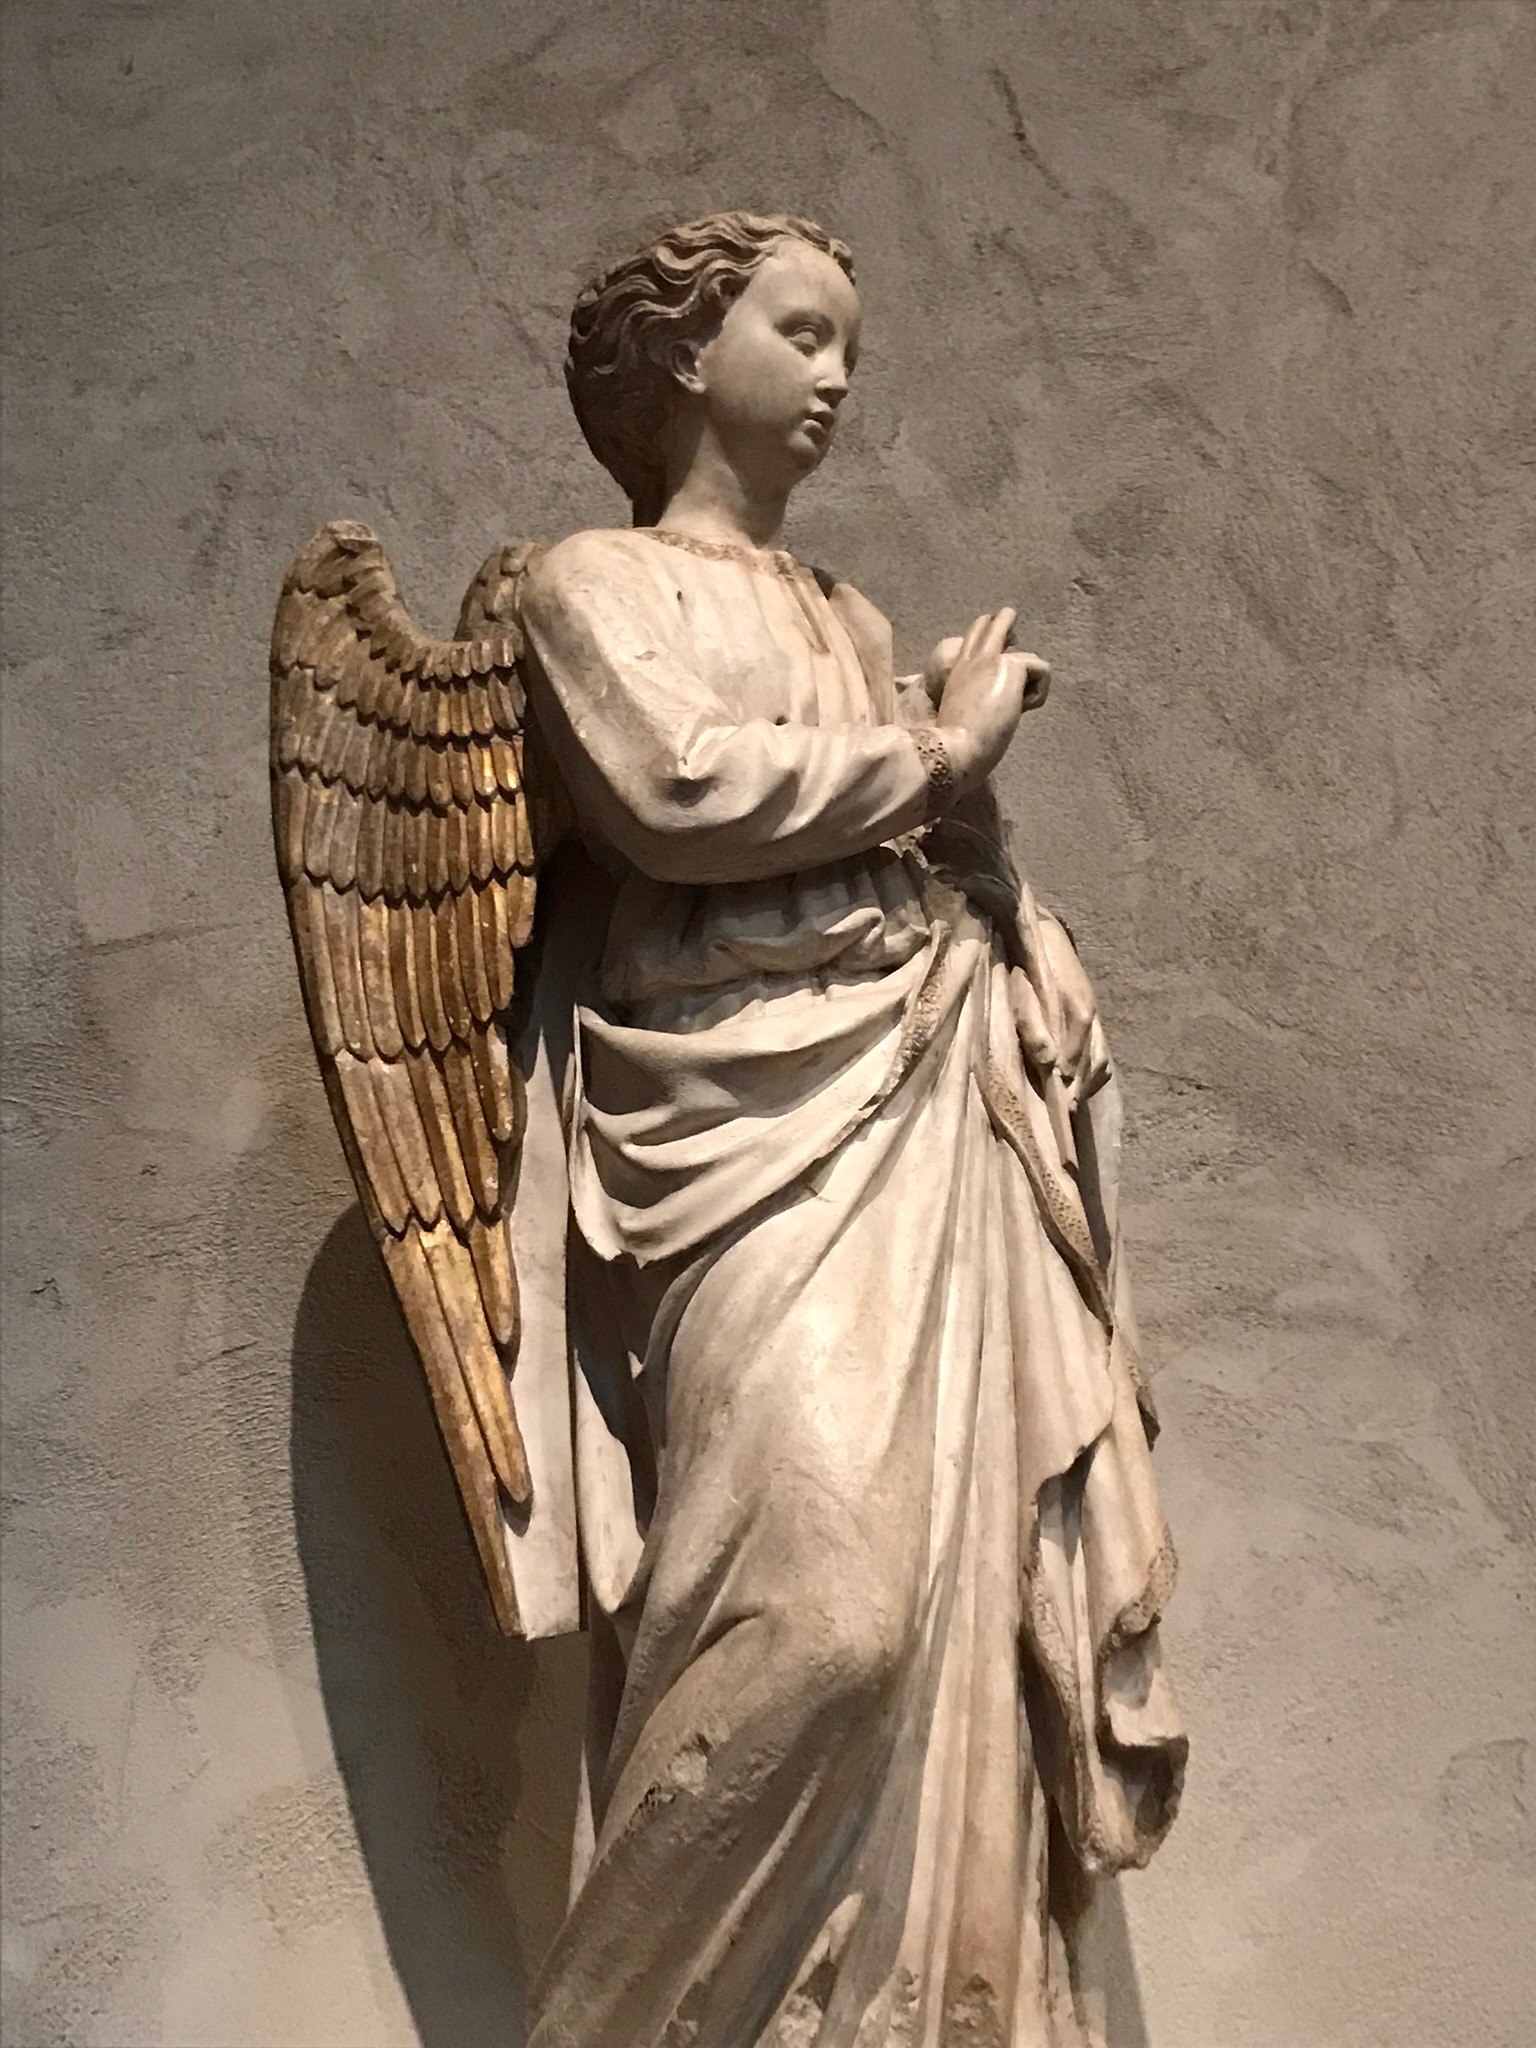
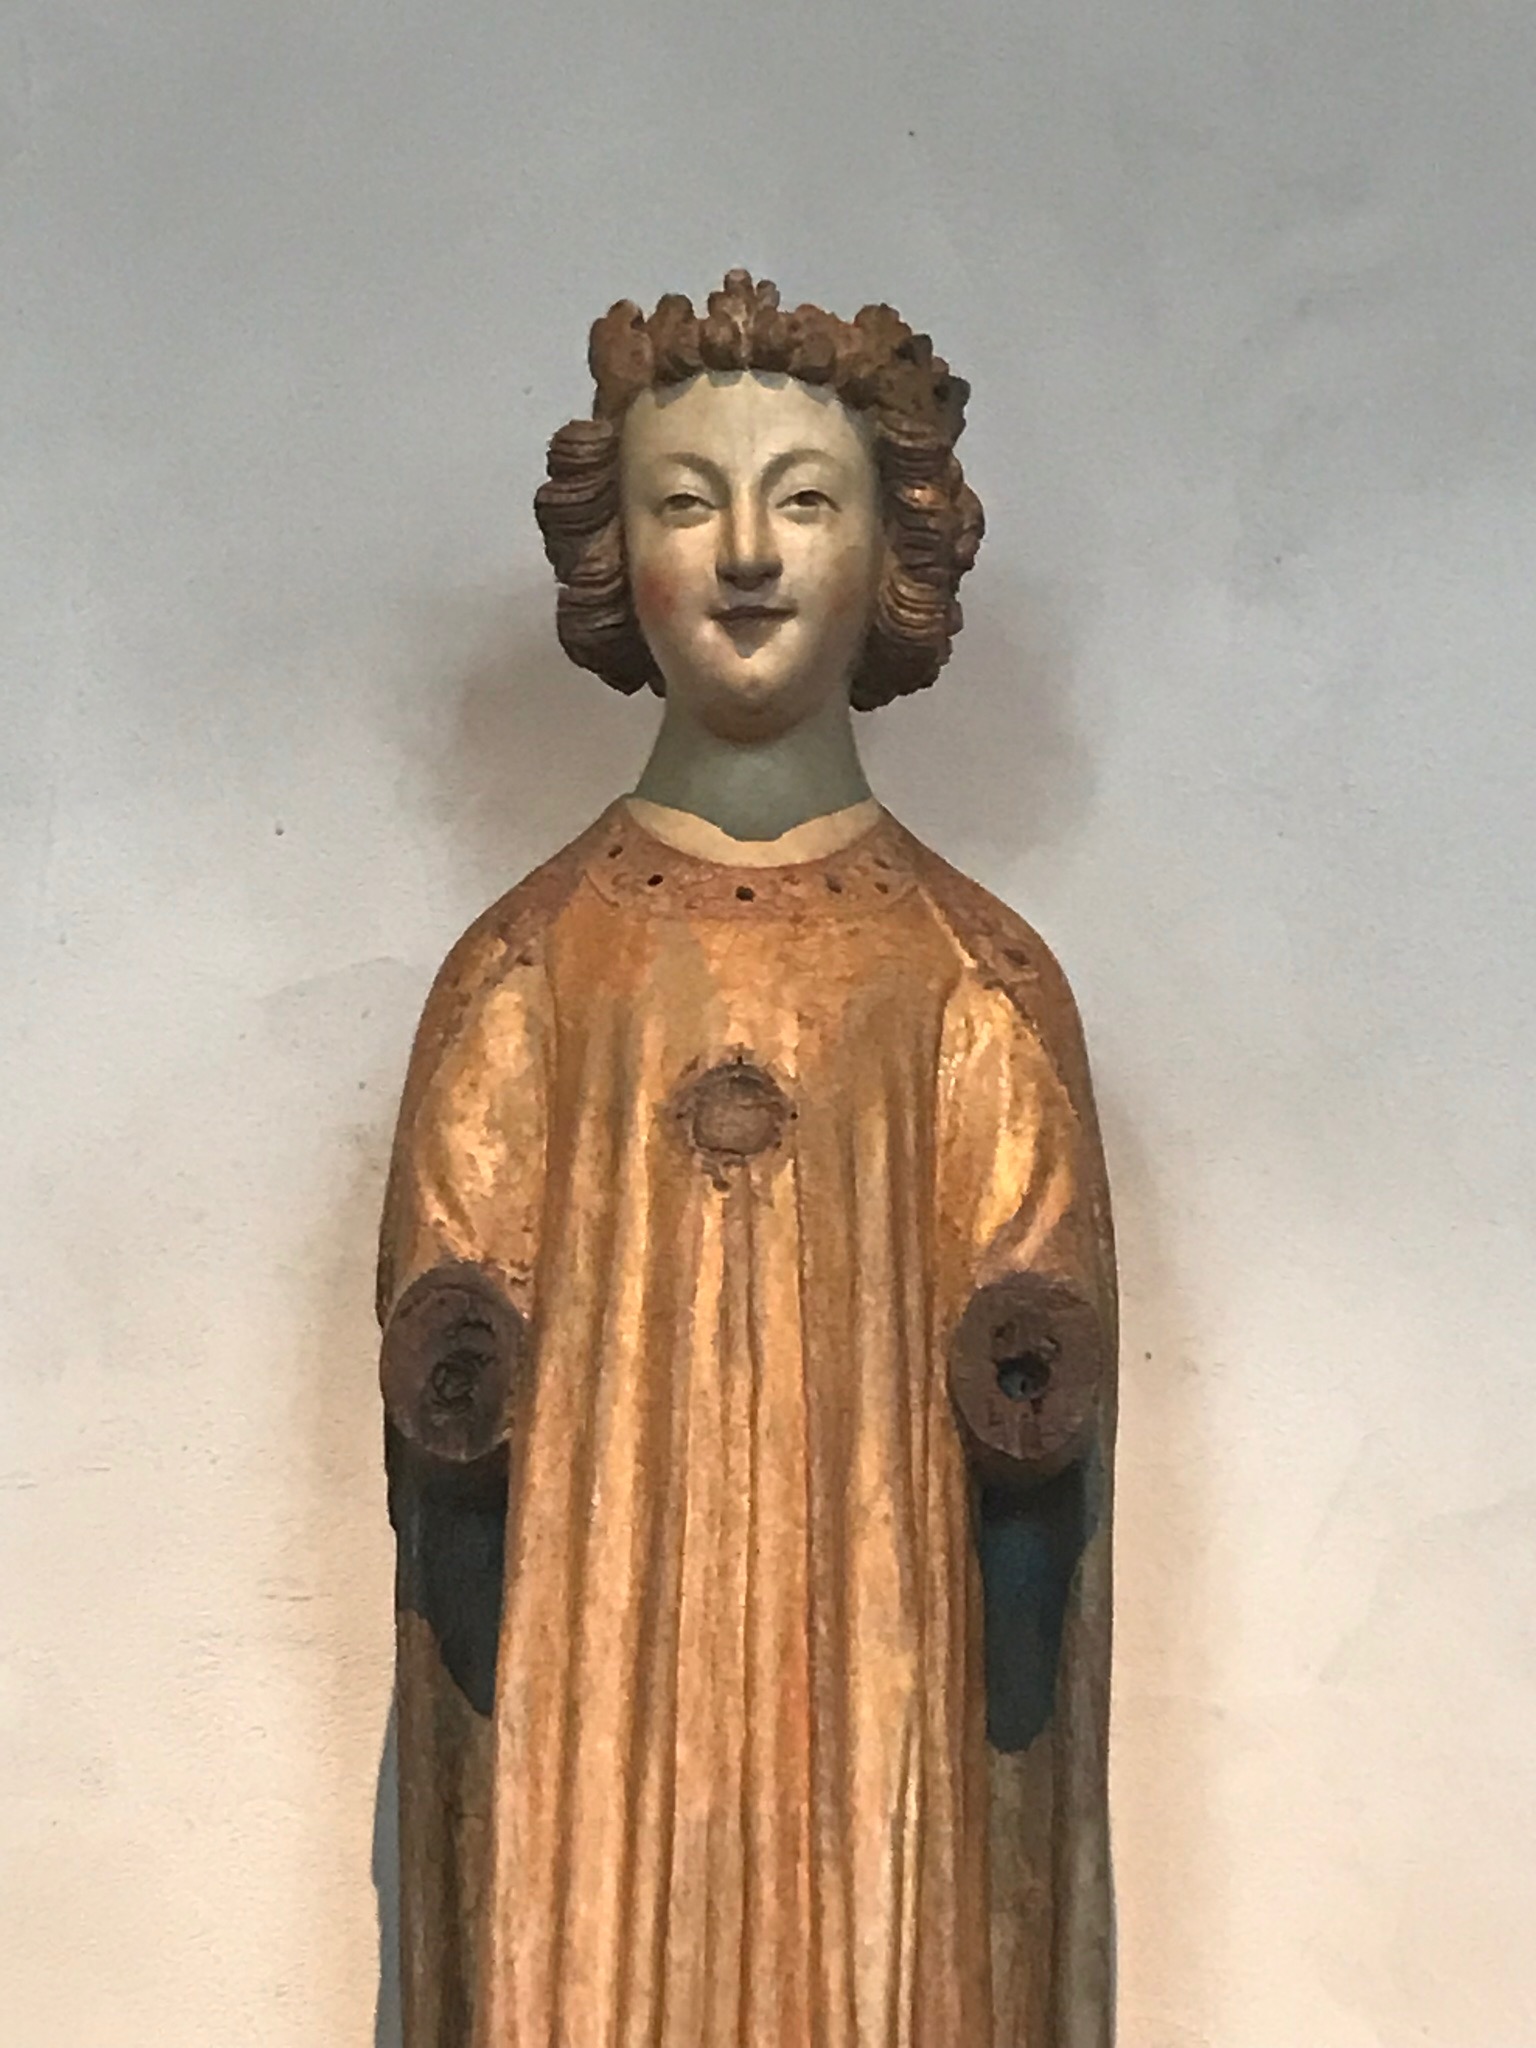
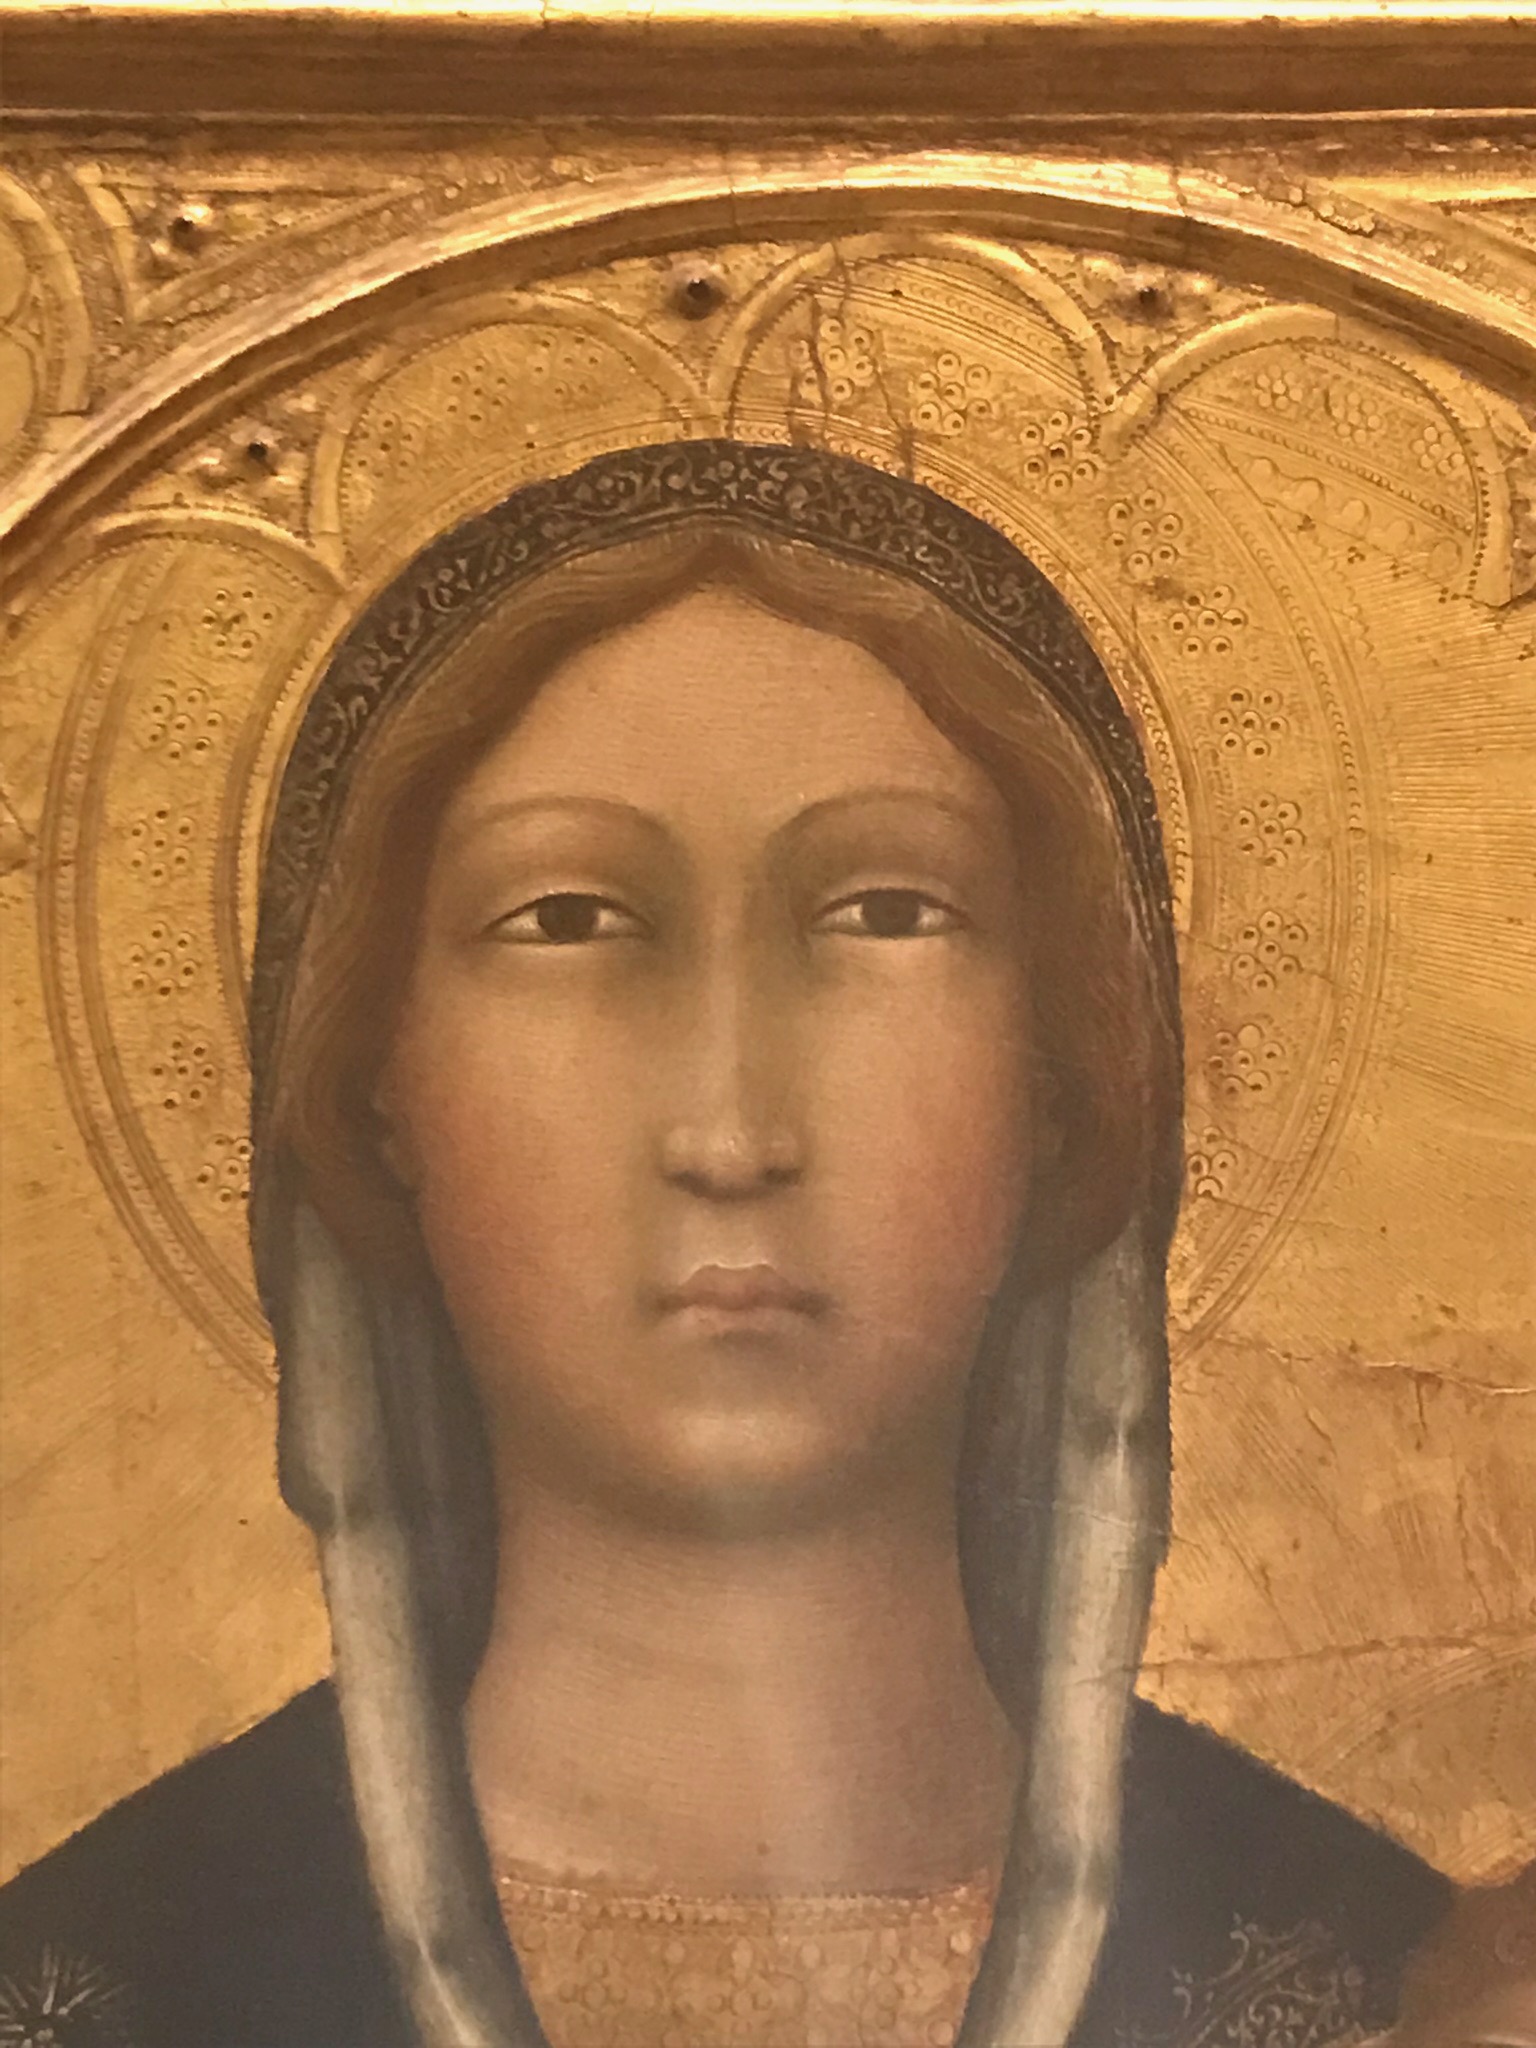
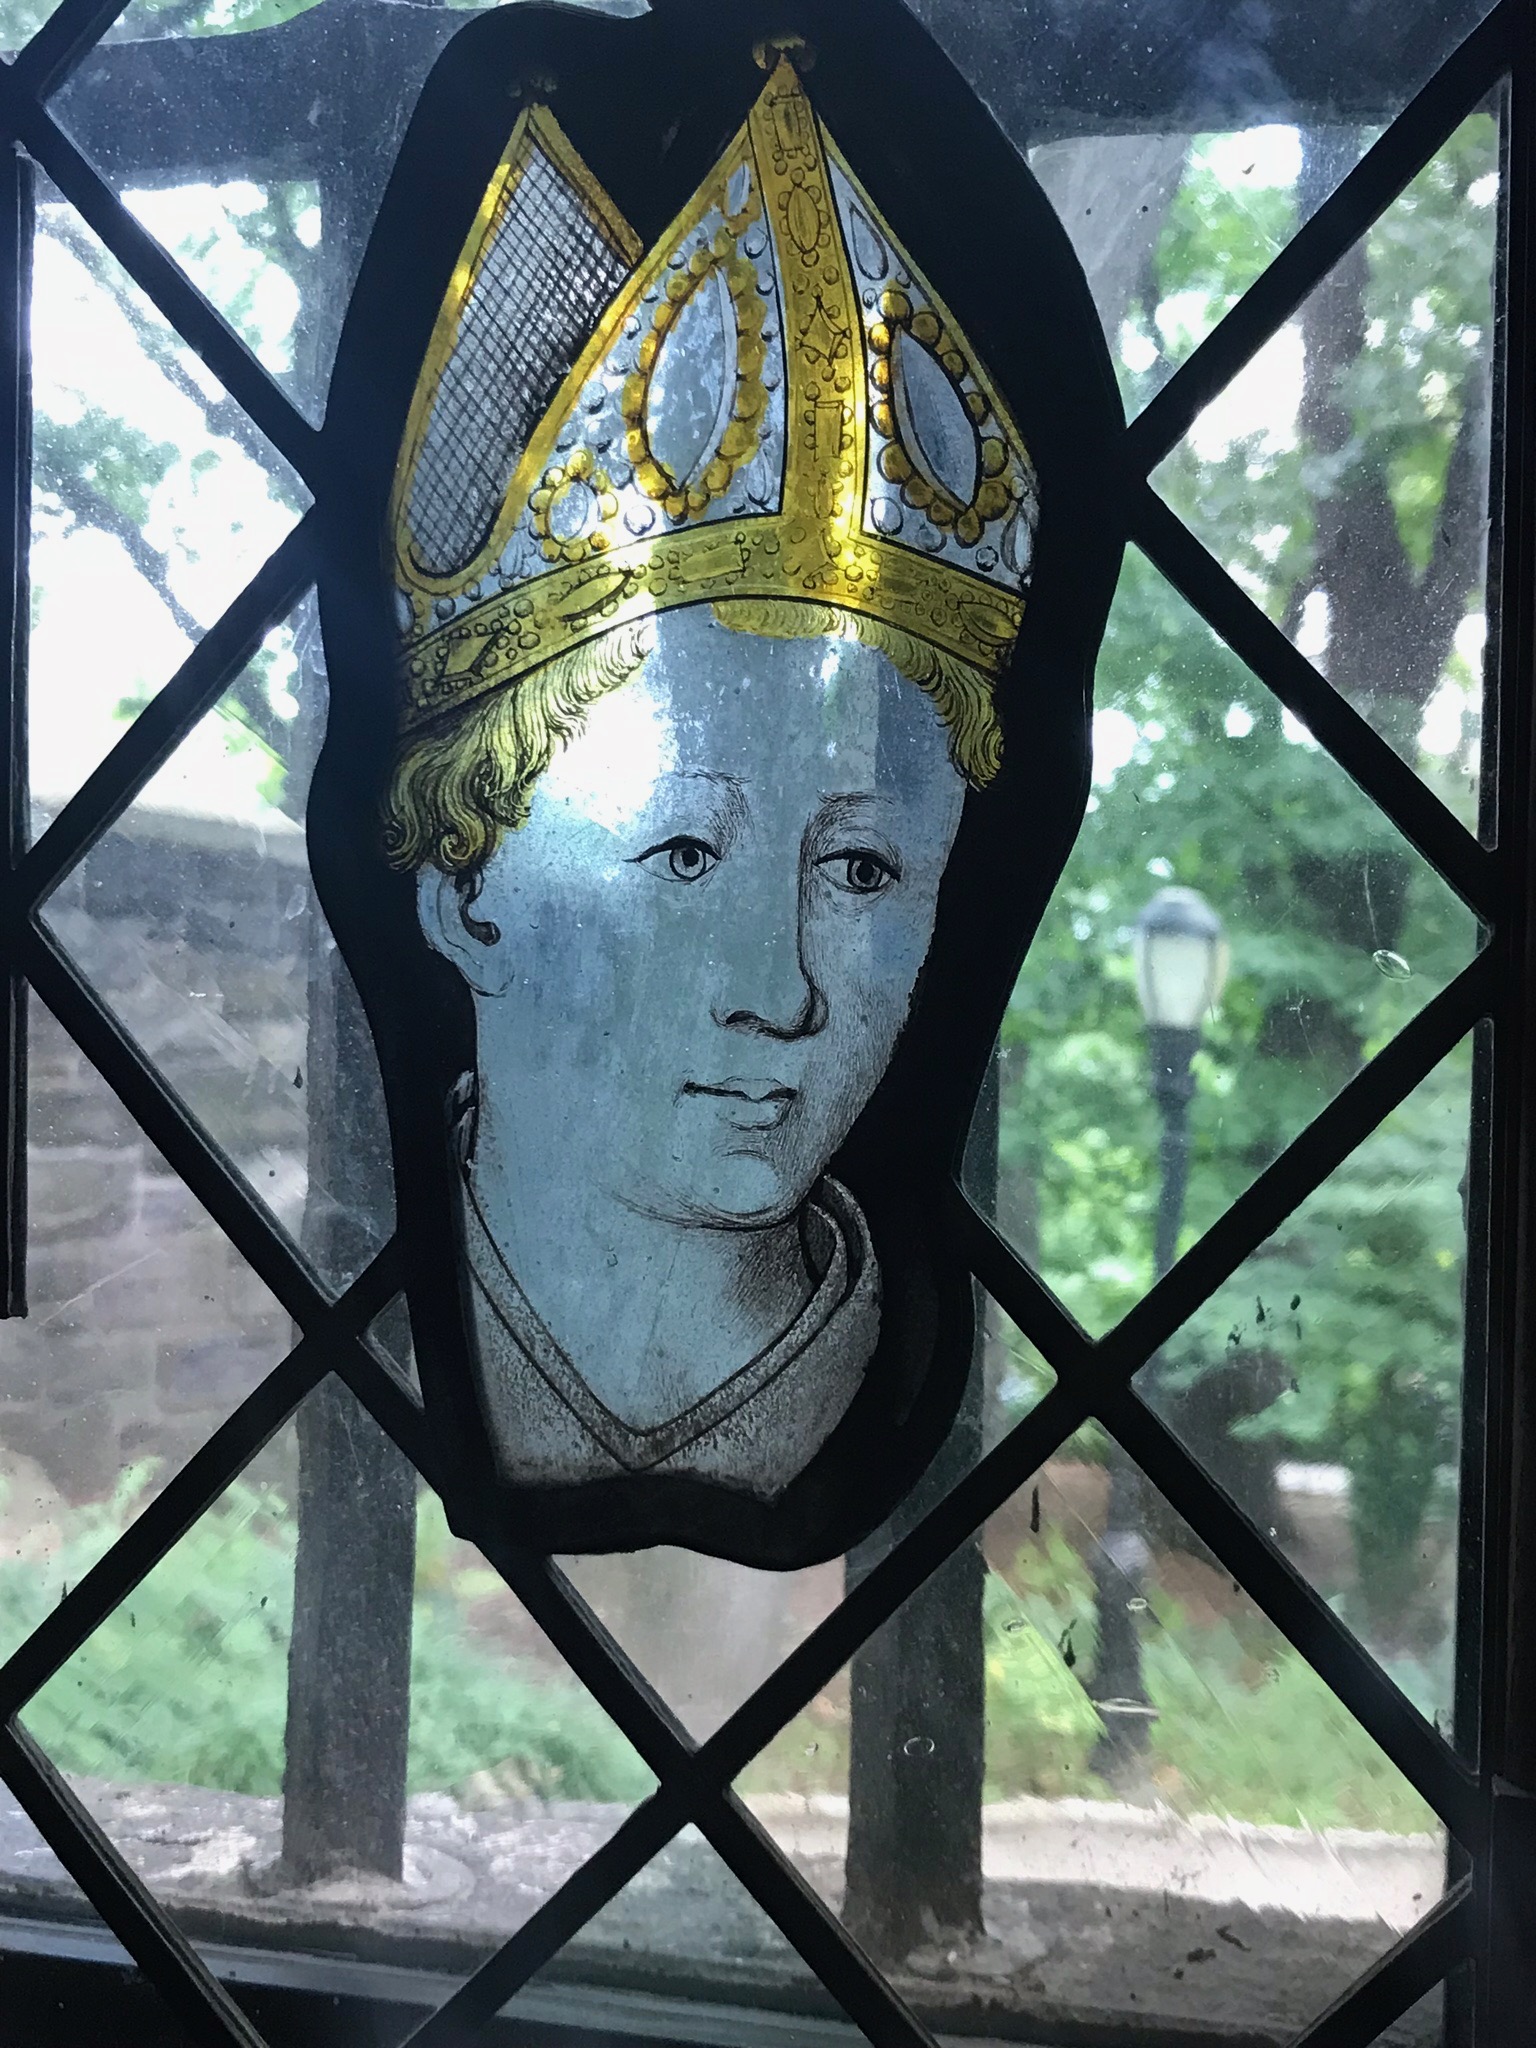
I think my love of performing (and my ego) was born in second grade. That’s when I joined the adult choir in my church. The religious statues and stained glass windows in church captured my attention in between the songs of mass.
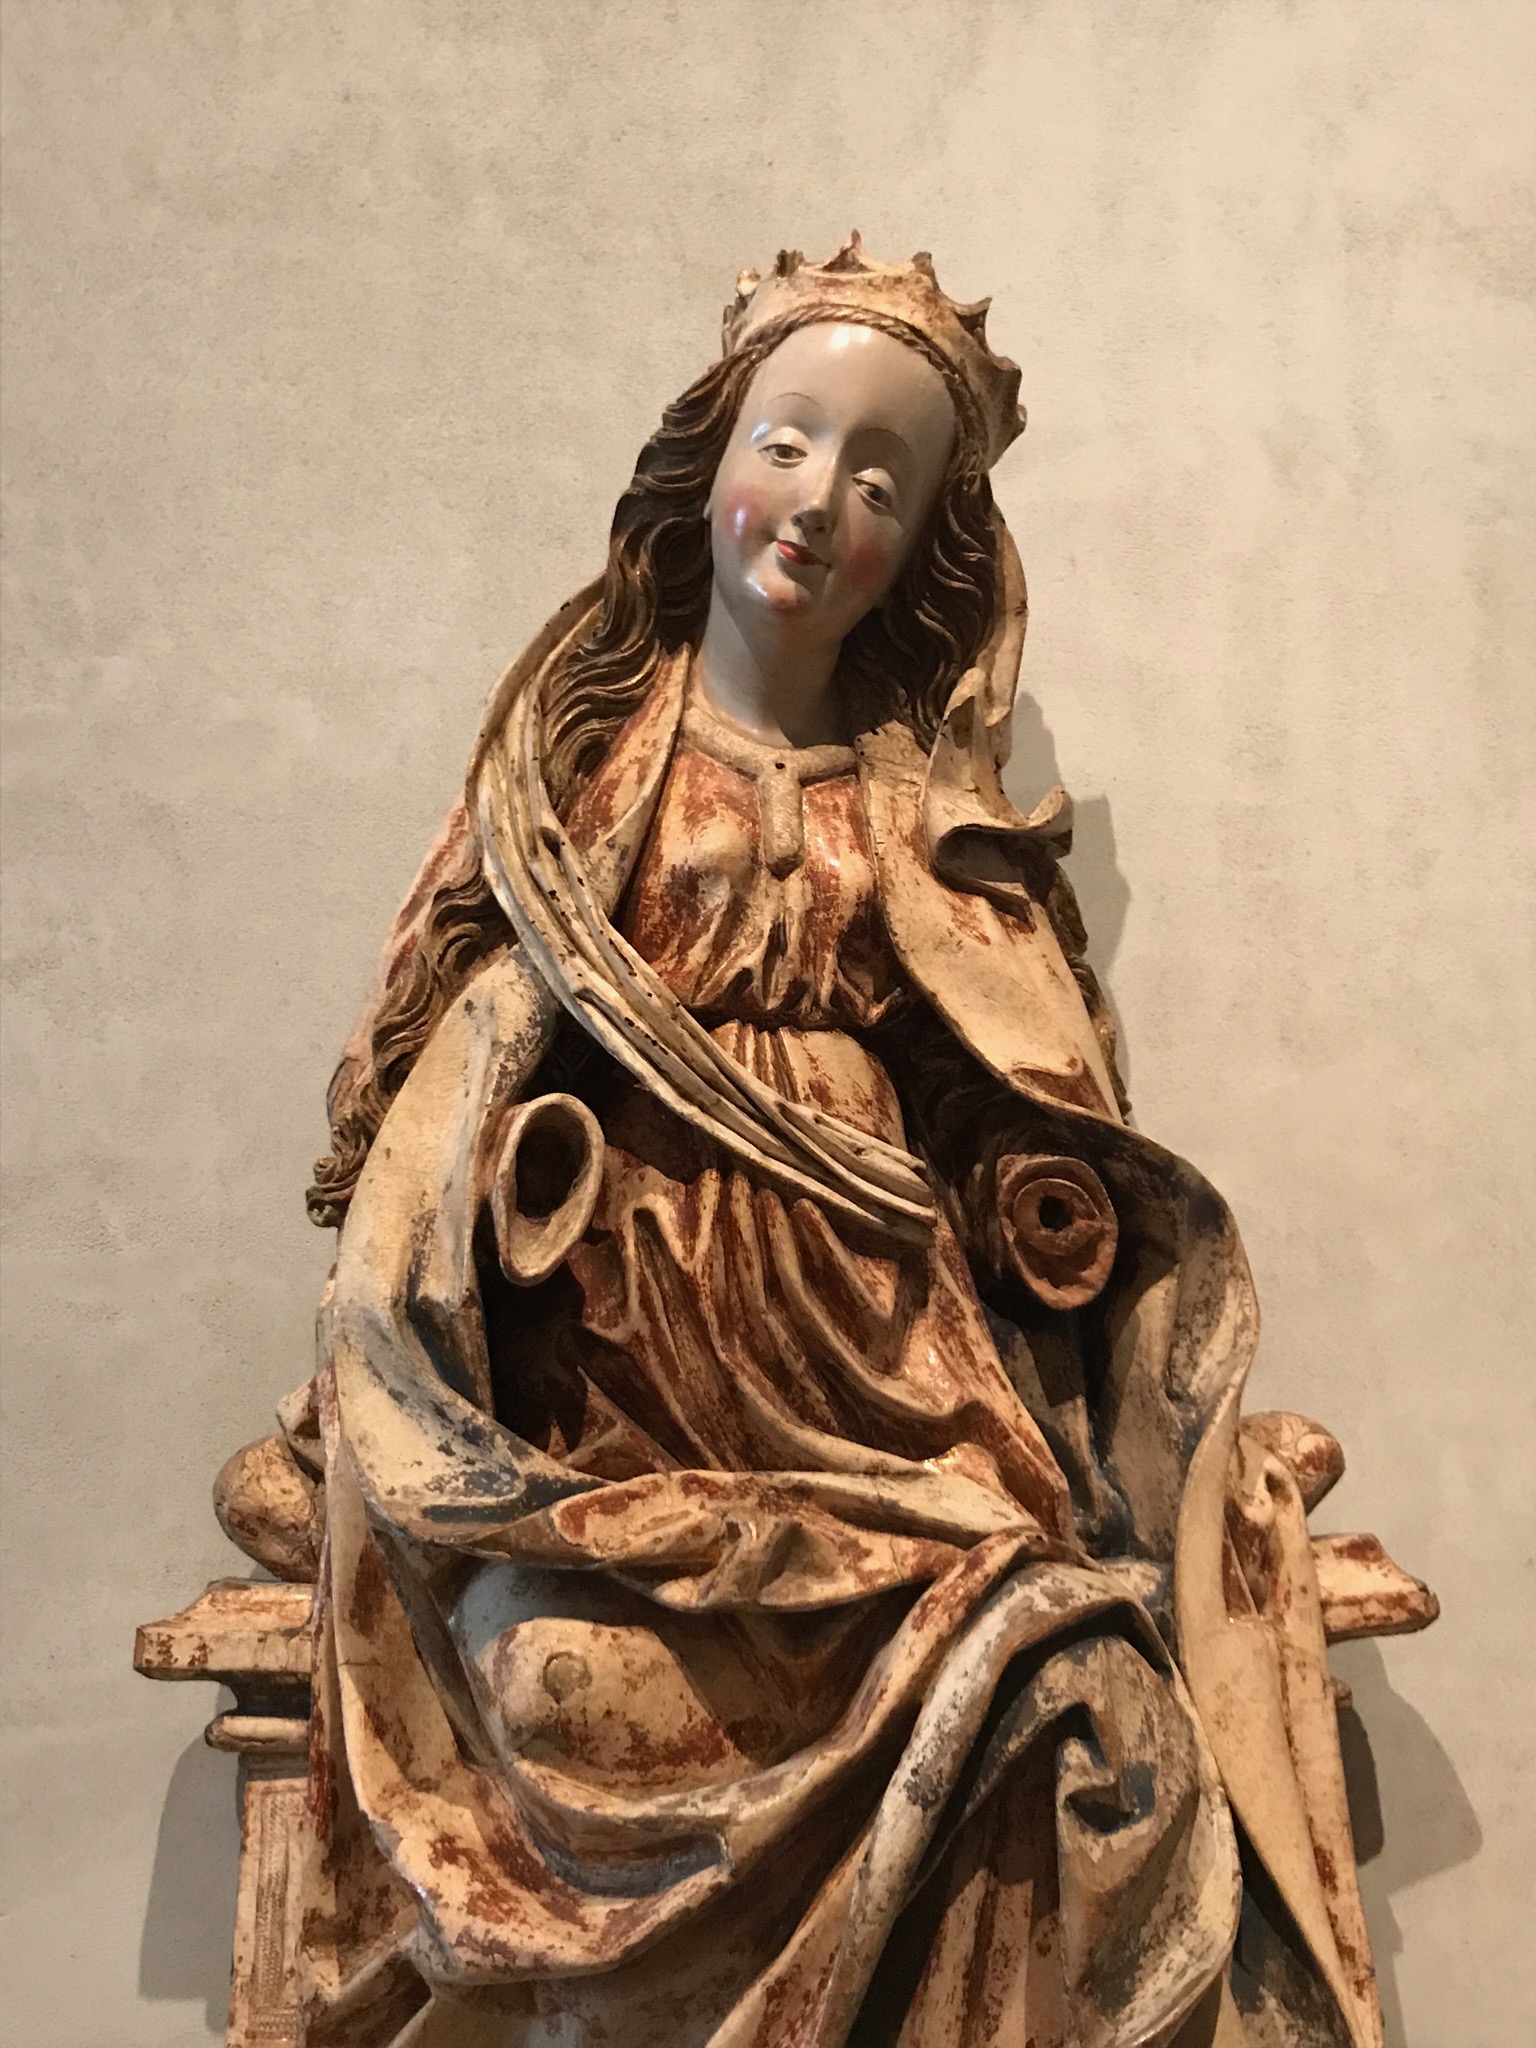
I fantasized about being canonized as a saint… a singing saint. I could see myself growing up to be Sister Lisa, the Singing Nun. As Saint/Angel/Sister Lisa, I wondered what would my particular gift to my faith be? Would I inspire a young girl someday like the statues of Mary inspired me? Would I sing in a choir at the Vatican one day?
My Catholic upbringing instilled in me a vibrant sense of spirituality — it gave me a solid relationship with God, and a community of childhood best friends from Catholic school. Obviously, a life in the Church was not intended for me, but today I can see how my God given gifts let me put my finger prints all over other areas of service and the performing arts. As an adult, my spiritual practices may have shifted, but all of those other gifts are intact.
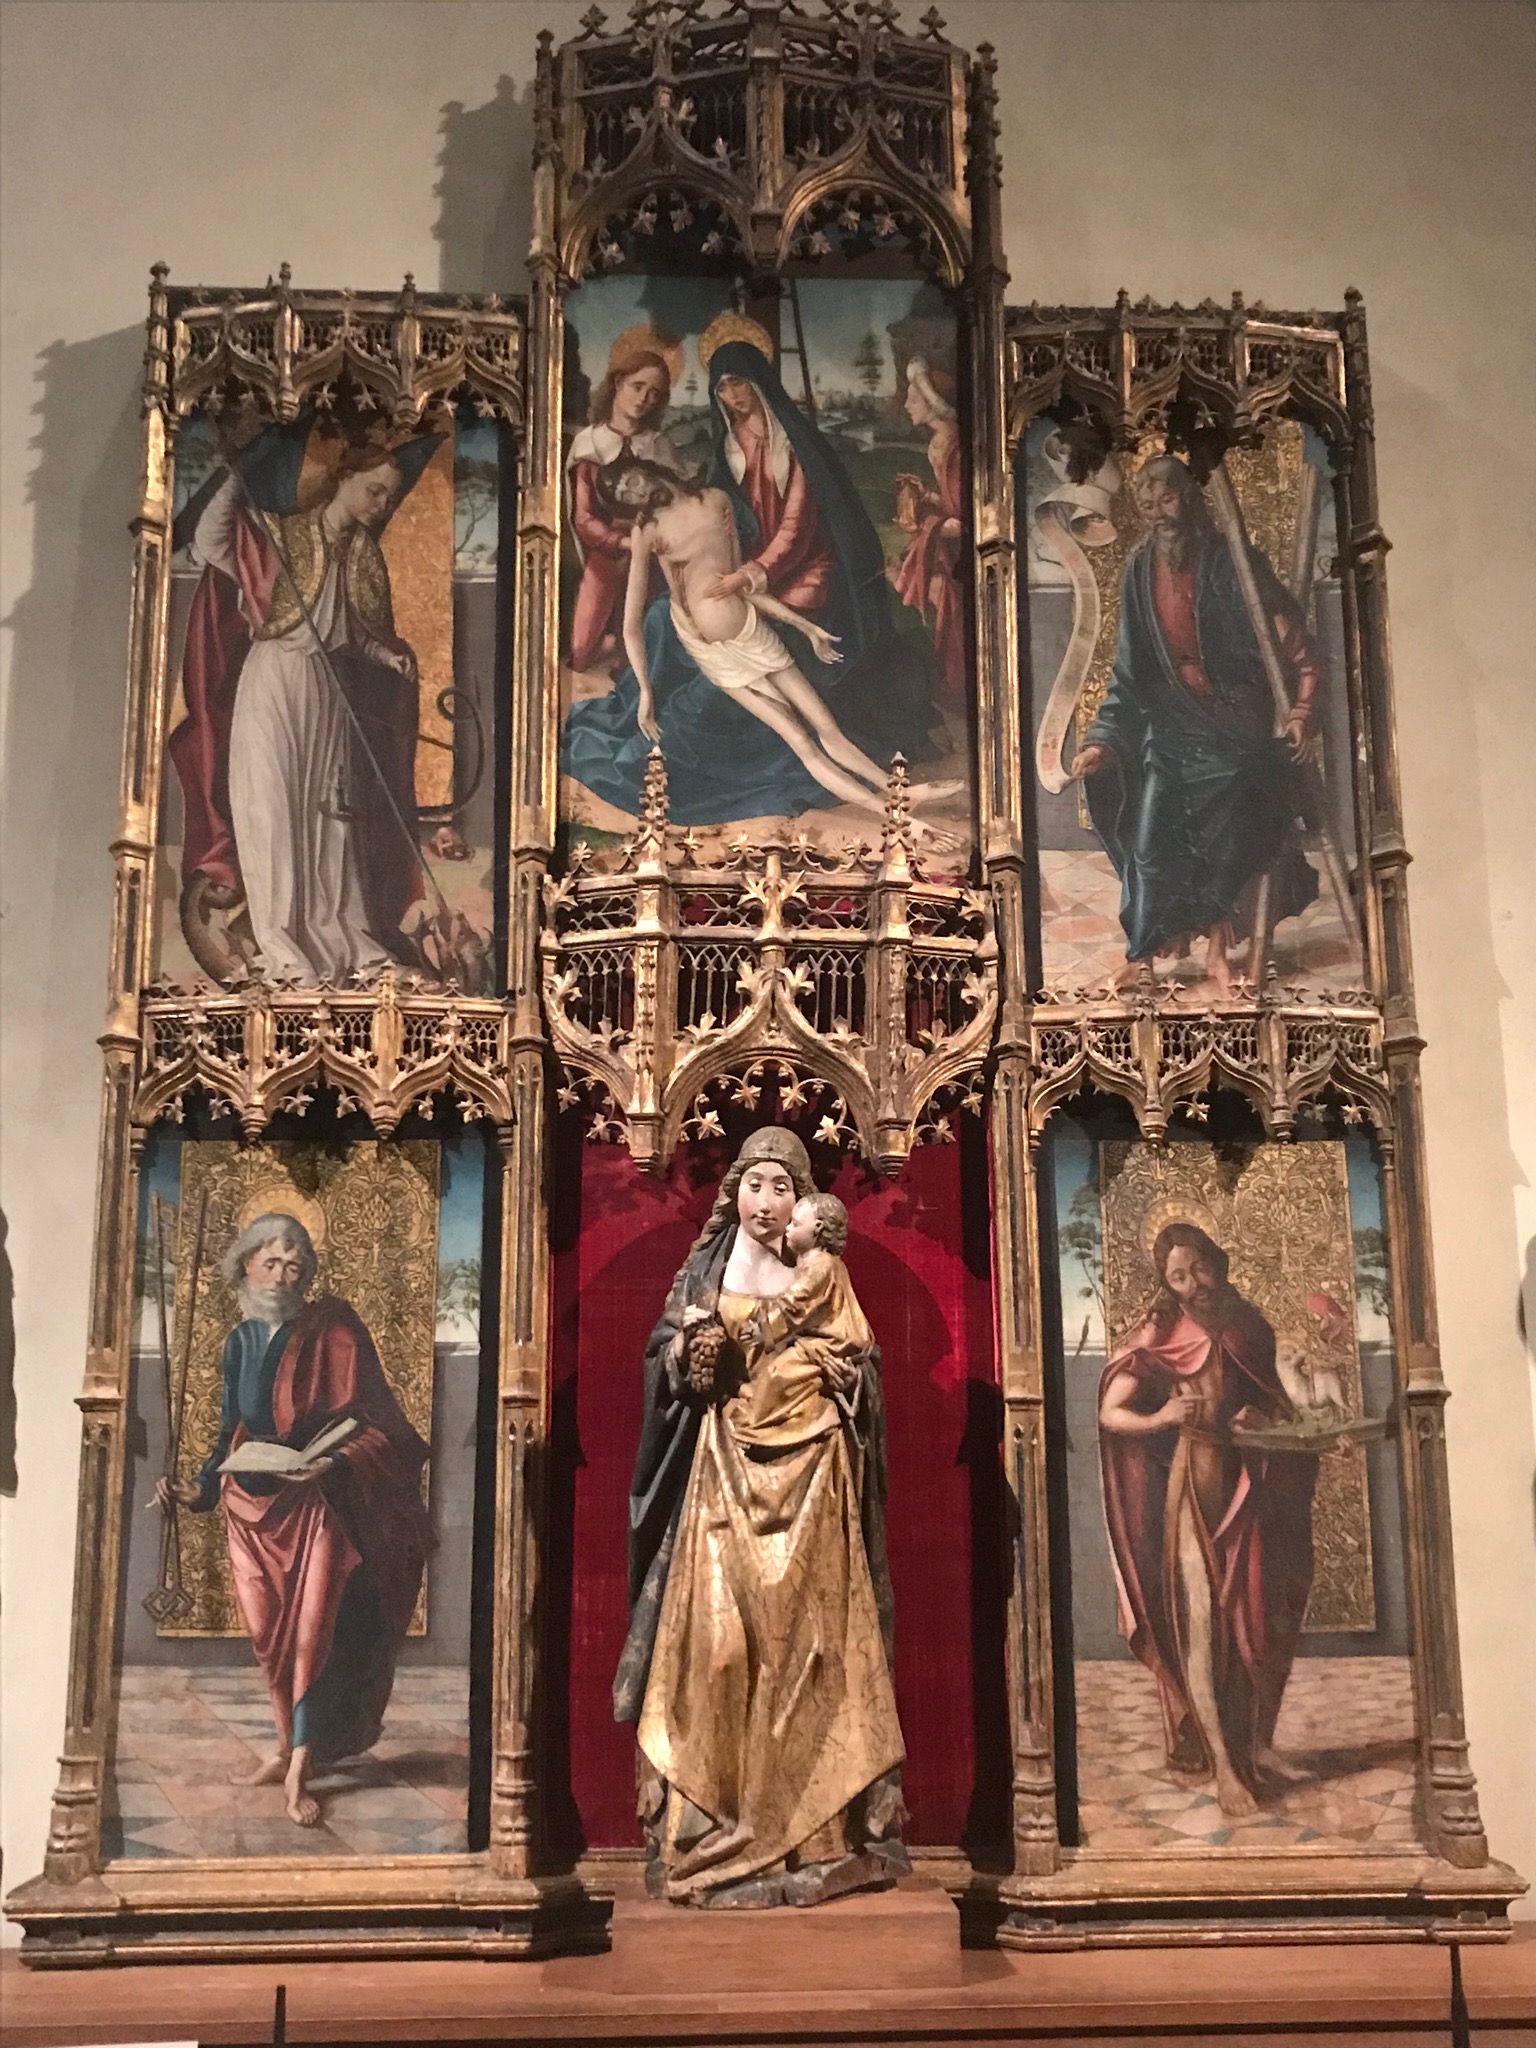
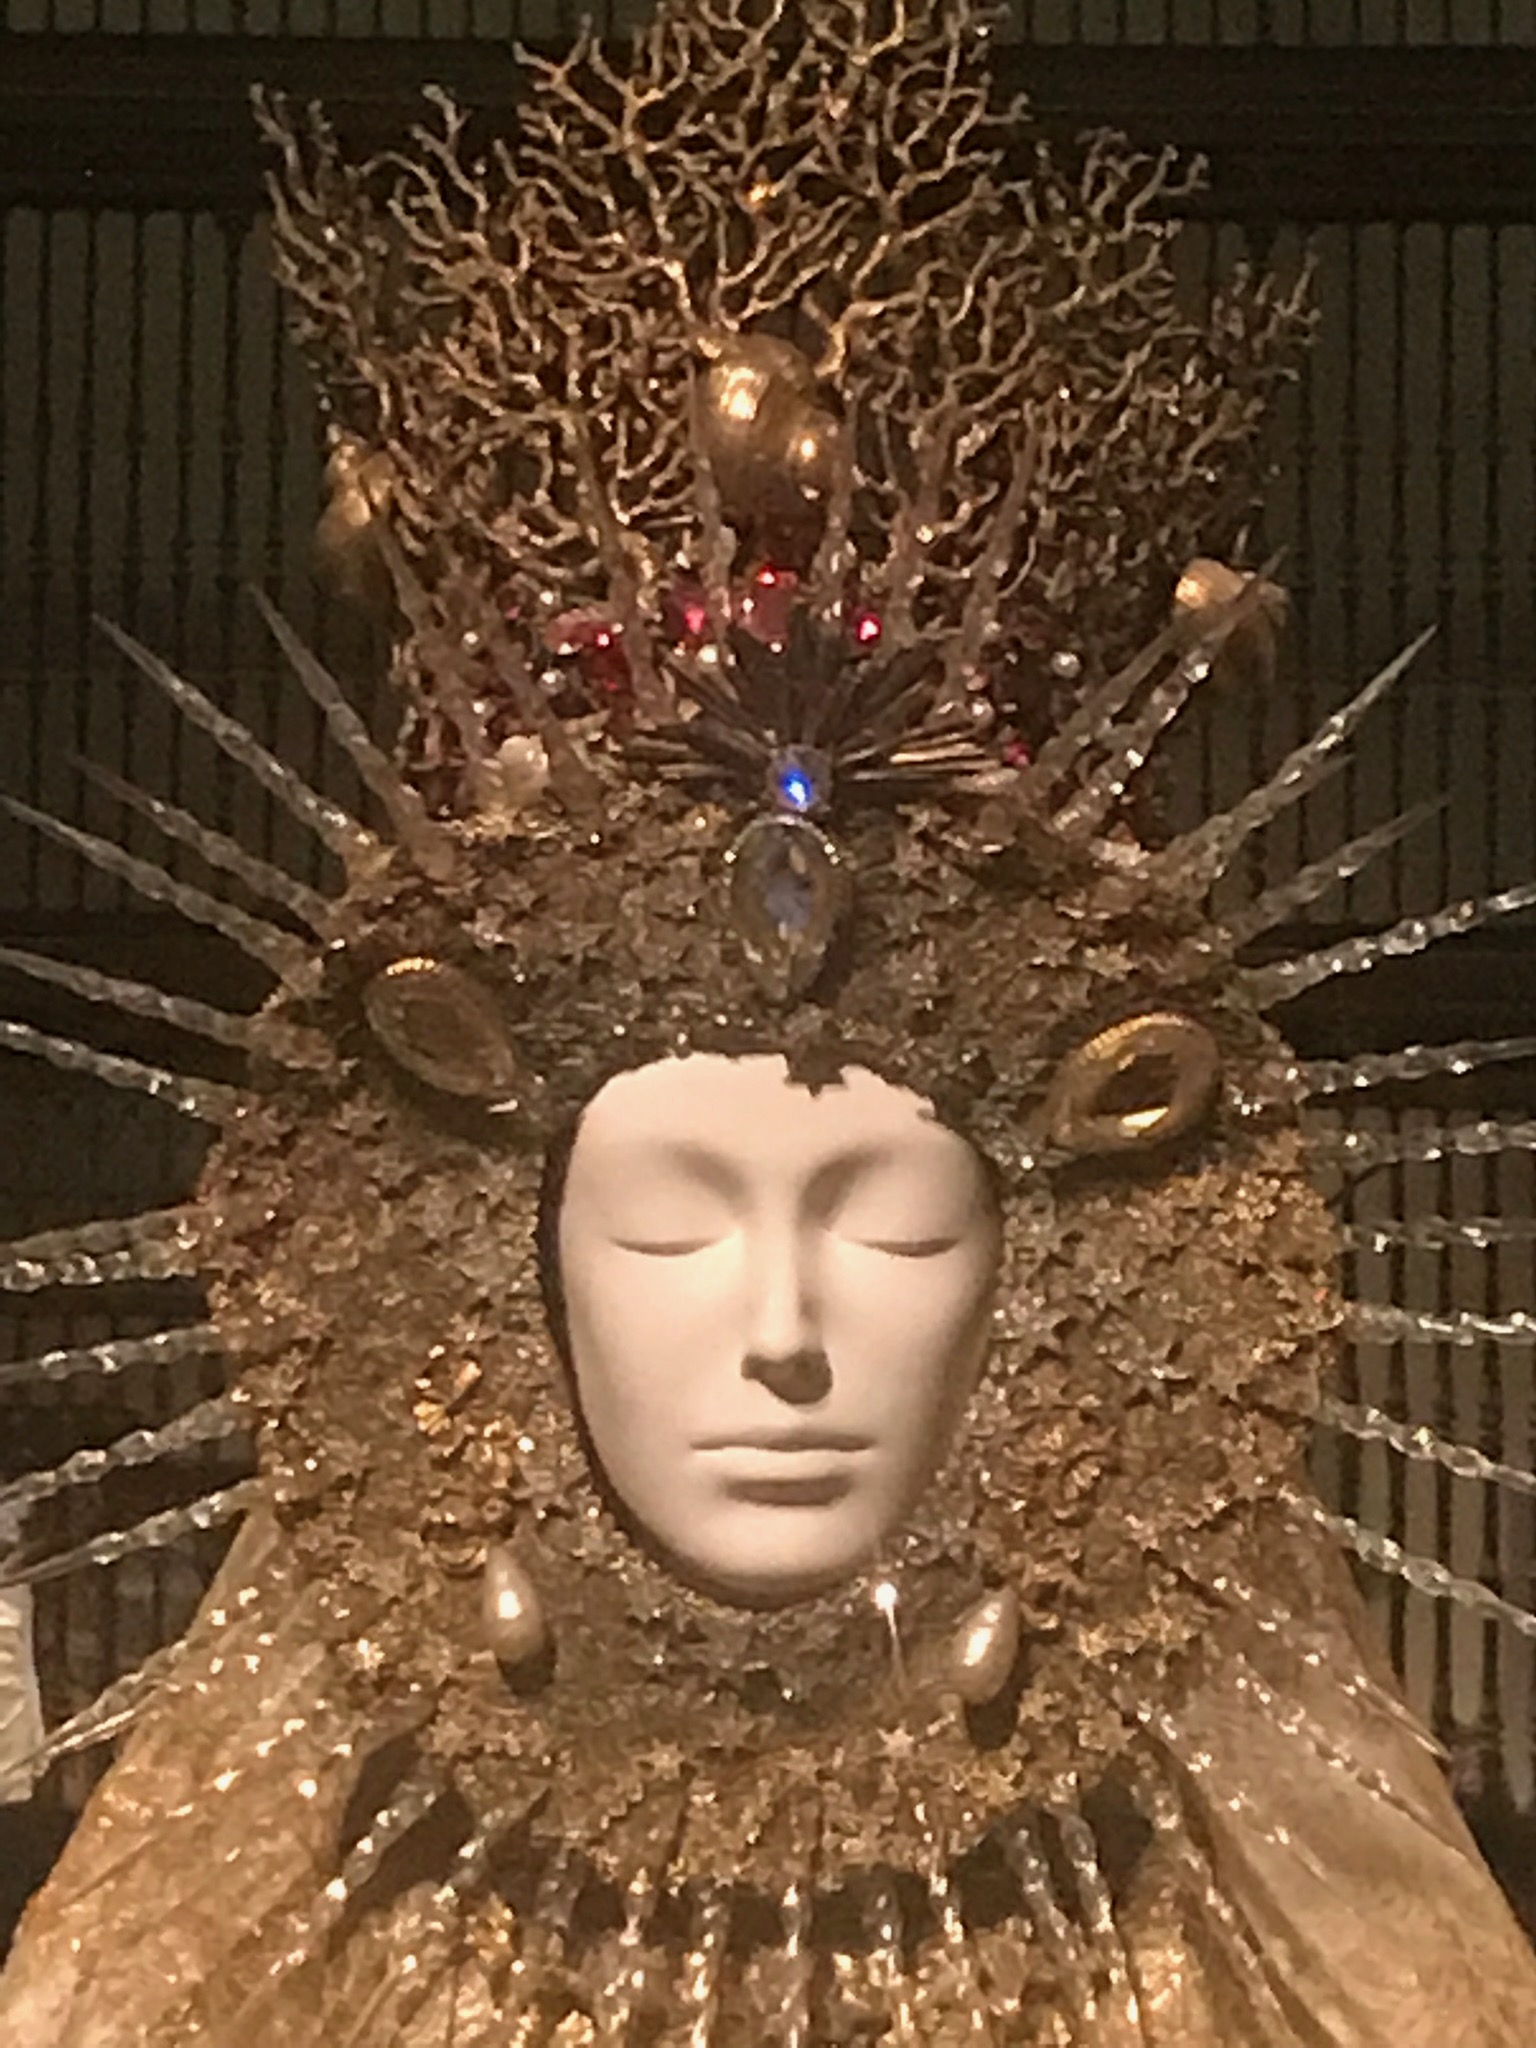
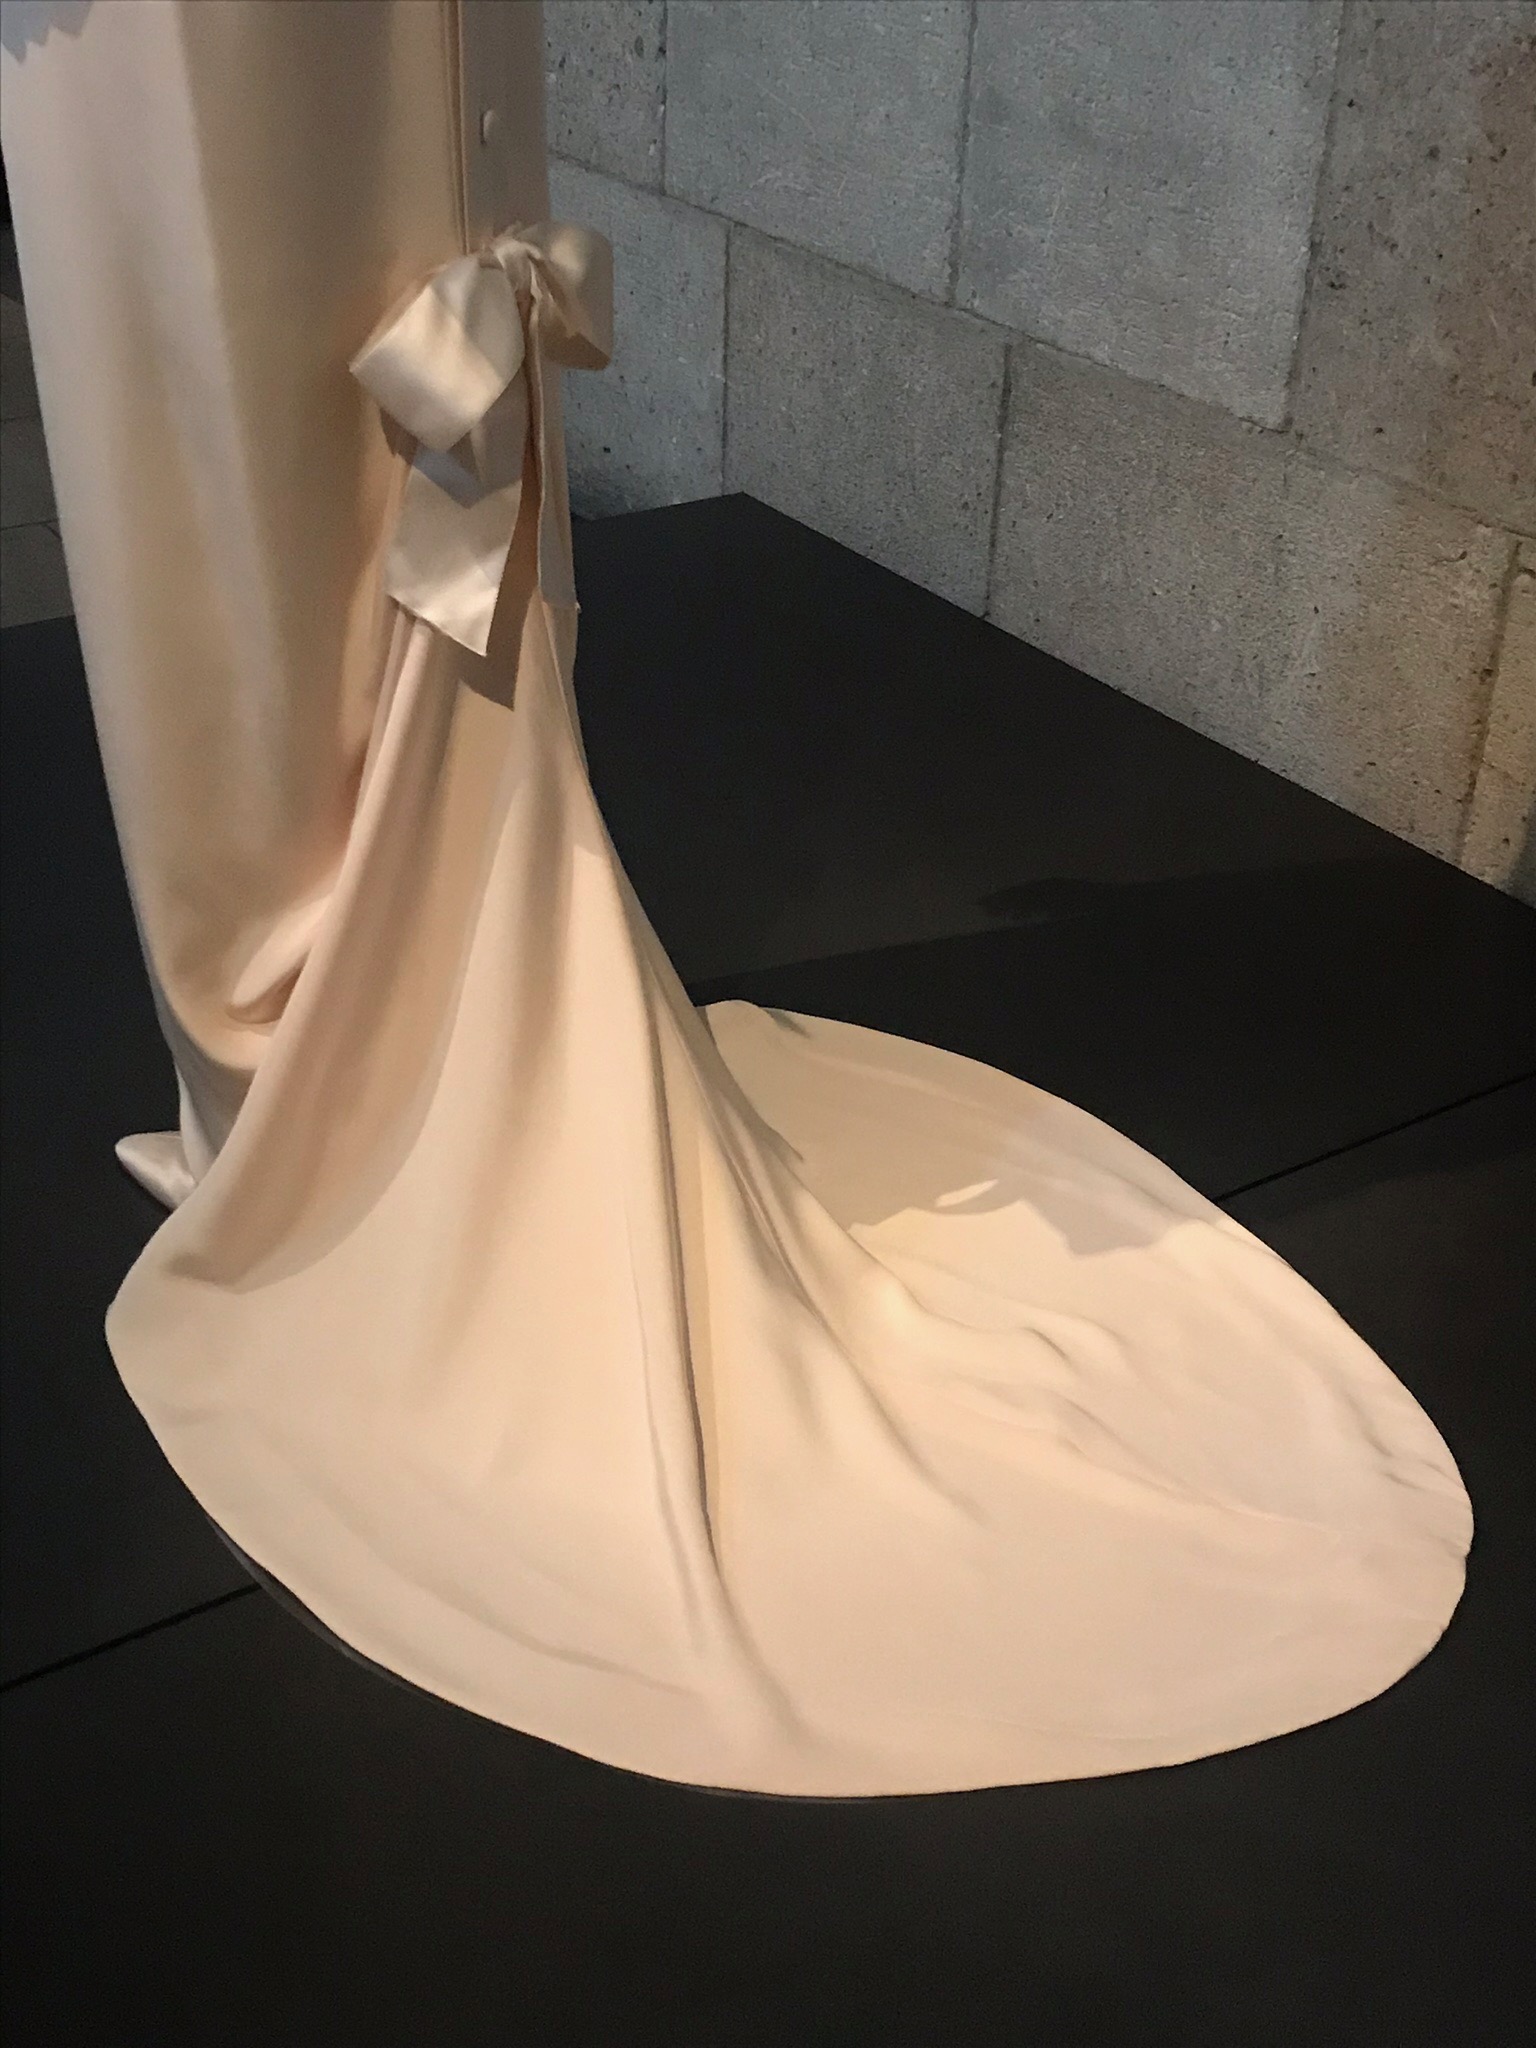
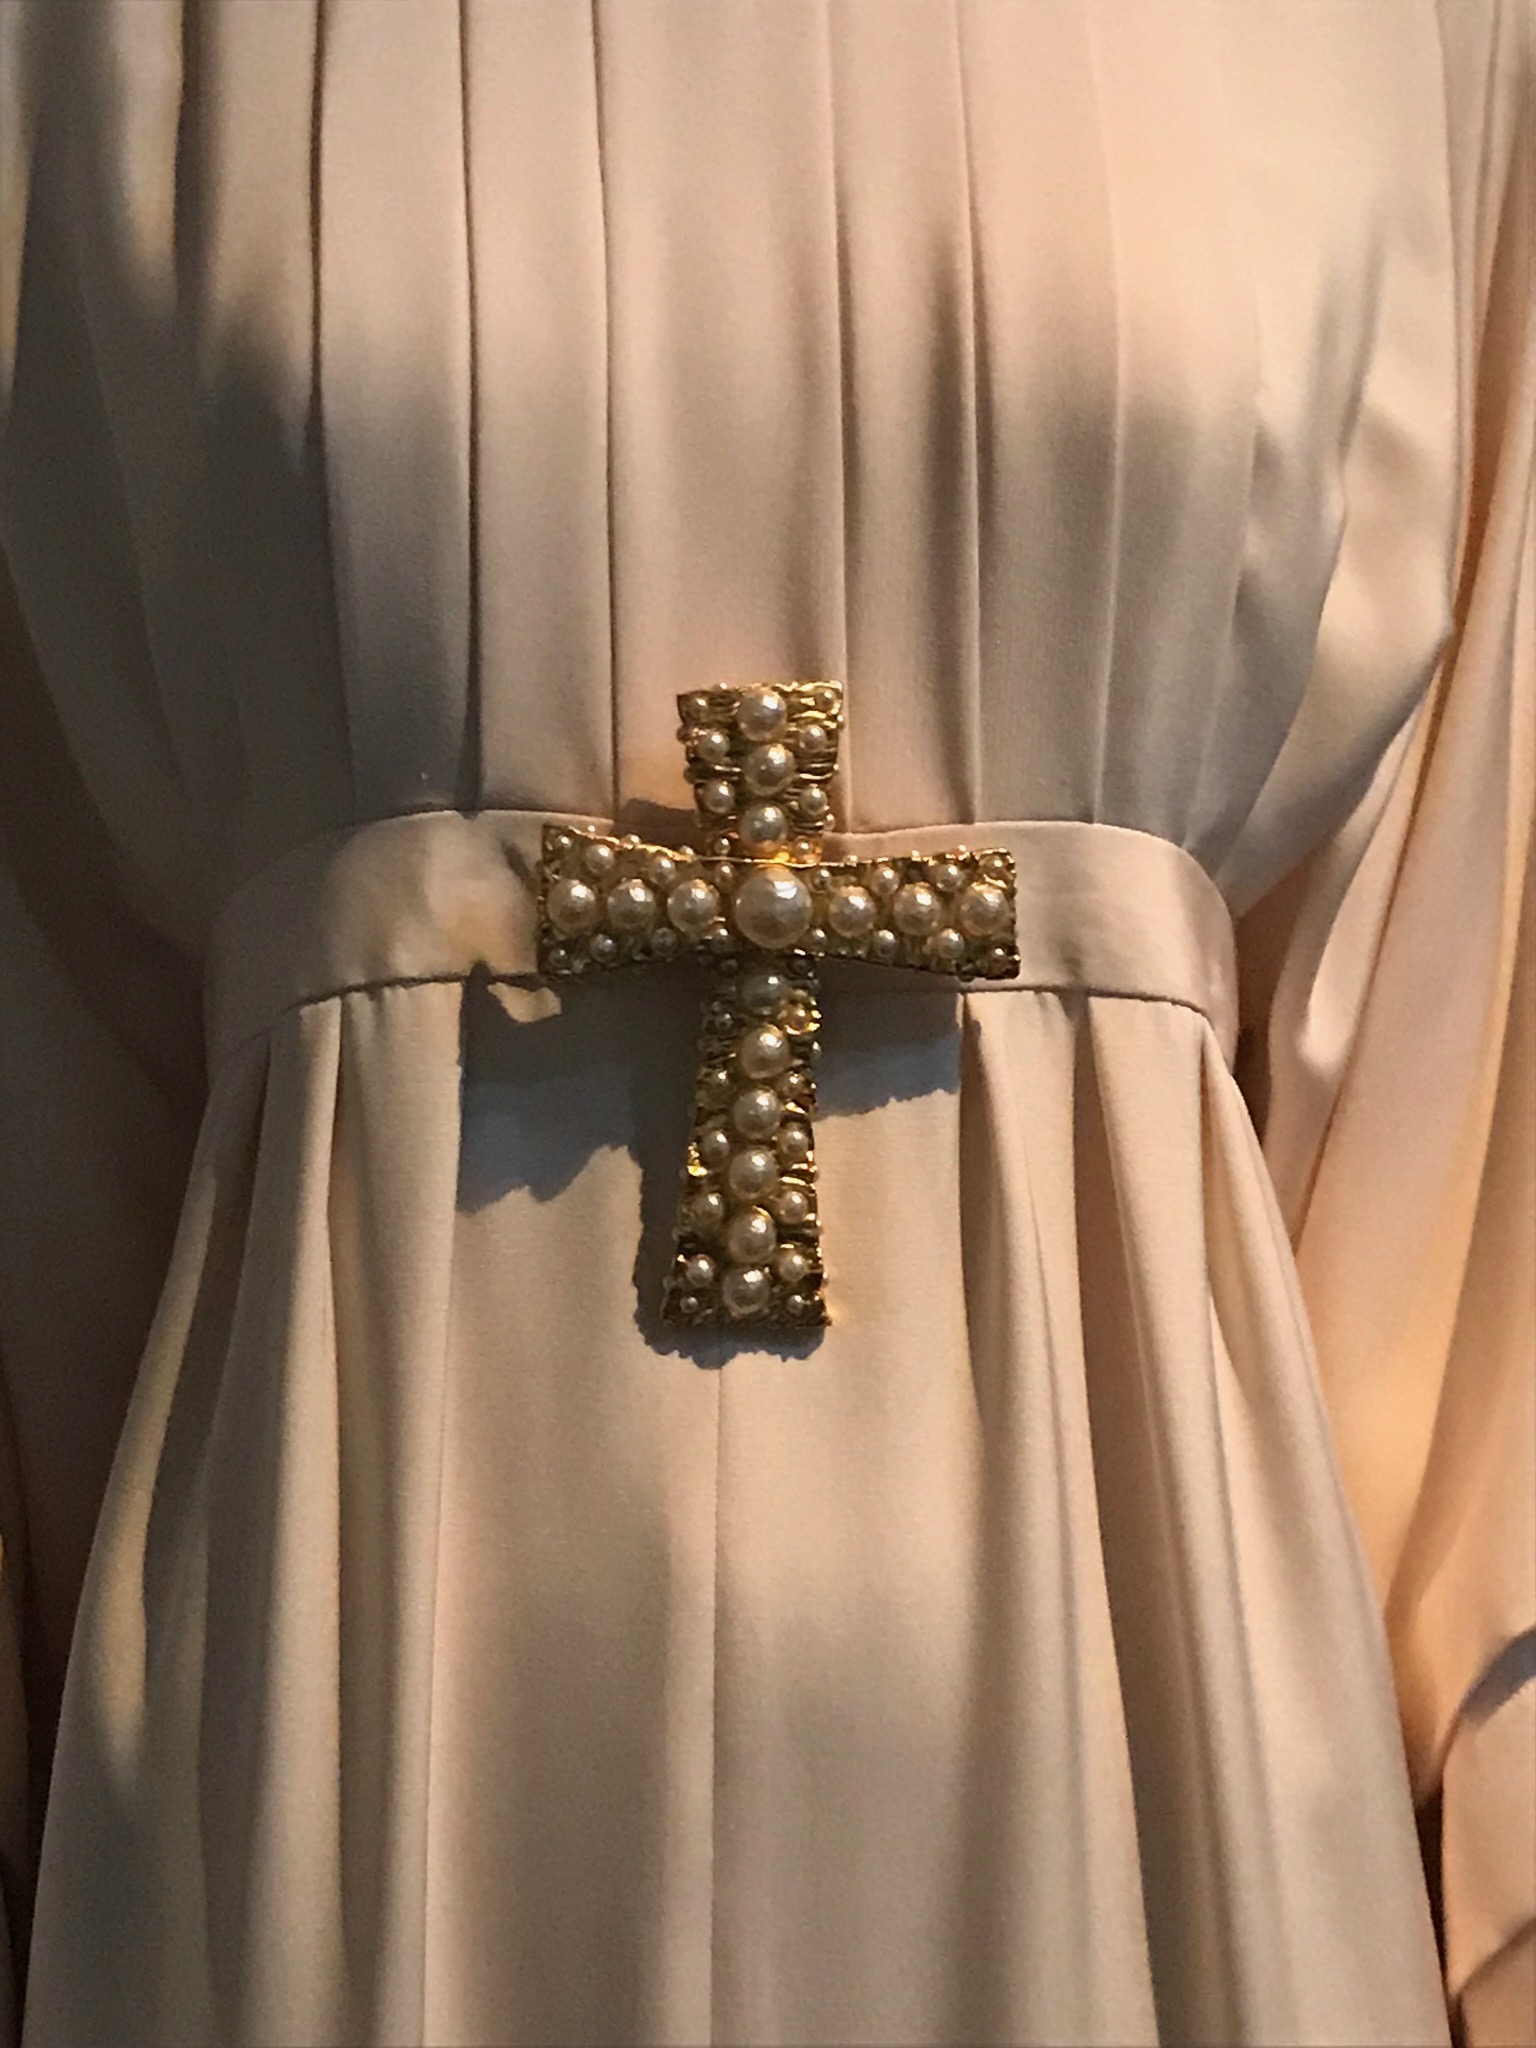
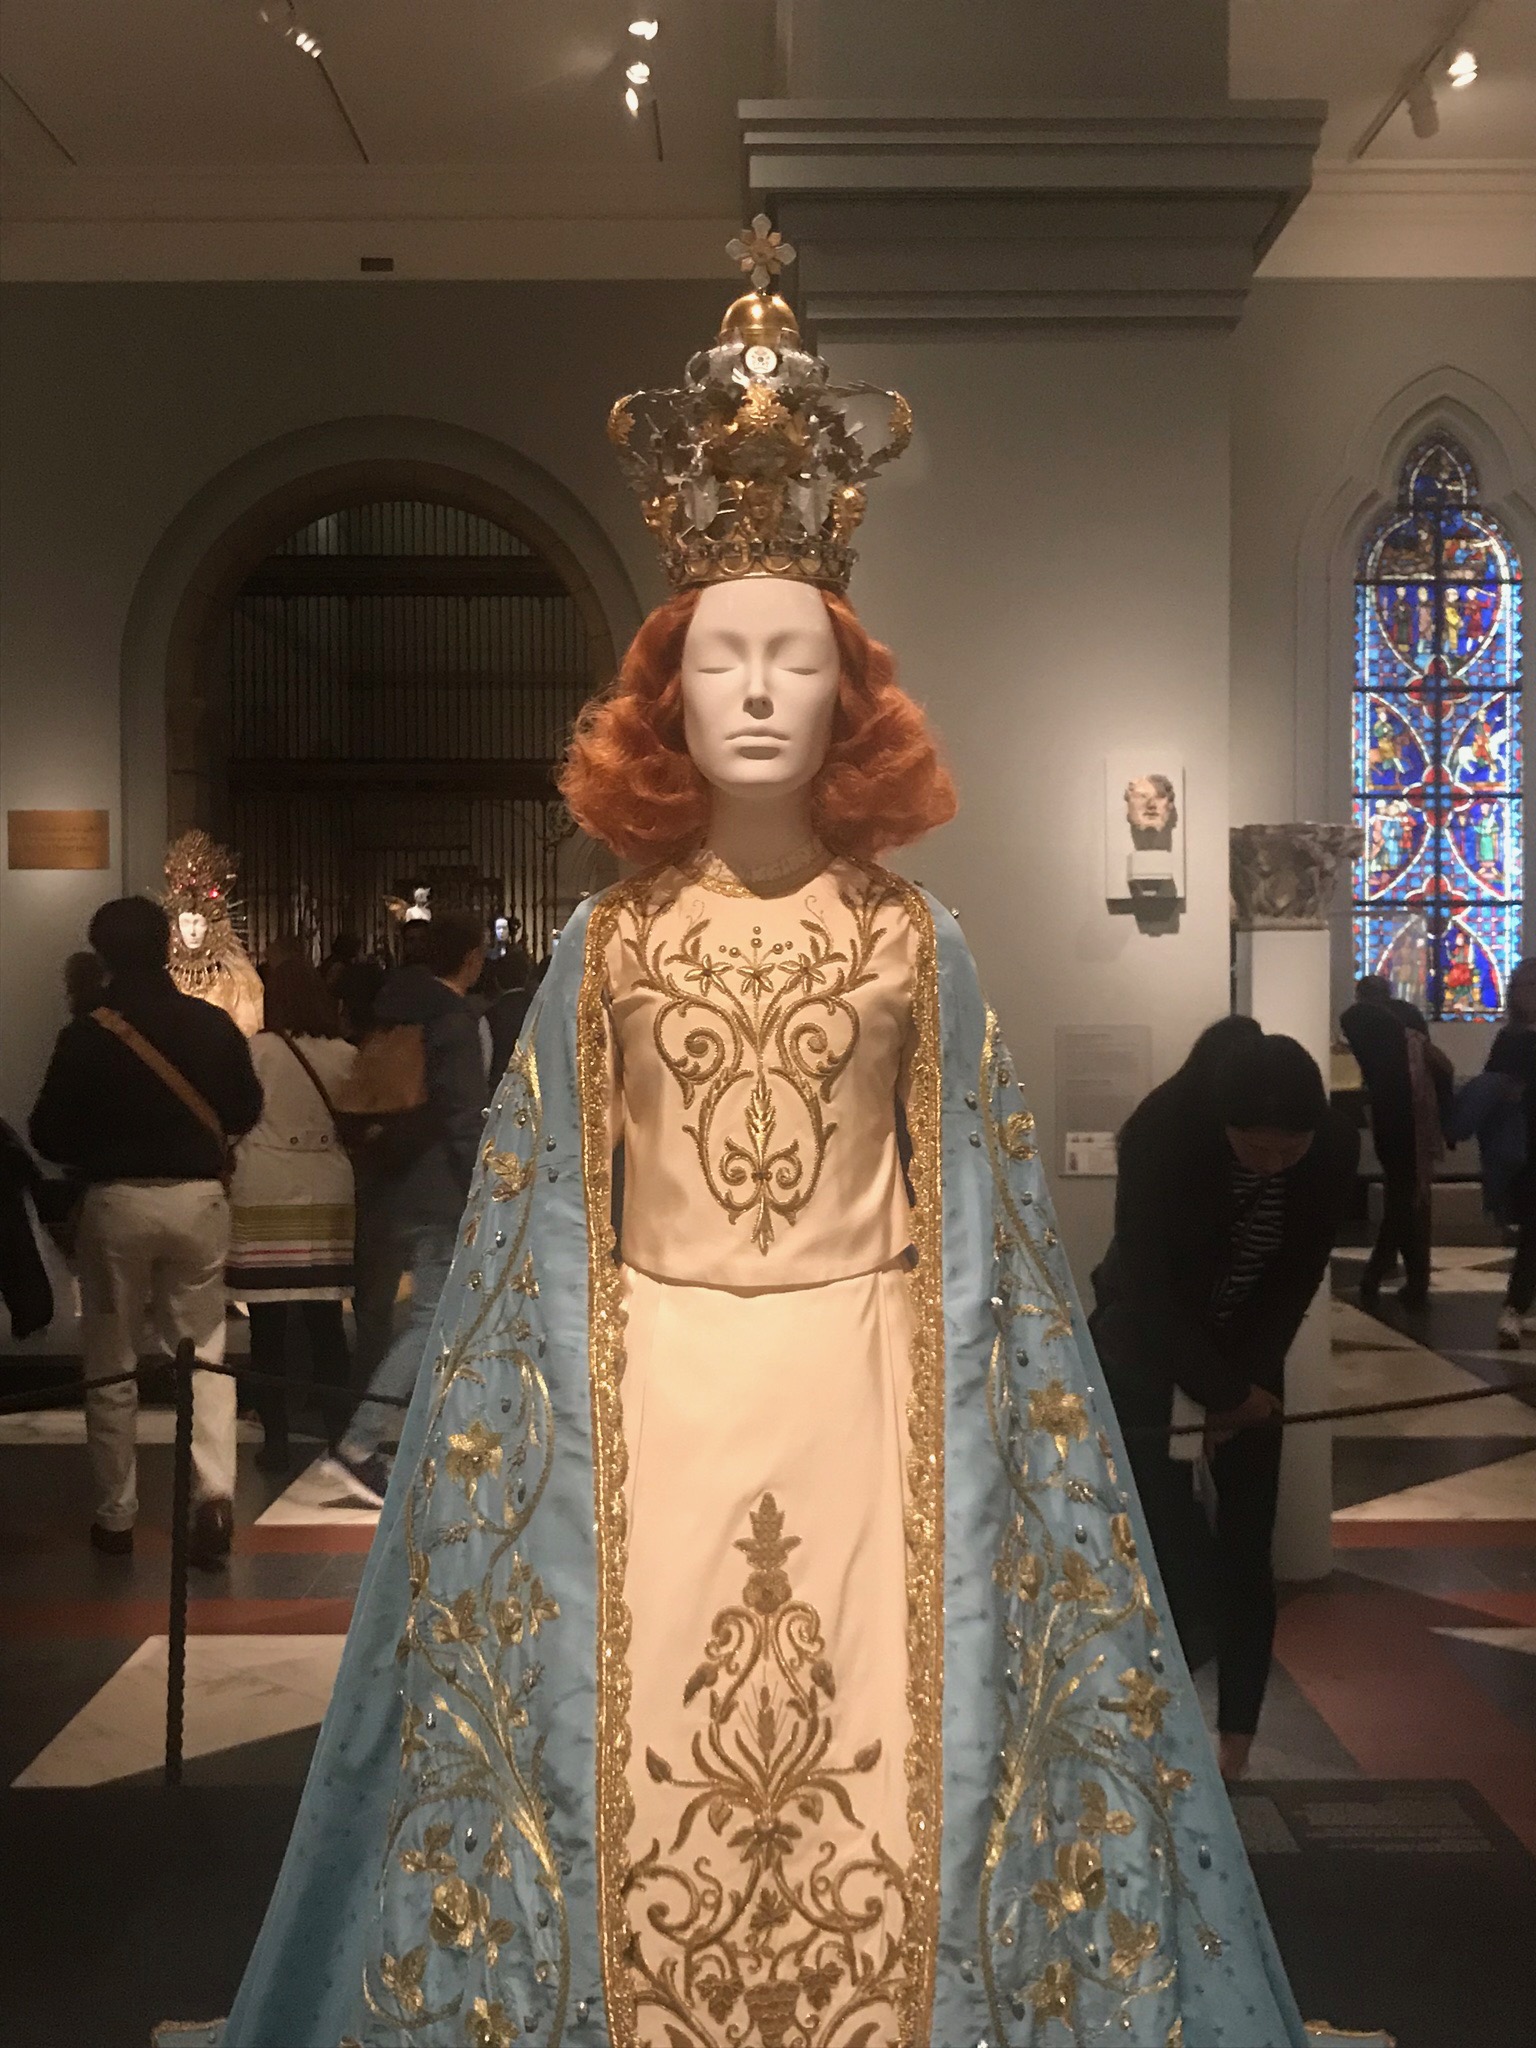
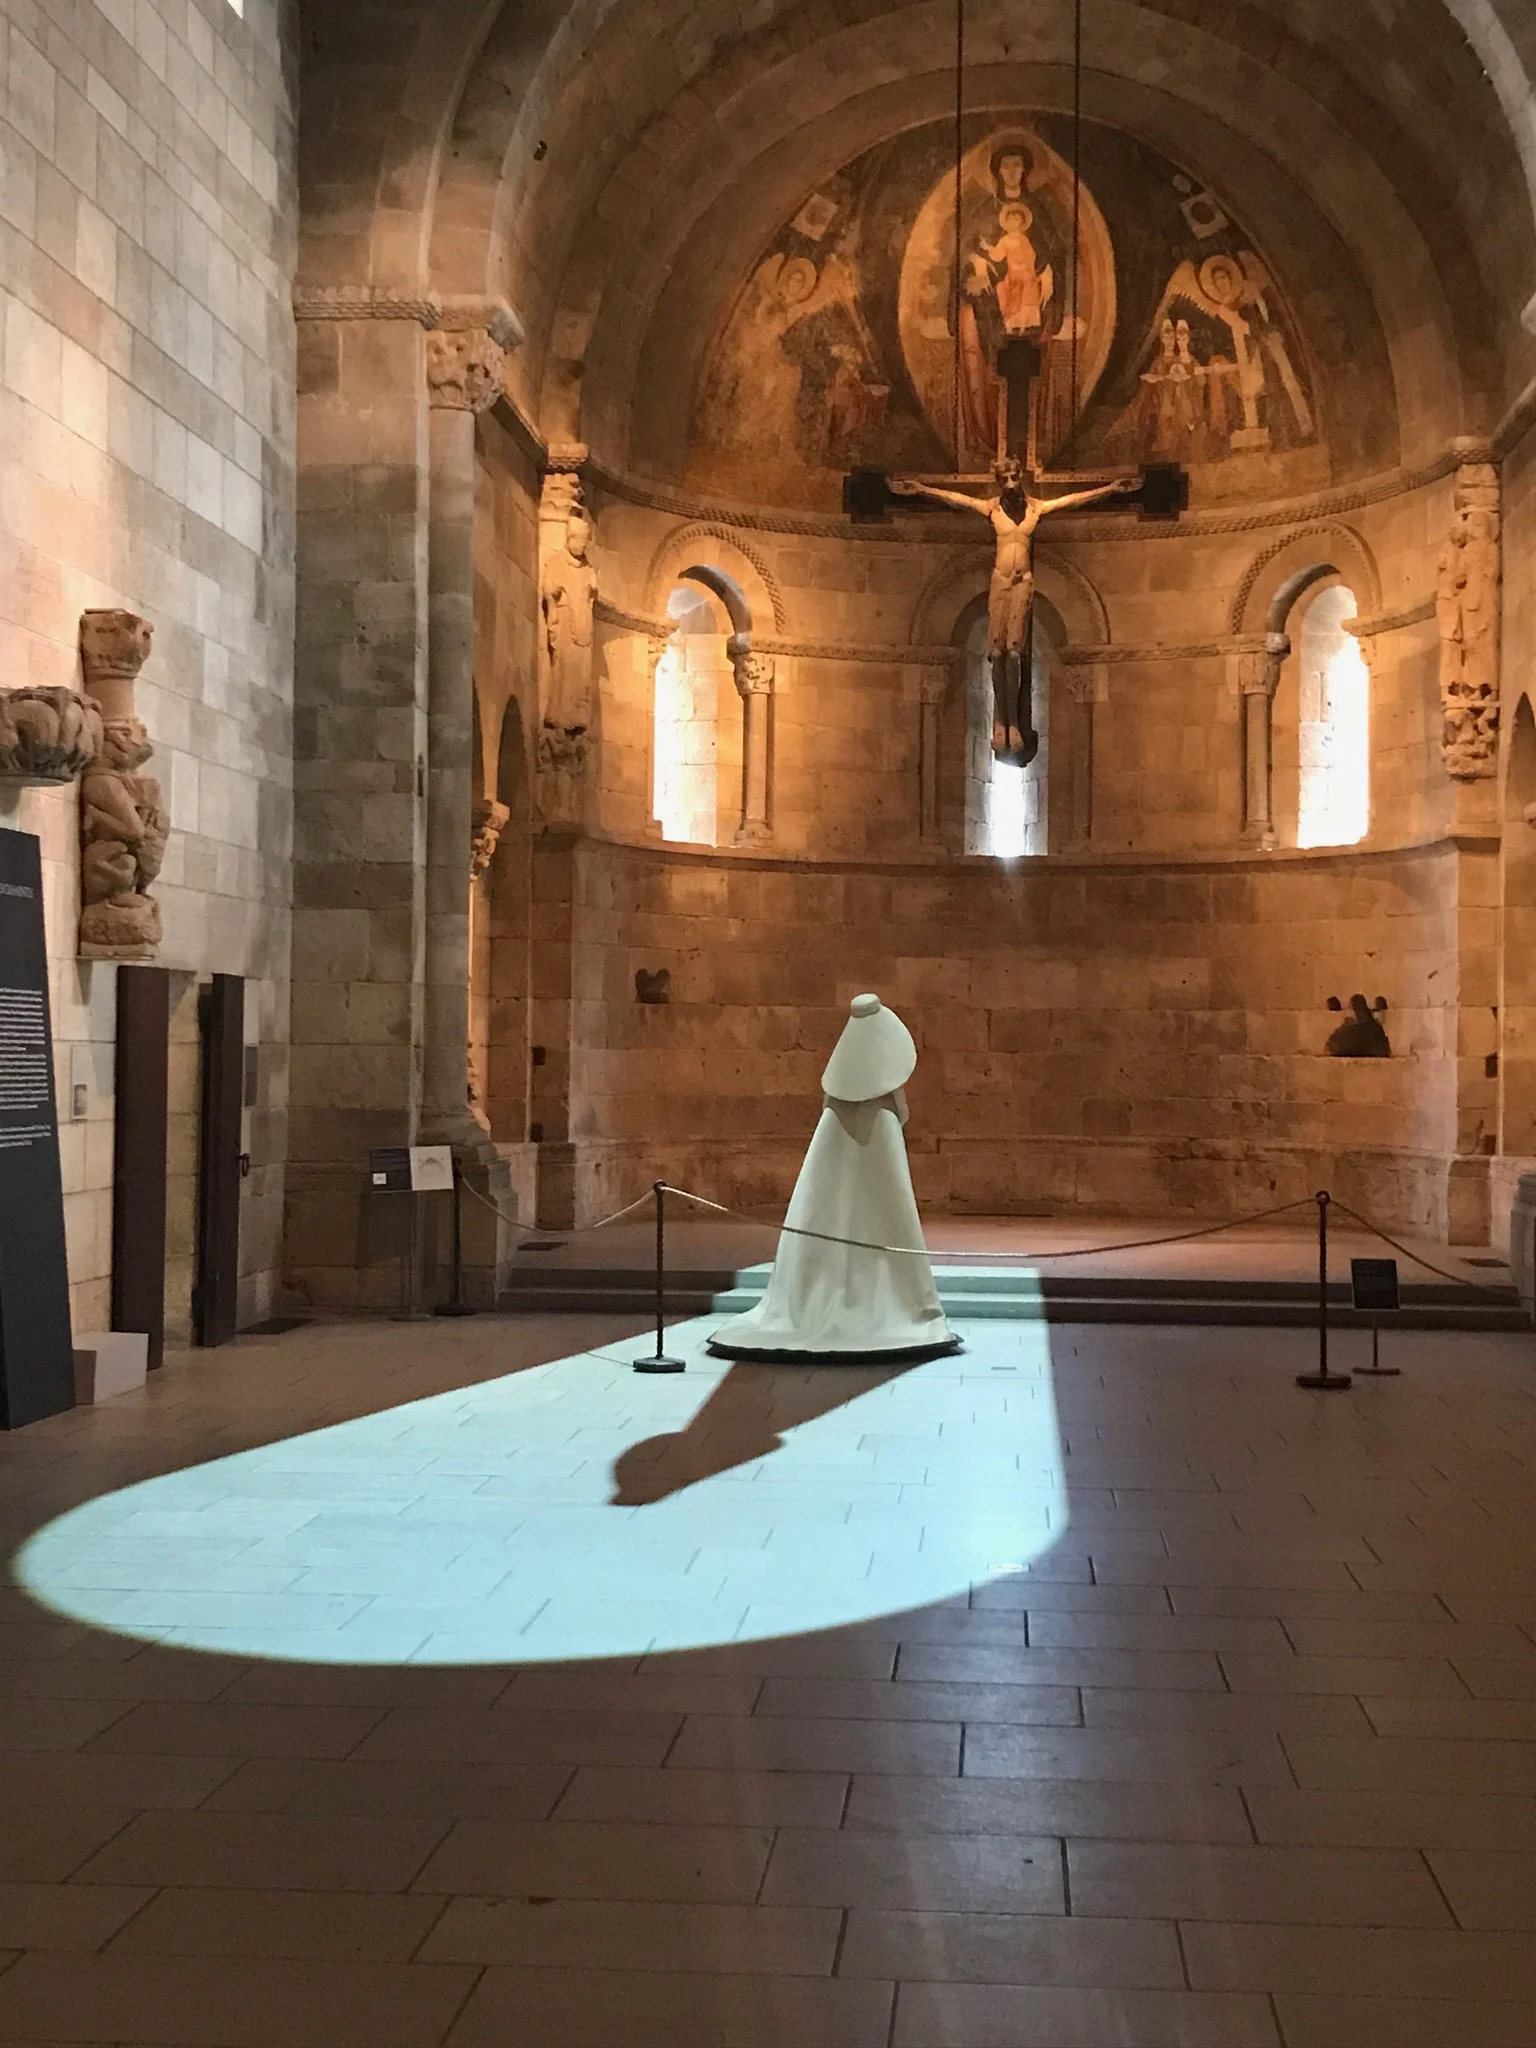
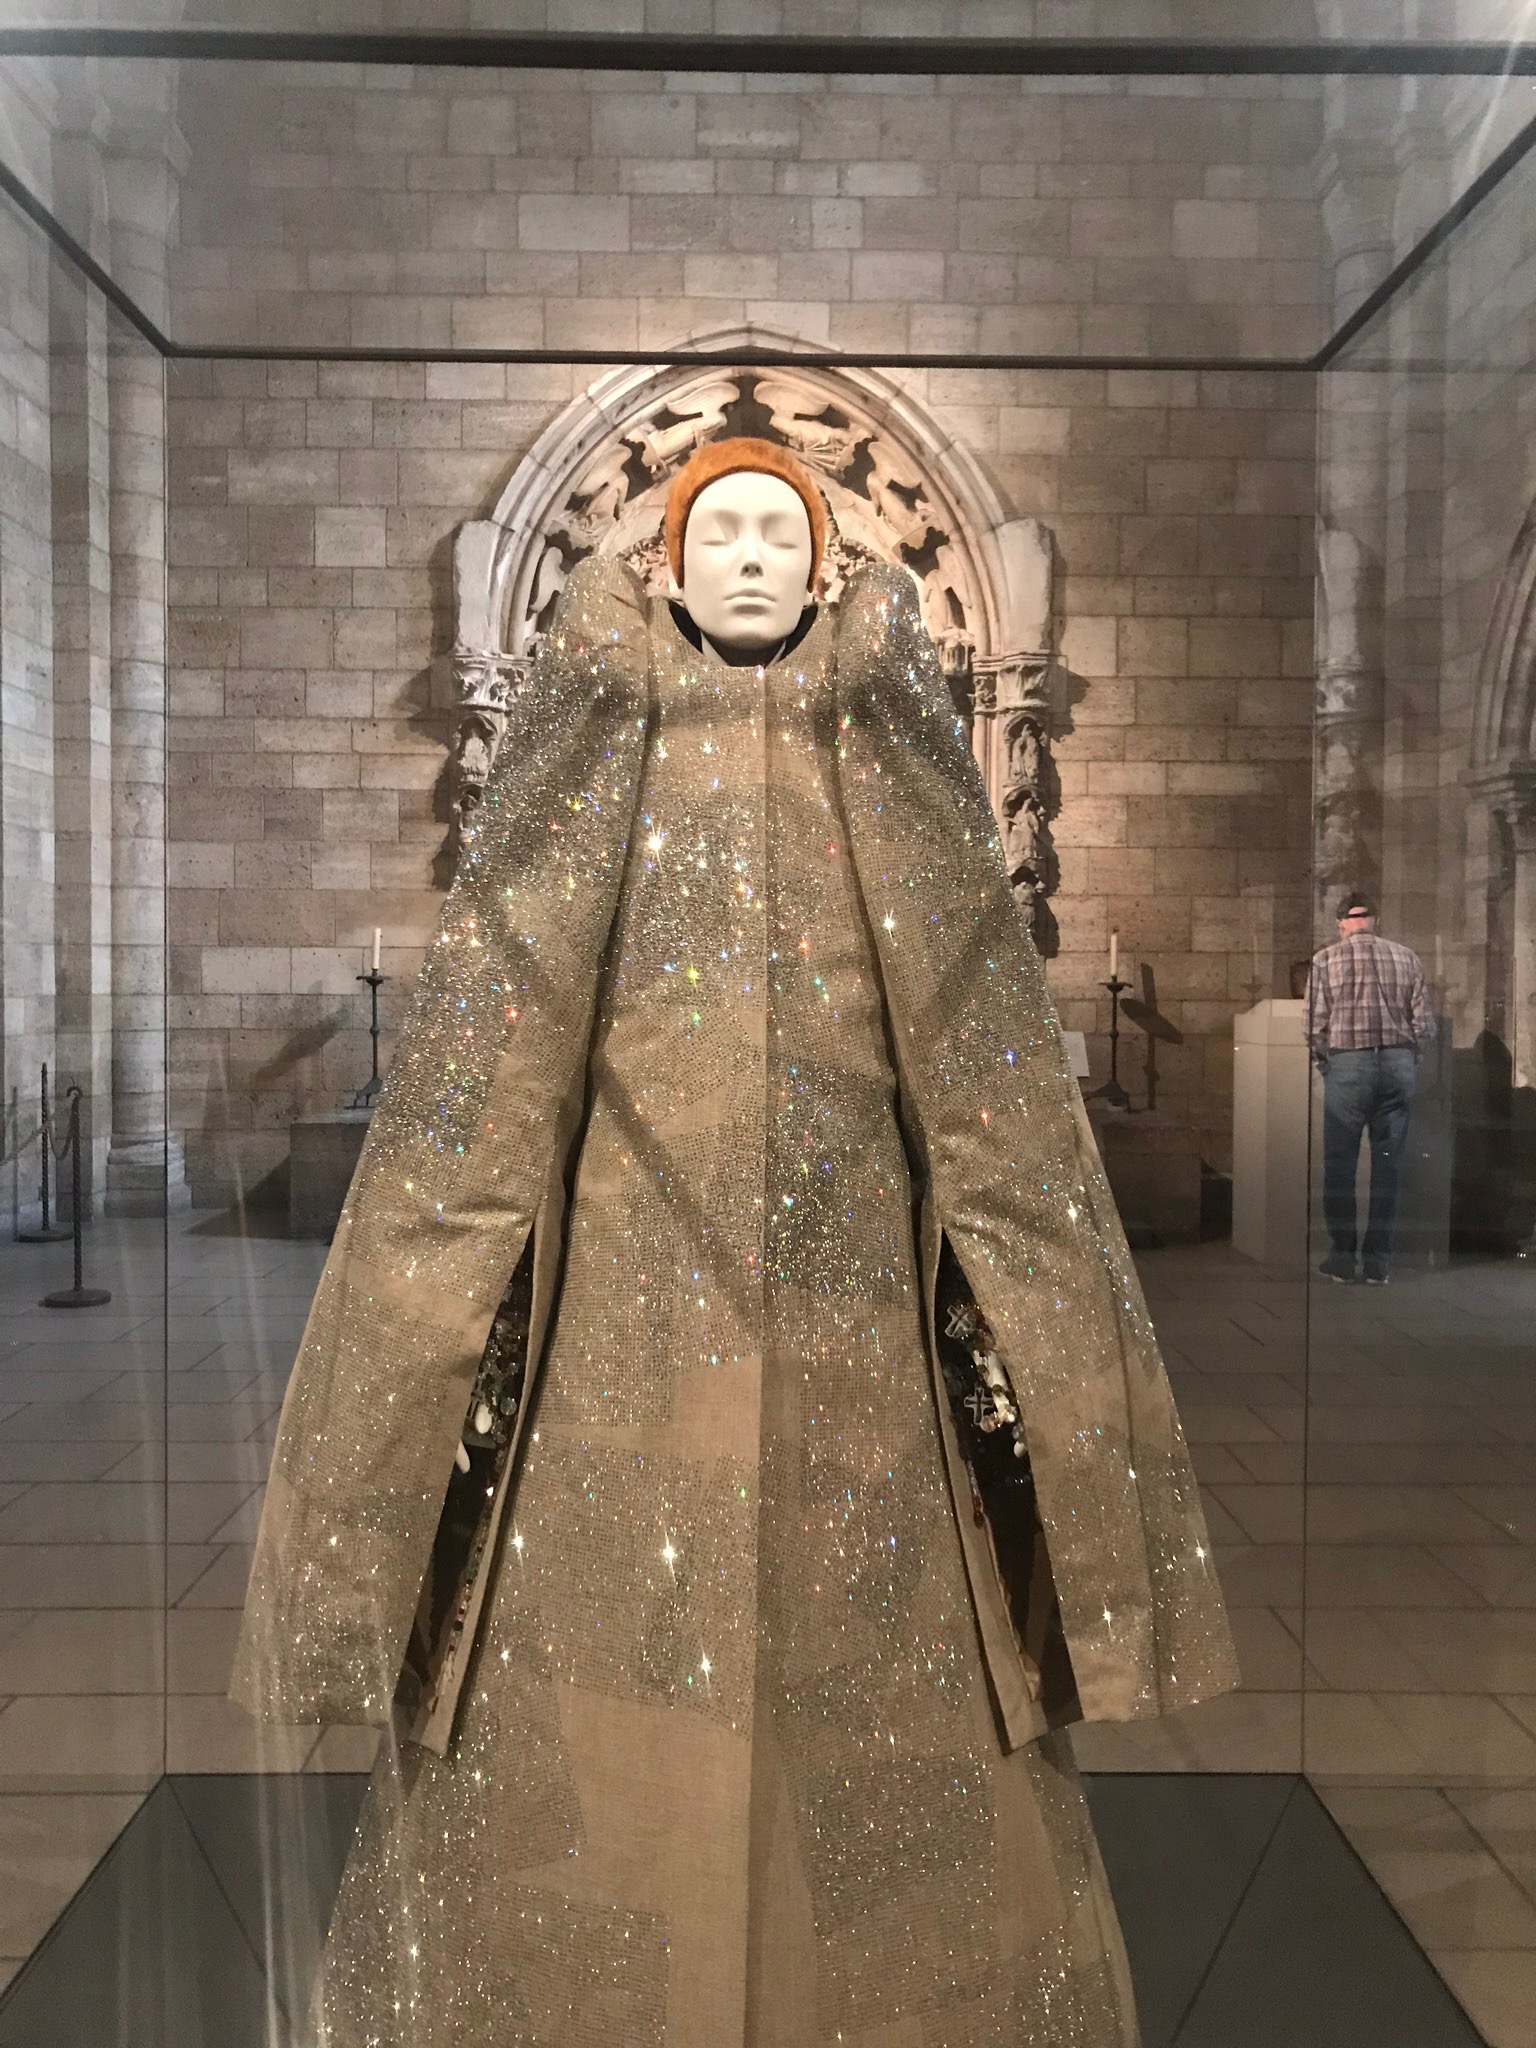
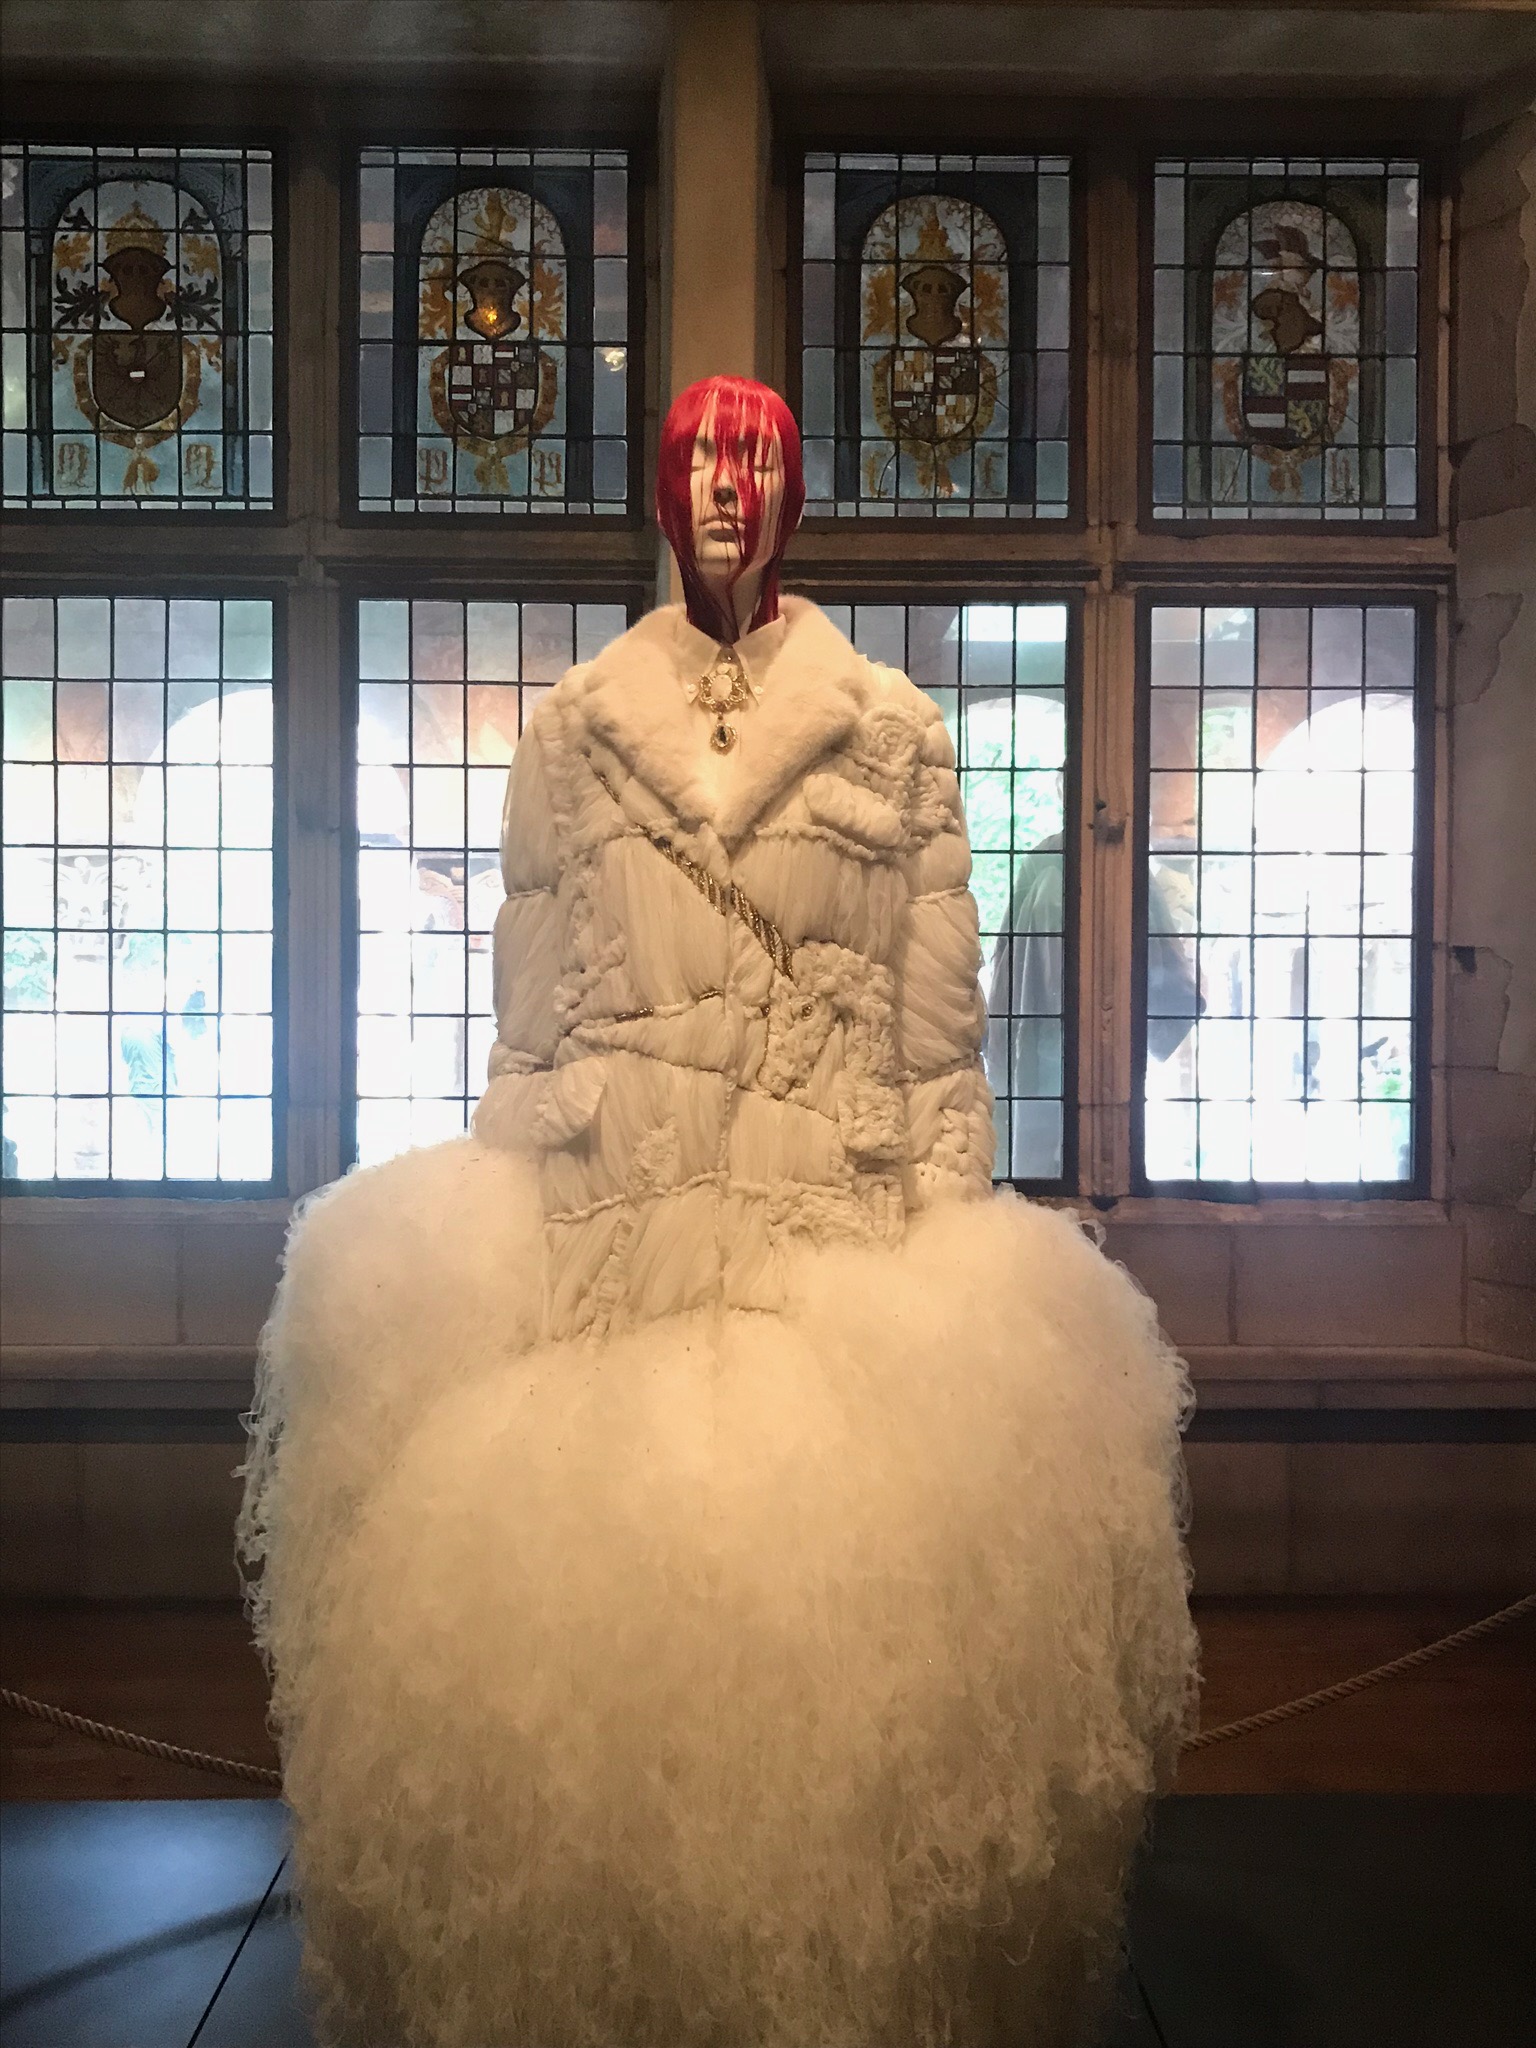
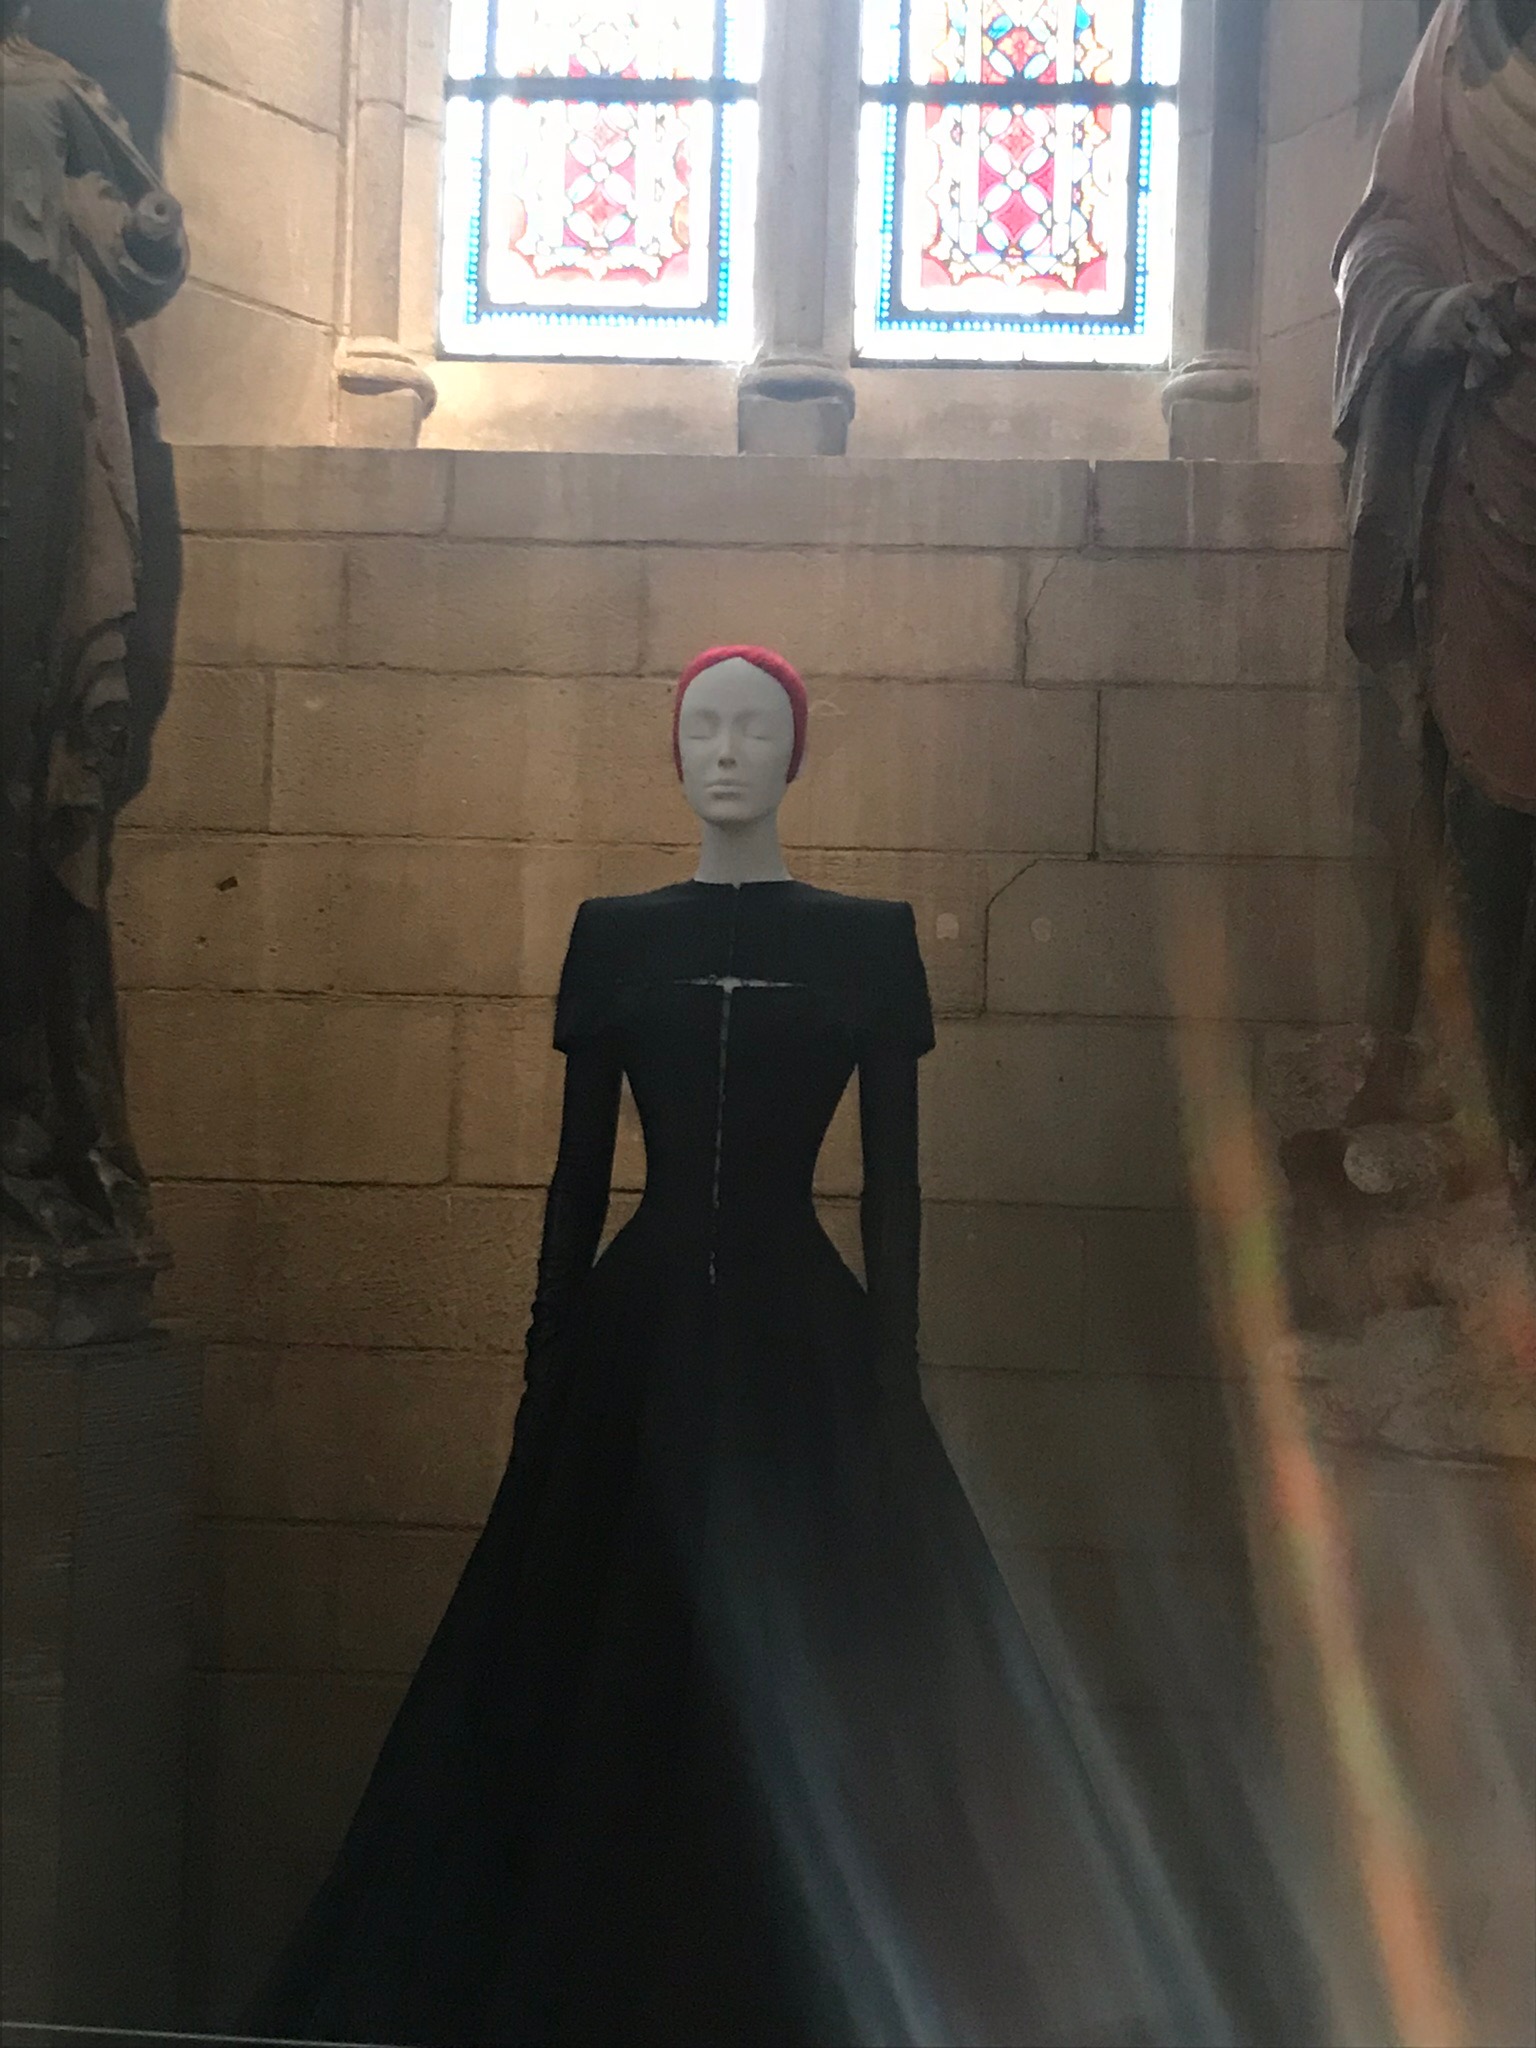
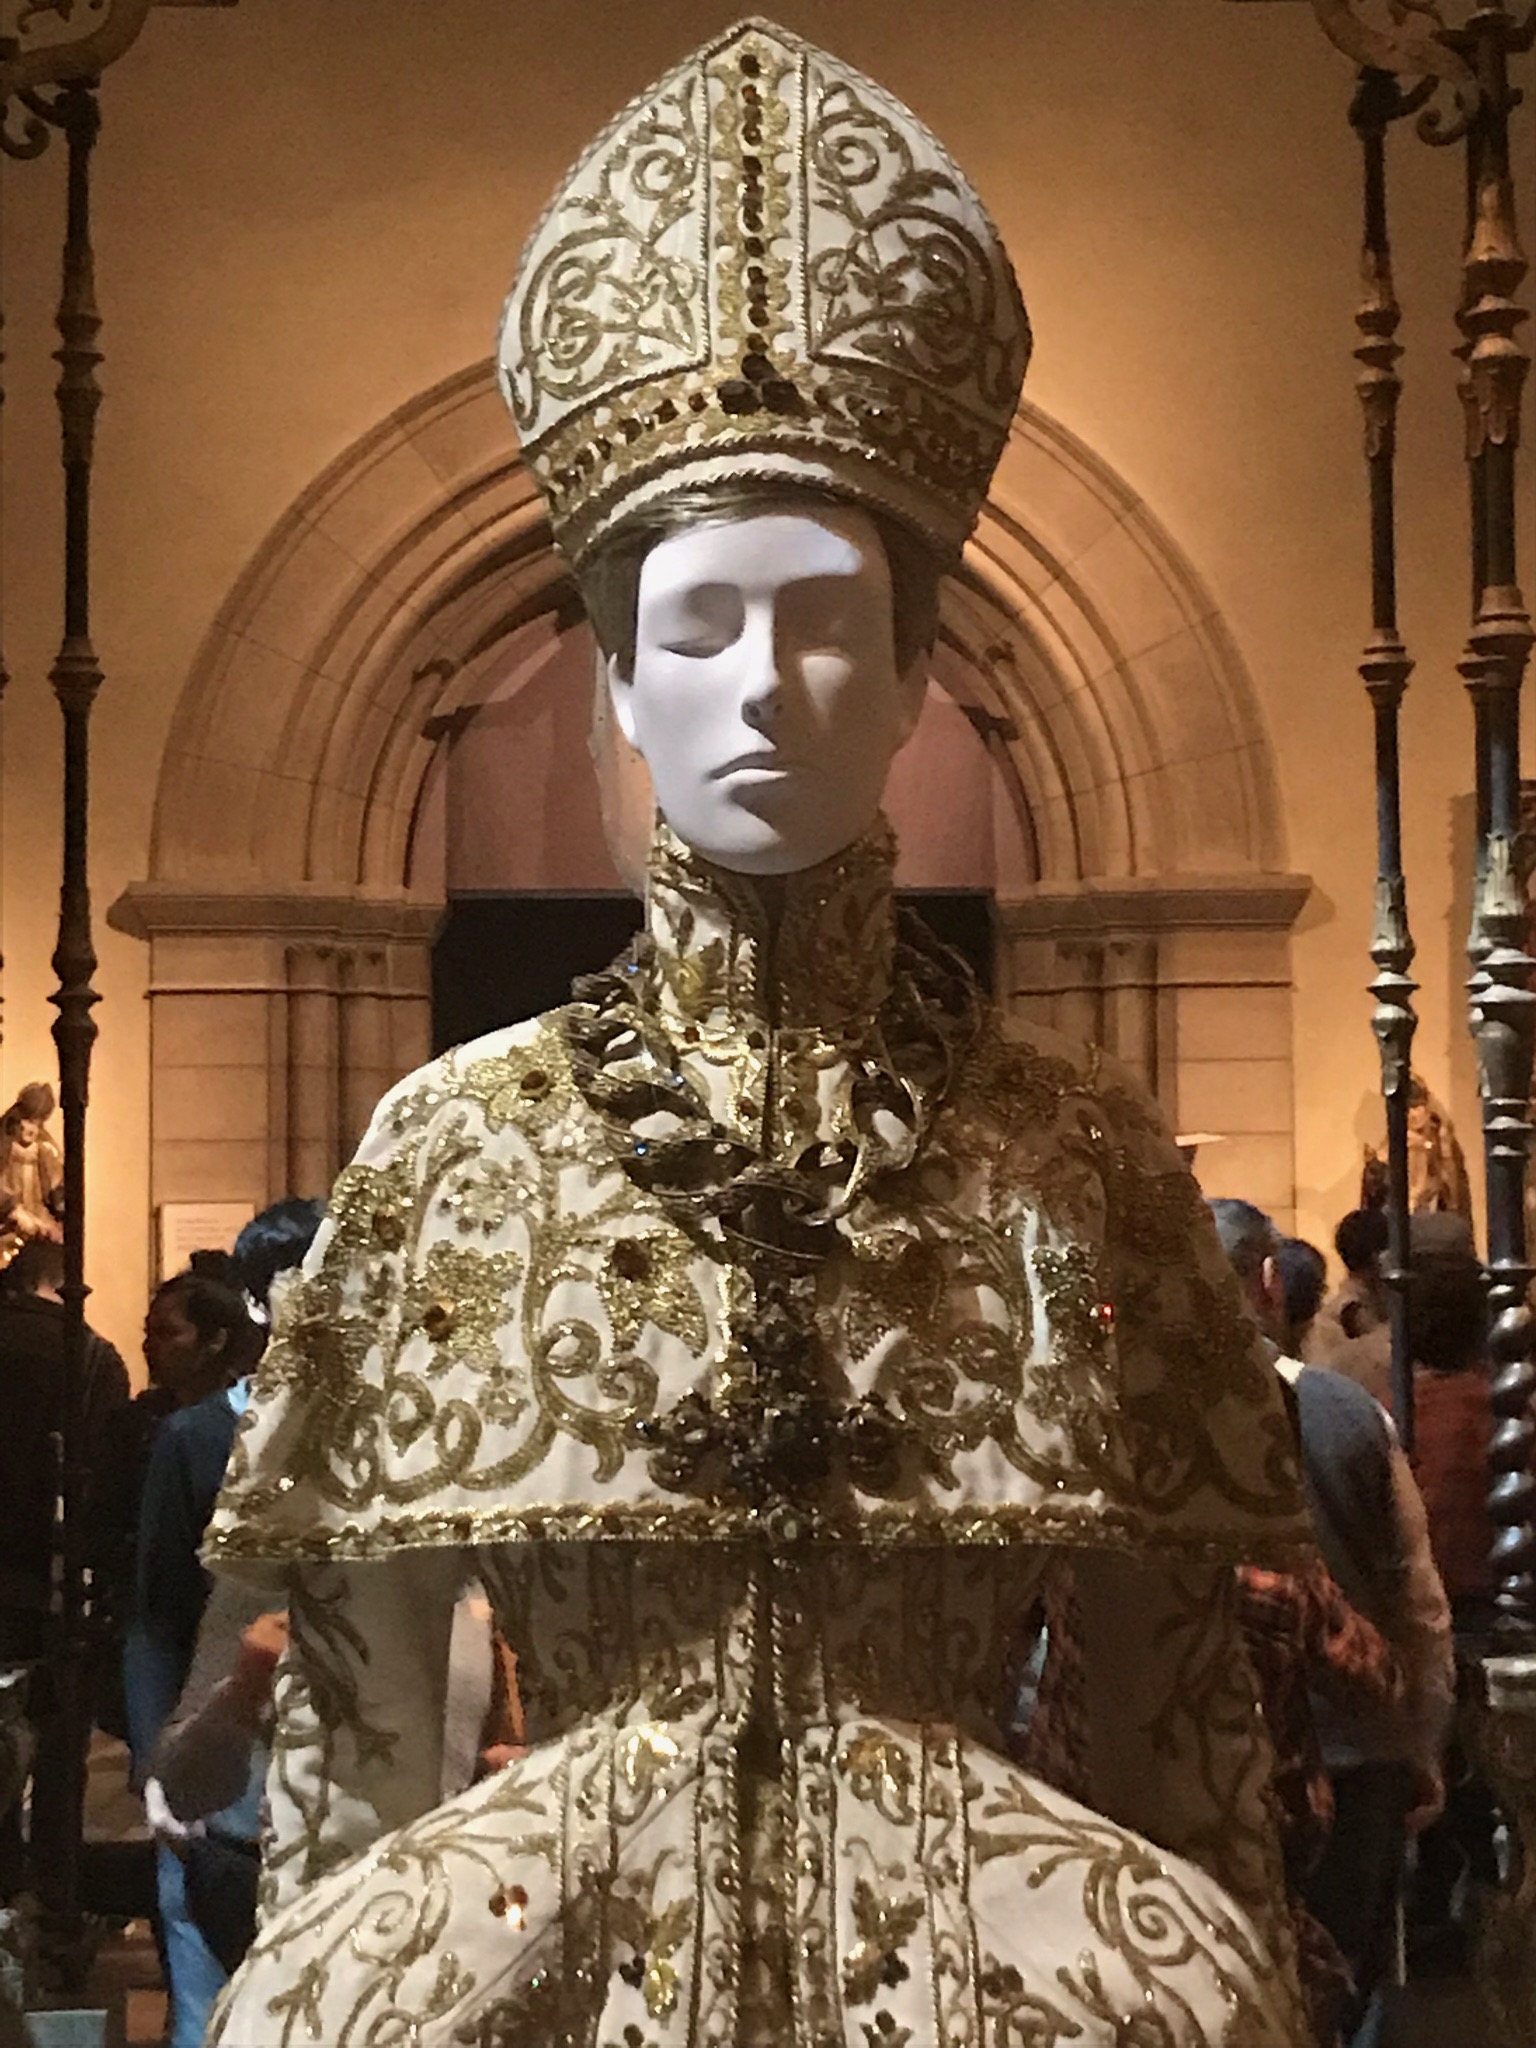
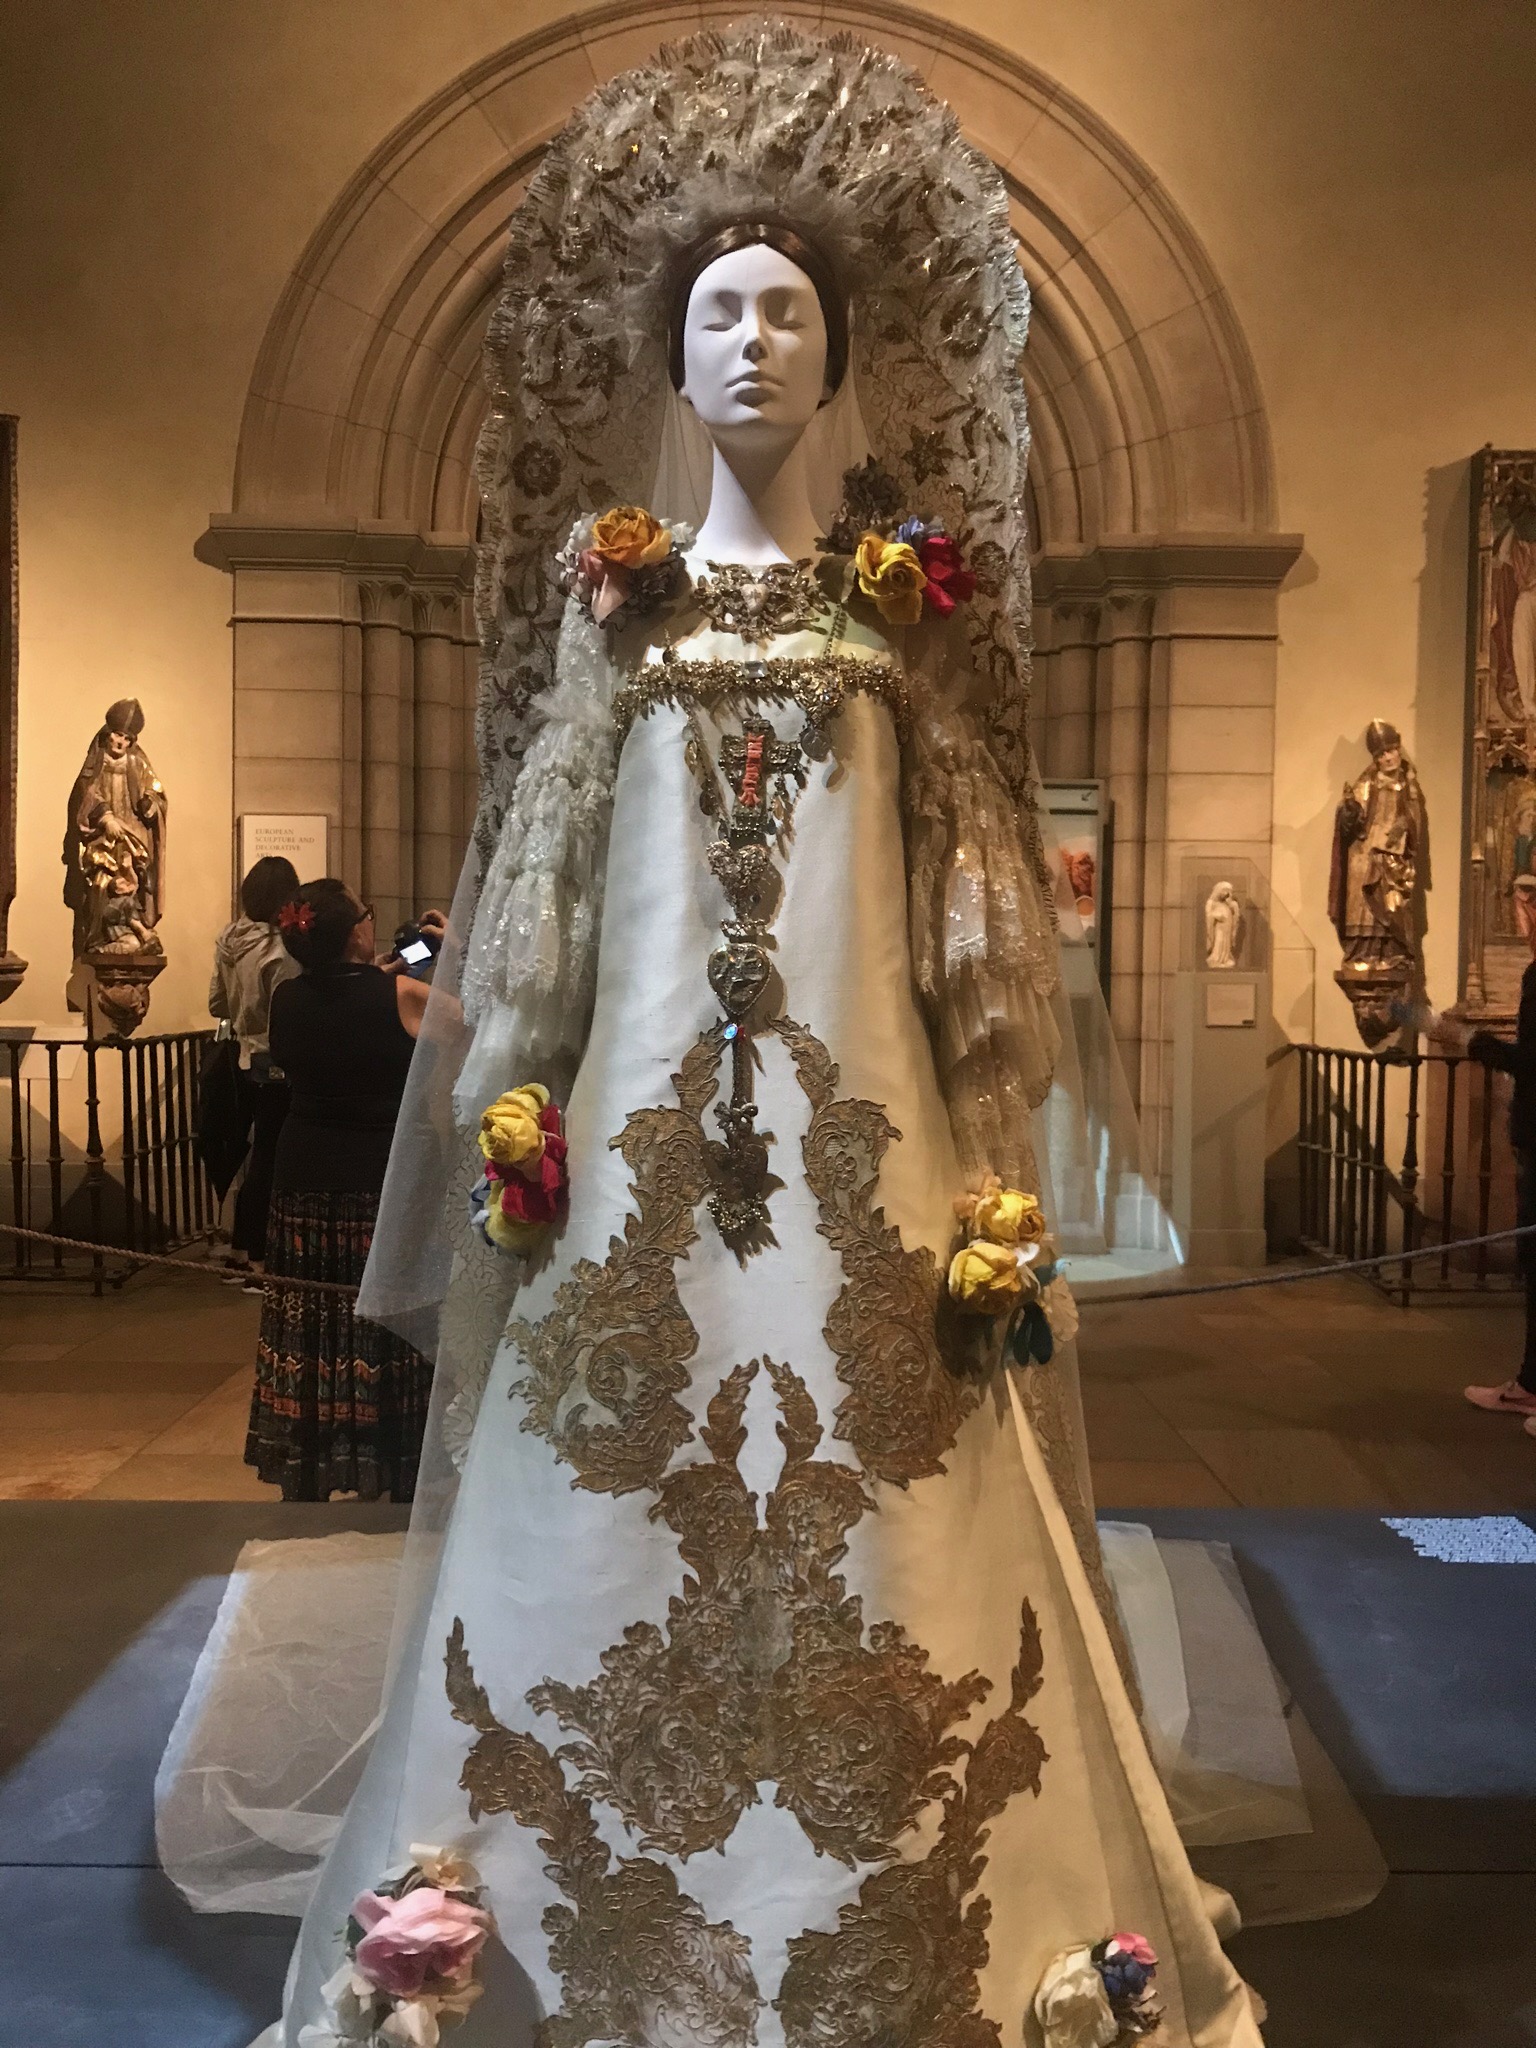
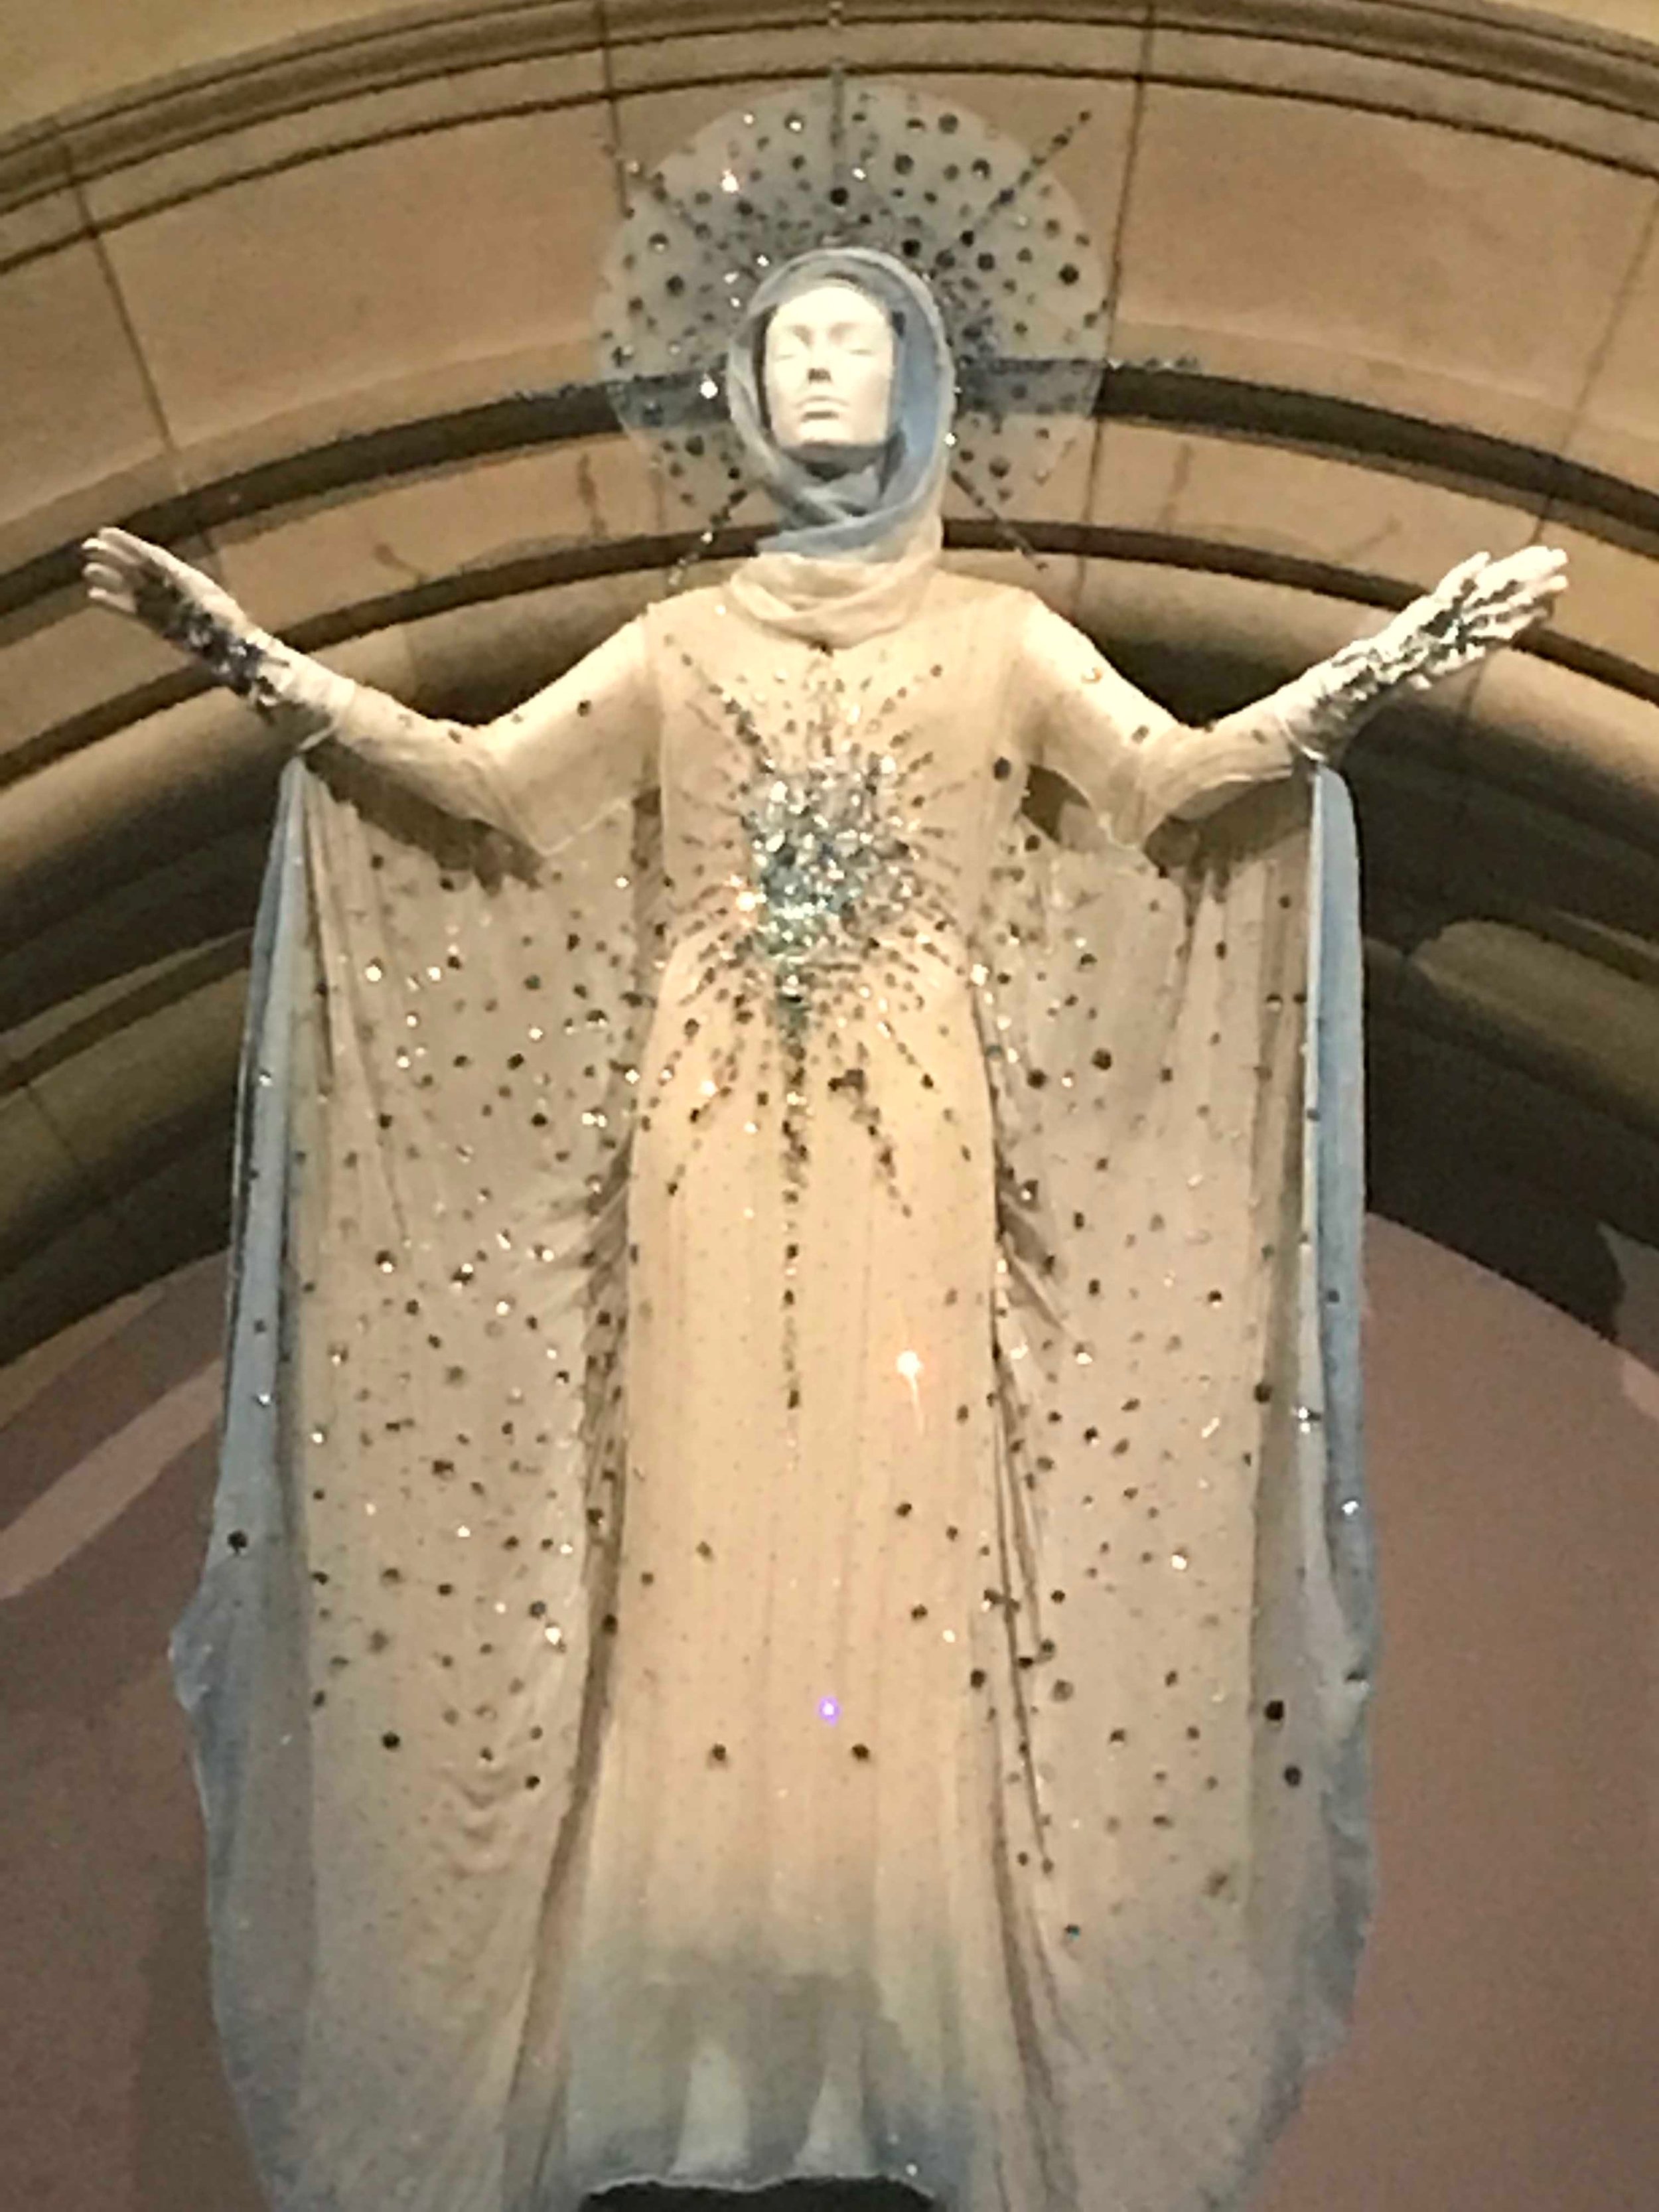
Throughout my life I have remained slightly obsessed with religious iconography, no matter the faith. So with friends in town offering to take me to The Heavenly Bodies exhibit at The Cloisters and The Metropolitan Museum here in NYC, I jumped at the chance.
Did you get to see the exhibit? It actually ends today, so I’m sorry if you missed it. But take it from me, the collections were truly incredible. Seeing each piece mixed in with all of the religious art, and seeing them in the context of actual preserved chapels was really special.
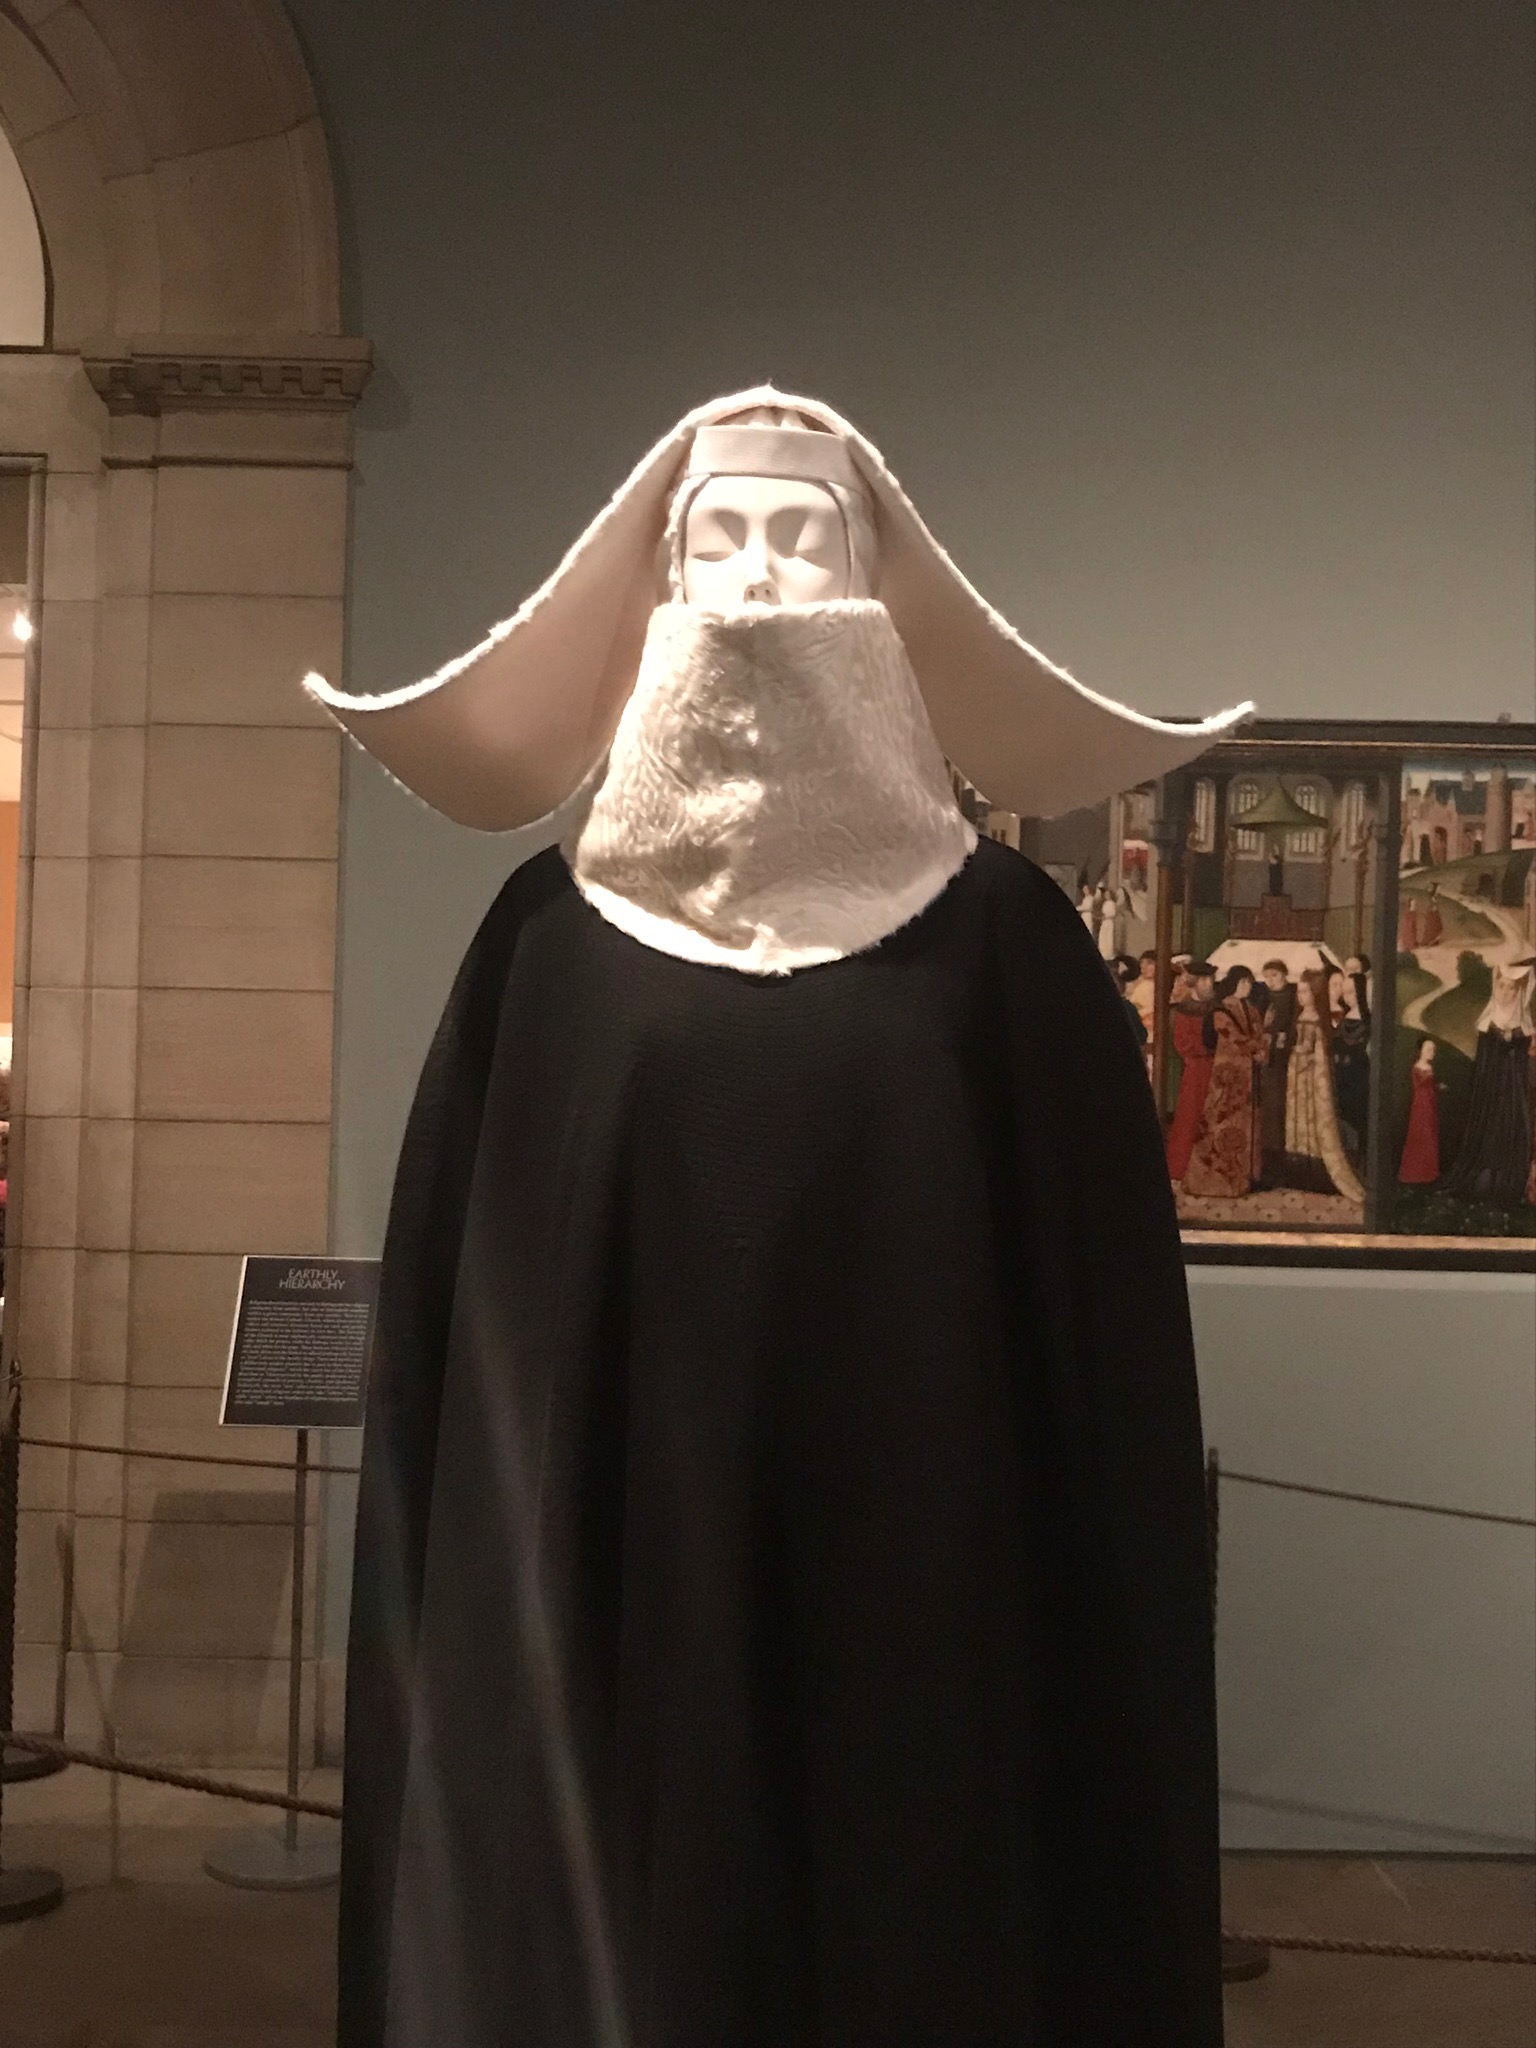
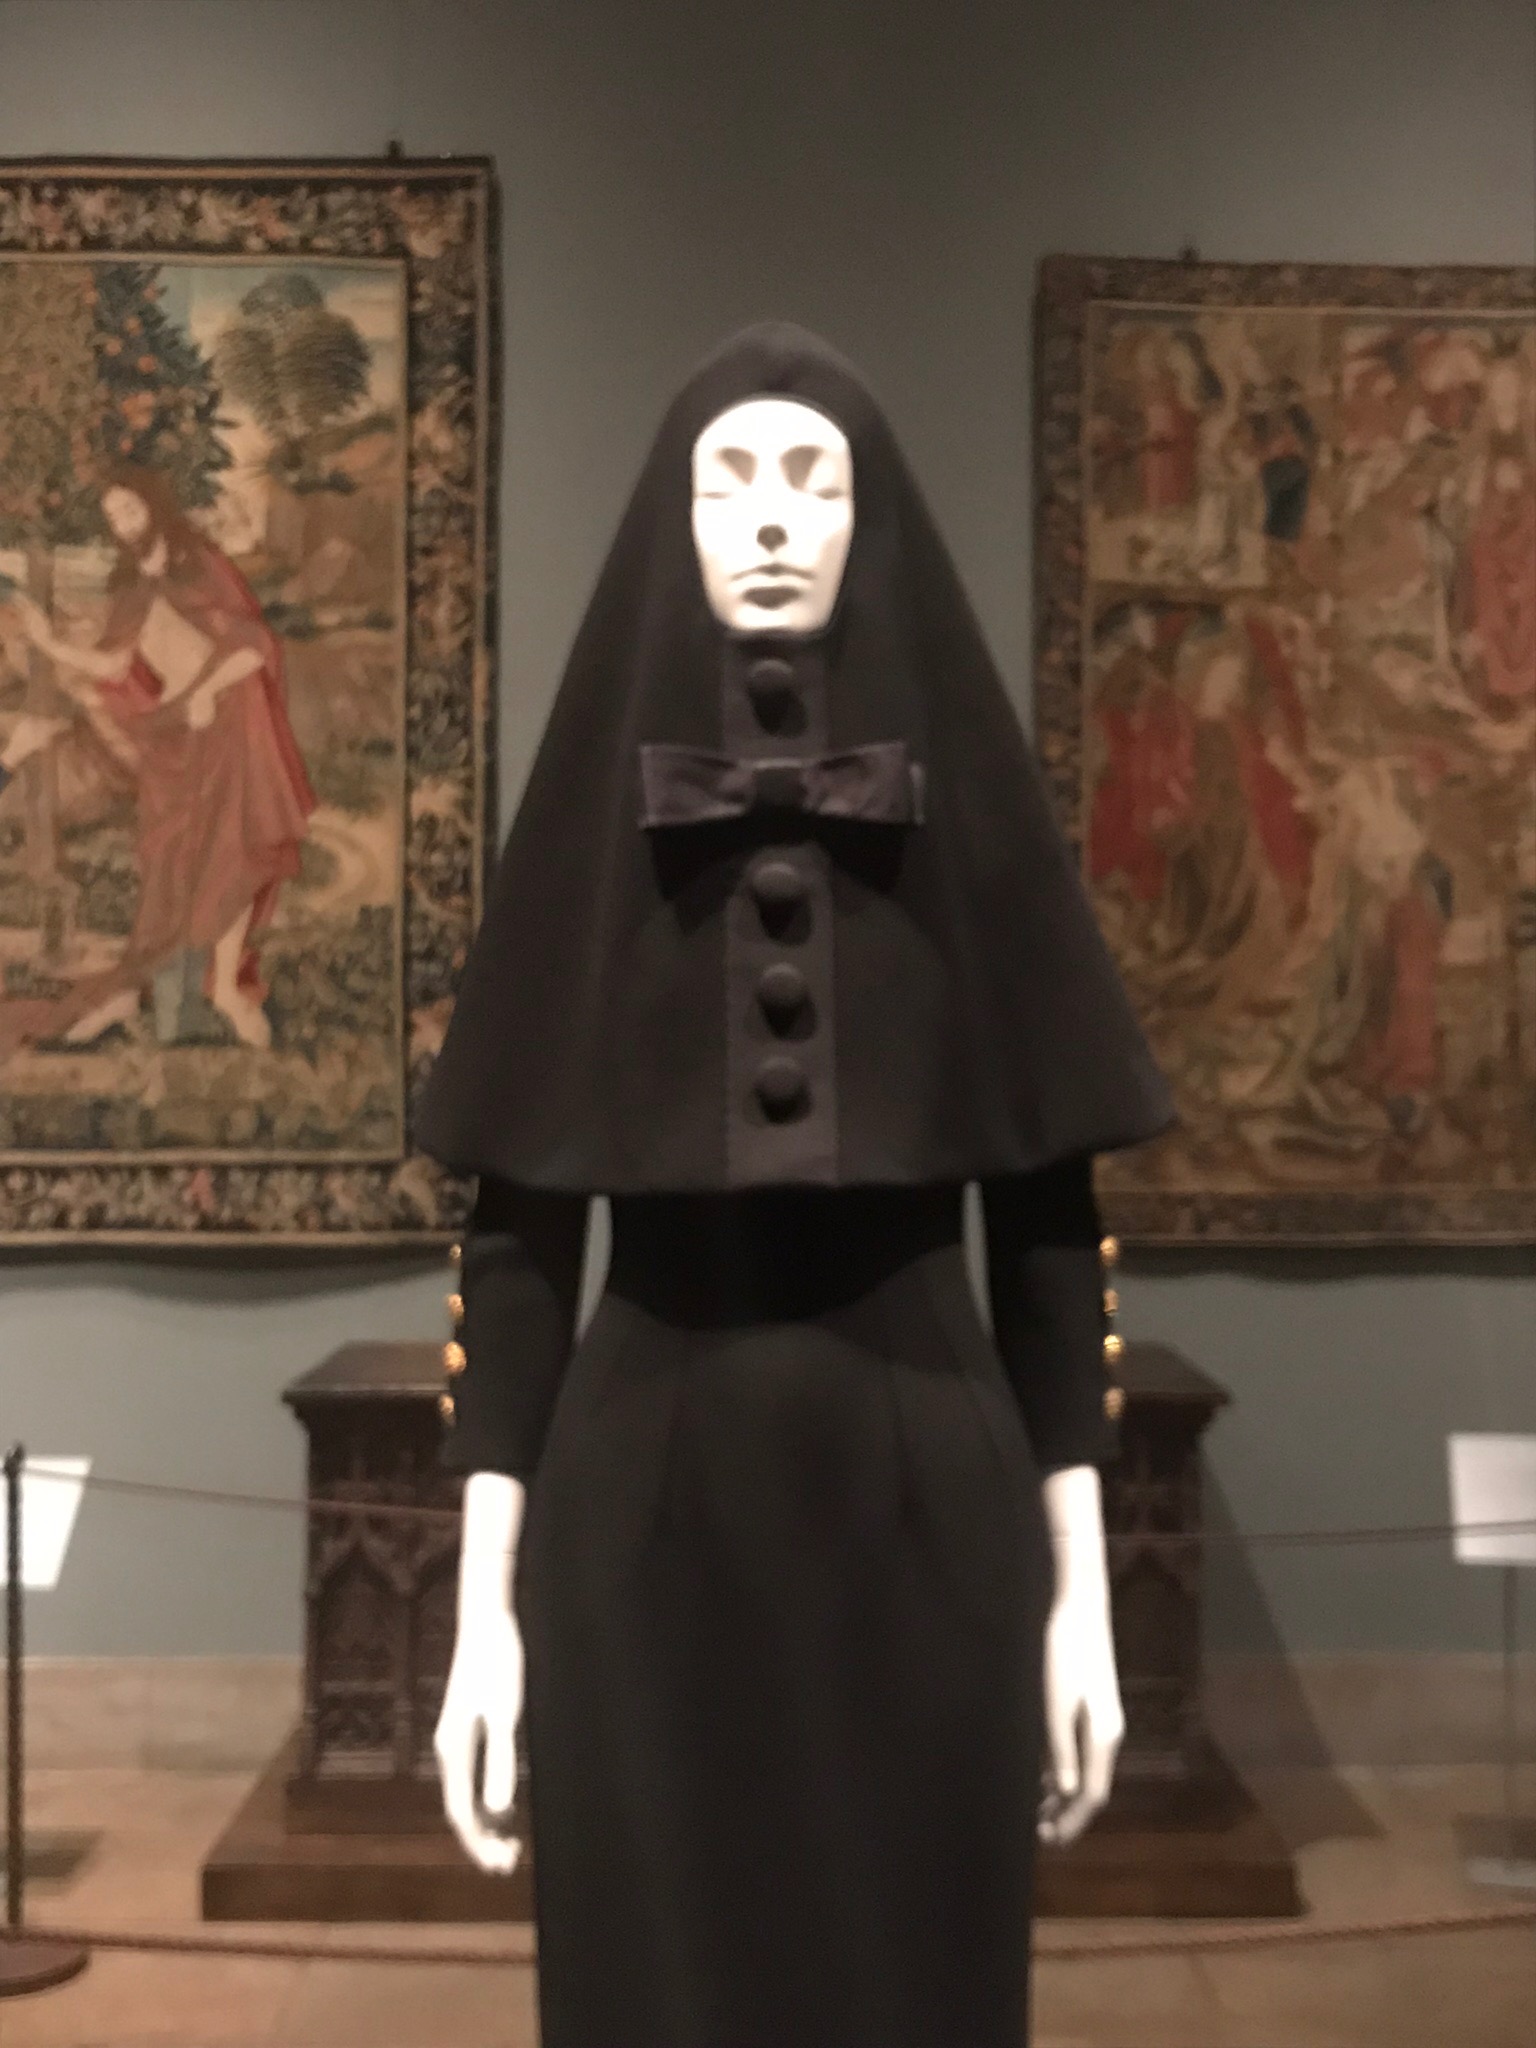
One of the rooms of the exhibit displayed a line up of mannequins dressed as nuns. The mannequins were adorned with gorgeous habits. The sight of it pulled me back to my original vocational aspirations as a young girl. Although I didn’t walk my path in life as Sister Lisa, I think about all the lives I’ve touched through food and the performing arts. My fingerprints have fed, taught, and entertained. The fingerprints I have left behind remind me how my gifts resonate in everything I do.
We may not grow up to be what we thought we’d be. That doesn’t mean we’re letting anyone down. Things may not always unfold in a way that makes us feel worthy or accomplished. That doesn’t mean we are failing. Just like our individual fingerprints, our God given gifts are like no one else’s. So, since no one can do what you can do, keep doing you. Literally.
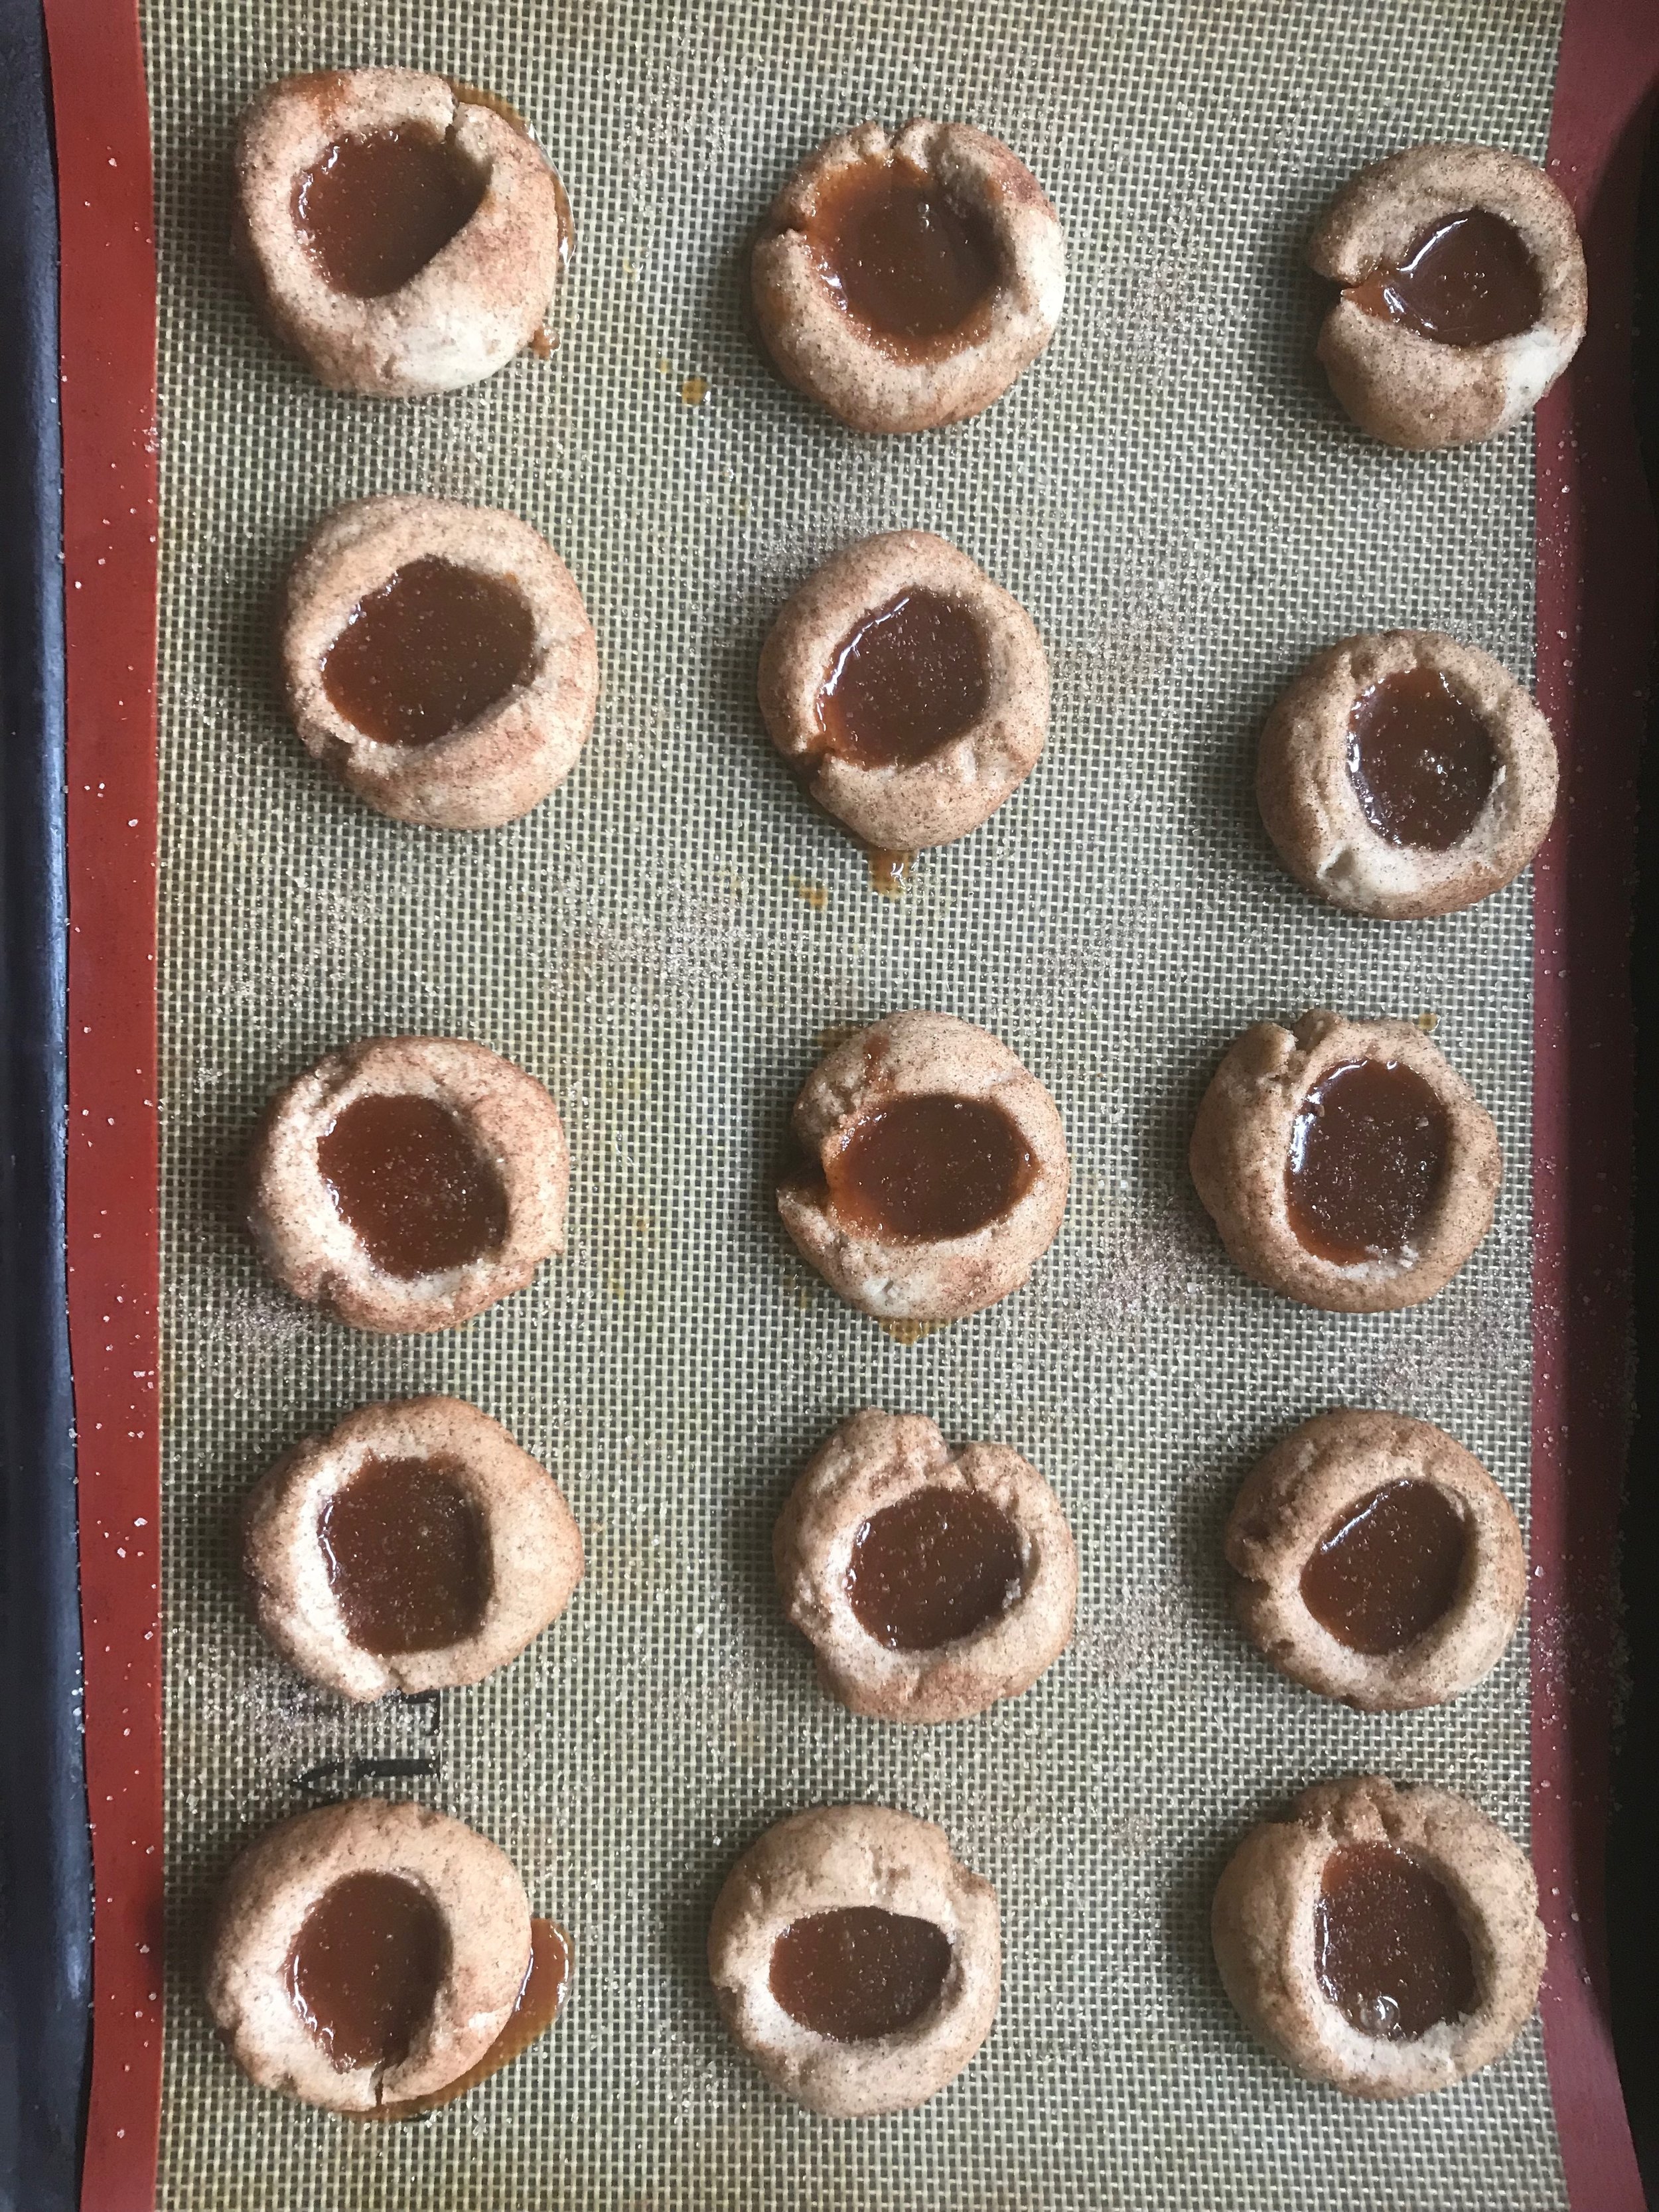
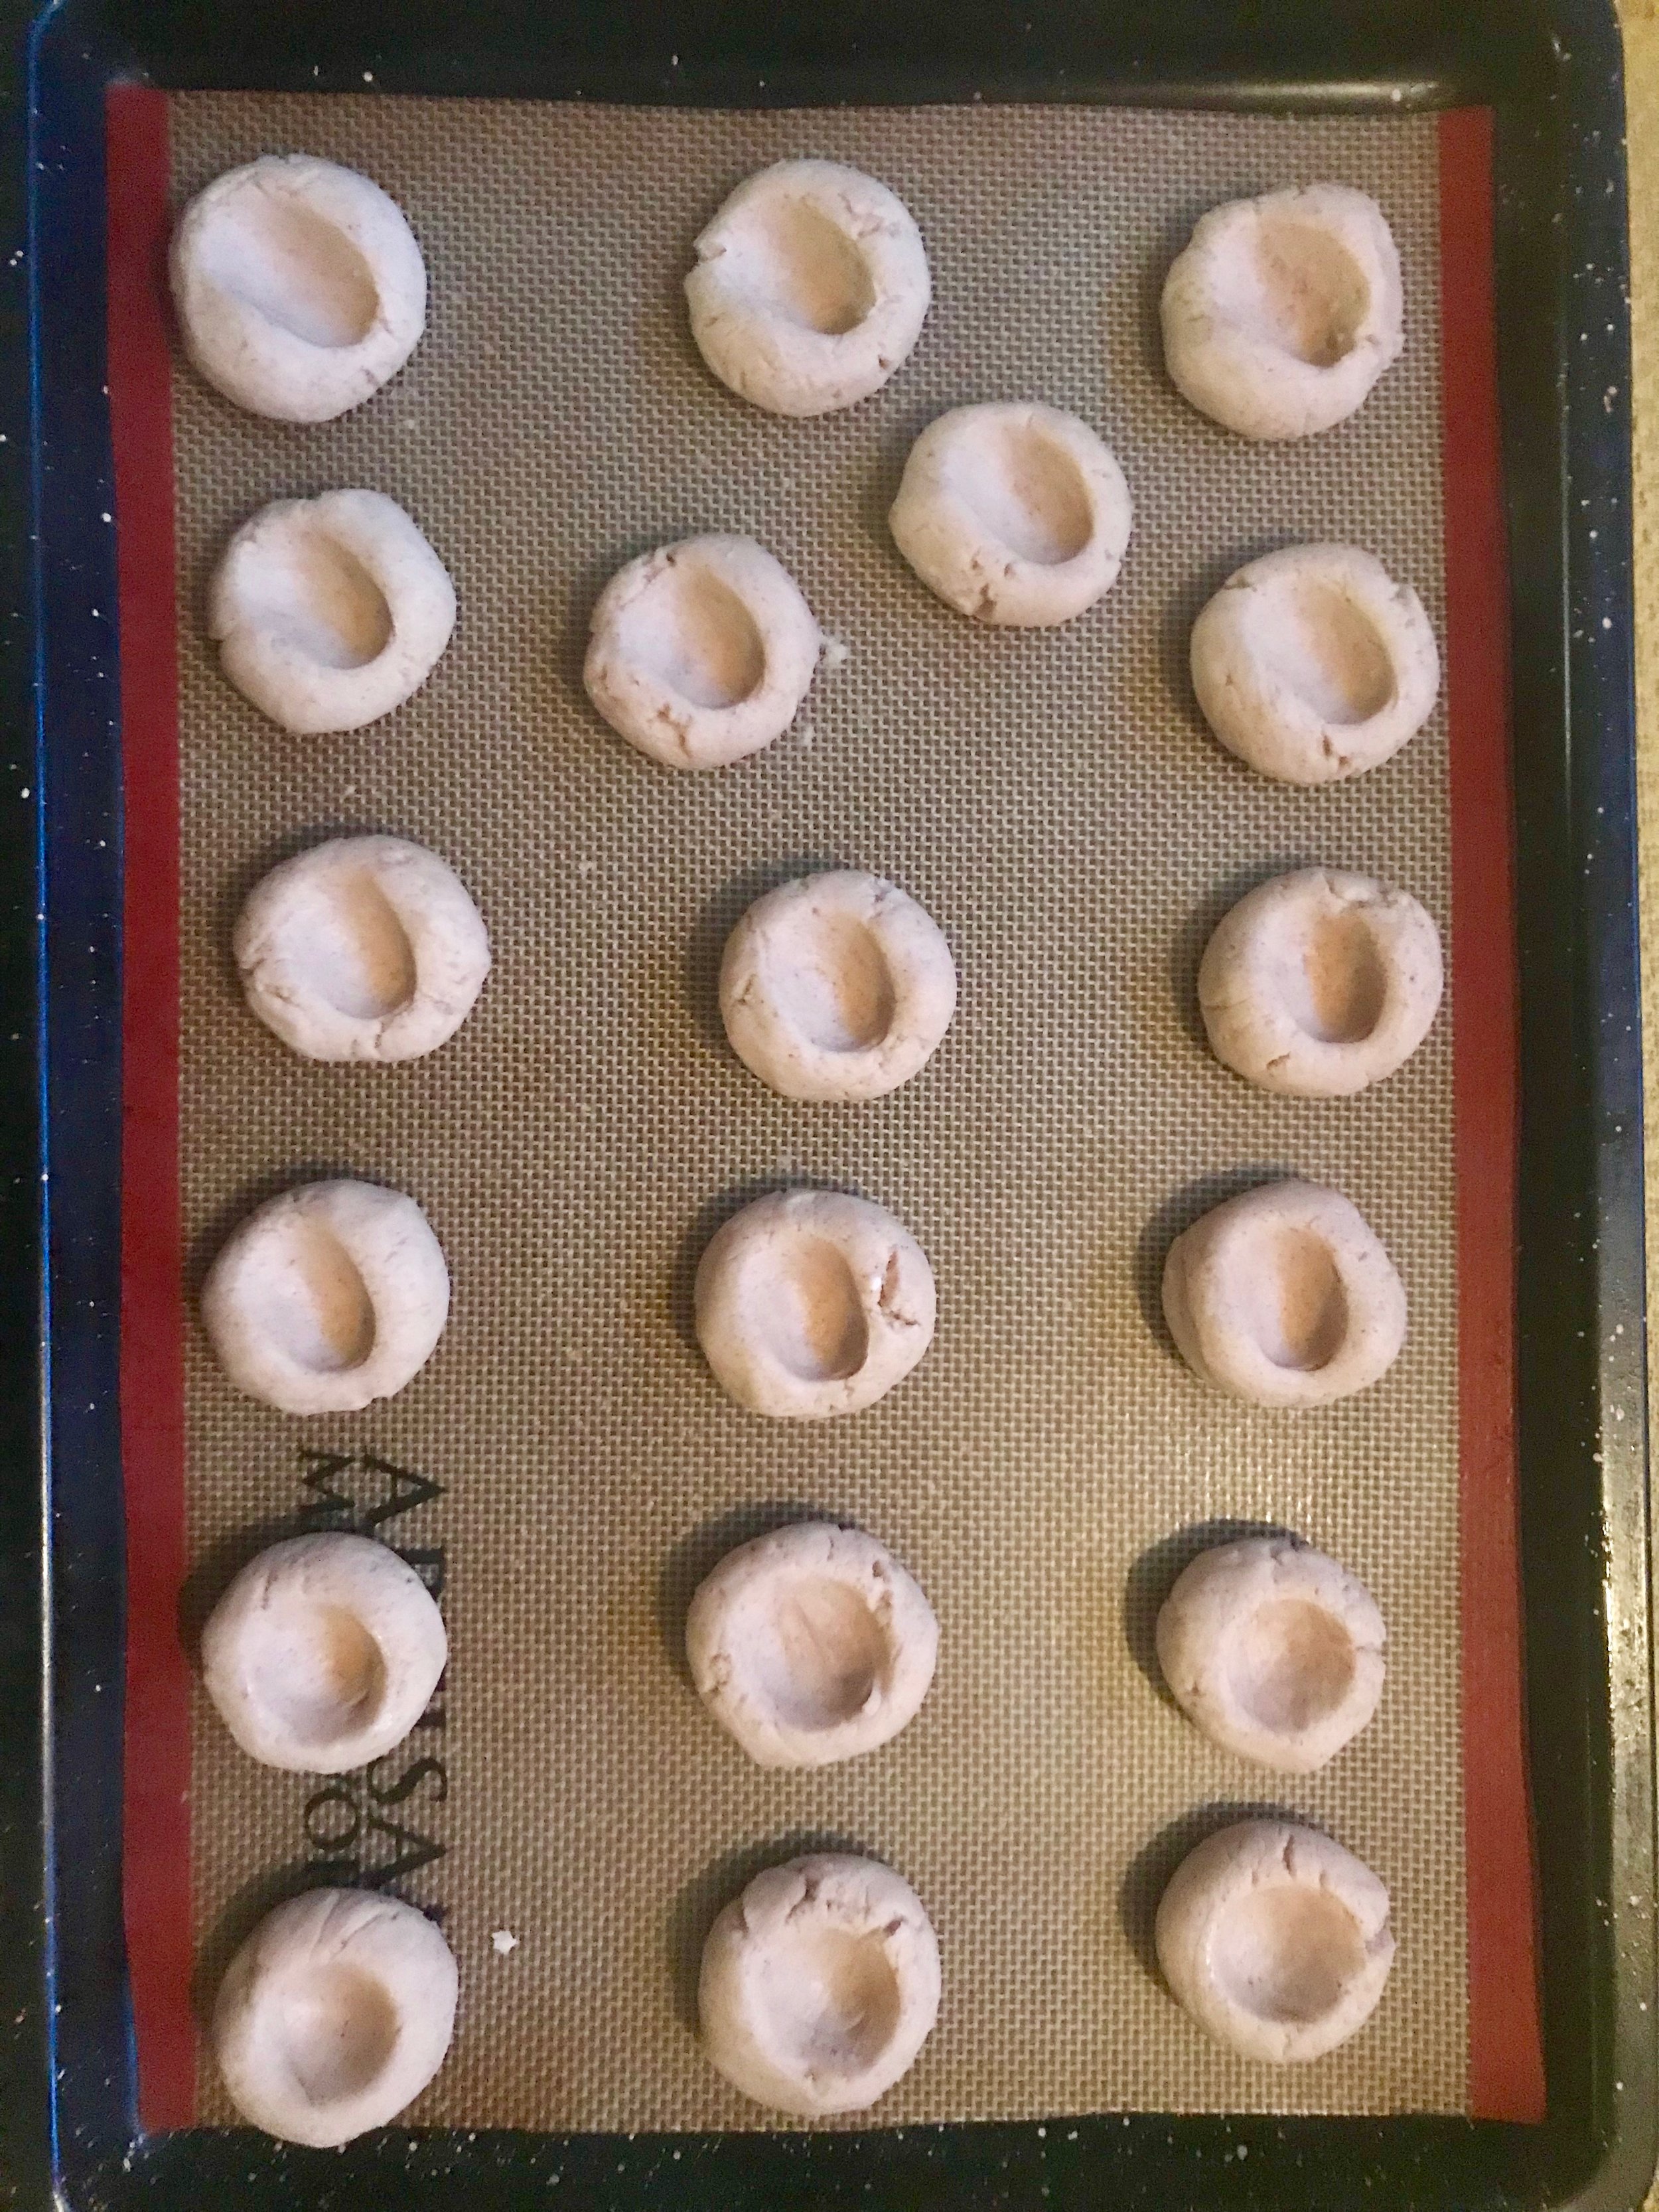
I put my own finger prints into this week’s recipe too. More specifically, my thumbprints!
Salted Caramel Thumbprint Cookies
adapted from Sally Baking Addiction
Ingredients:
Topping
1/3 cup granulated sugar
1/2 teaspoon ground cinnamon
Dough
2 and 1/2 cups all-purpose flour
1 and 1/2 teaspoons pumpkin pie spice (cloves, ginger, cinnamon, nutmeg)
1 teaspoon baking powder
1/4 teaspoon salt
1 cup unsalted butter, softened
3/4 cup granulated sugar
1 large egg, at room temperature
1 and 1/2 teaspoons vanilla extract
homemade salted caramel (recipe below)
Directions:
Mix the topping ingredients together in a small bowl. Set aside.
Whisk the flour, pumpkin pie spice, baking powder, and salt together in medium bowl. Set aside.
In a large bowl using a handheld or stand mixer fitted with a paddle attachment, beat the butter and sugar together on medium-high speed until smooth and creamy, about 2 minutes. Add the egg and vanilla extract, and beat on high speed until combined, about 1 minute. Scrape down the sides and up the bottom of the bowl and beat again as needed to combine. Add the dry ingredients to the wet ingredients and mix on low until combined.
Roll balls of dough, a little less than 1 Tablespoon each (about 1 inch balls), and then roll generously into cinnamon/sugar mixture to coat. Place dough balls onto a large lined baking sheet. Using your thumb, make an indent into each cookie. If you find that the balls are cracking when you make an indent, use your hands to push back together.
Chill the shaped cookies for at least 2-3 hours and up to 4 days. Cover them if chilling for longer than 3 hours.
Preheat oven to 350°F. Line a baking sheet with parchment paper or a silicone baking mat. Remove chilled and shaped cookies from the refrigerator. Divide between both baking sheets, spacing the cookies about 2-3 inches apart.
Bake for 12 minutes, remove from the oven, and spoon 1/2 teaspoon of caramel into each indentation. If the indents have lost their shape or have puffed up, use the end of a wooden spoon to make an indent again. Place cookies back in the oven for 1-2 more minutes.
Allow cookies to cool on the baking sheets for 5 minutes, then transfer to a wire rack to cool completely. Caramel will set after a couple hours.
Make ahead tip: Cookies stay fresh covered at room temperature for up to 3 days or in the refrigerator for up to 1 week. Store leftover caramel in the refrigerator for up to 2 weeks. You can make and shape the cookie dough and chill it in the refrigerator for up to 4 days, as noted in step 4. Baked and filled cookies freeze well for up to 3 months. Thaw overnight in the refrigerator and bring to room temperature before serving.
Salted Caramel
Ingredients:
1 cup granulated sugar
6 Tablespoons salted butter, room temperature cut up into pieces1
1/2 cup heavy cream
1 teaspoon salt
Directions:
Heat granulated sugar in a medium saucepan over medium heat, stirring constantly with a high heat resistant rubber spatula or wooden spoon.
Sugar will form clumps and eventually melt into a thick brown, amber-colored liquid as you continue to stir. Be careful not to burn.
Once sugar is completely melted, immediately add the butter. Be careful in this step because the caramel will bubble rapidly when the butter is added.
Stir the butter into the caramel until it is completely melted, about 2-3 minutes. A whisk helps if you find the butter is separating from the sugar.
Very slowly, drizzle in 1/2 cup of heavy cream while stirring. Since the heavy cream is colder than the caramel, the mixture will rapidly bubble and/or splatter when added.
Allow the mixture to boil for 1 minute. It will rise in the pan as it boils.
Remove from heat and stir in 1 teaspoon of salt. Allow to cool down before using.
Make ahead tip: You can make this caramel in advance. Make sure it is covered tightly and store it for up to 2 weeks in the refrigerator. Warm the caramel up for a few seconds before using in a recipe.


